
In this tutorial you will learn how to add users, assign roles, and configure filters effectively.
This tutorial guides you through managing user roles and settings within Bear Analytics.
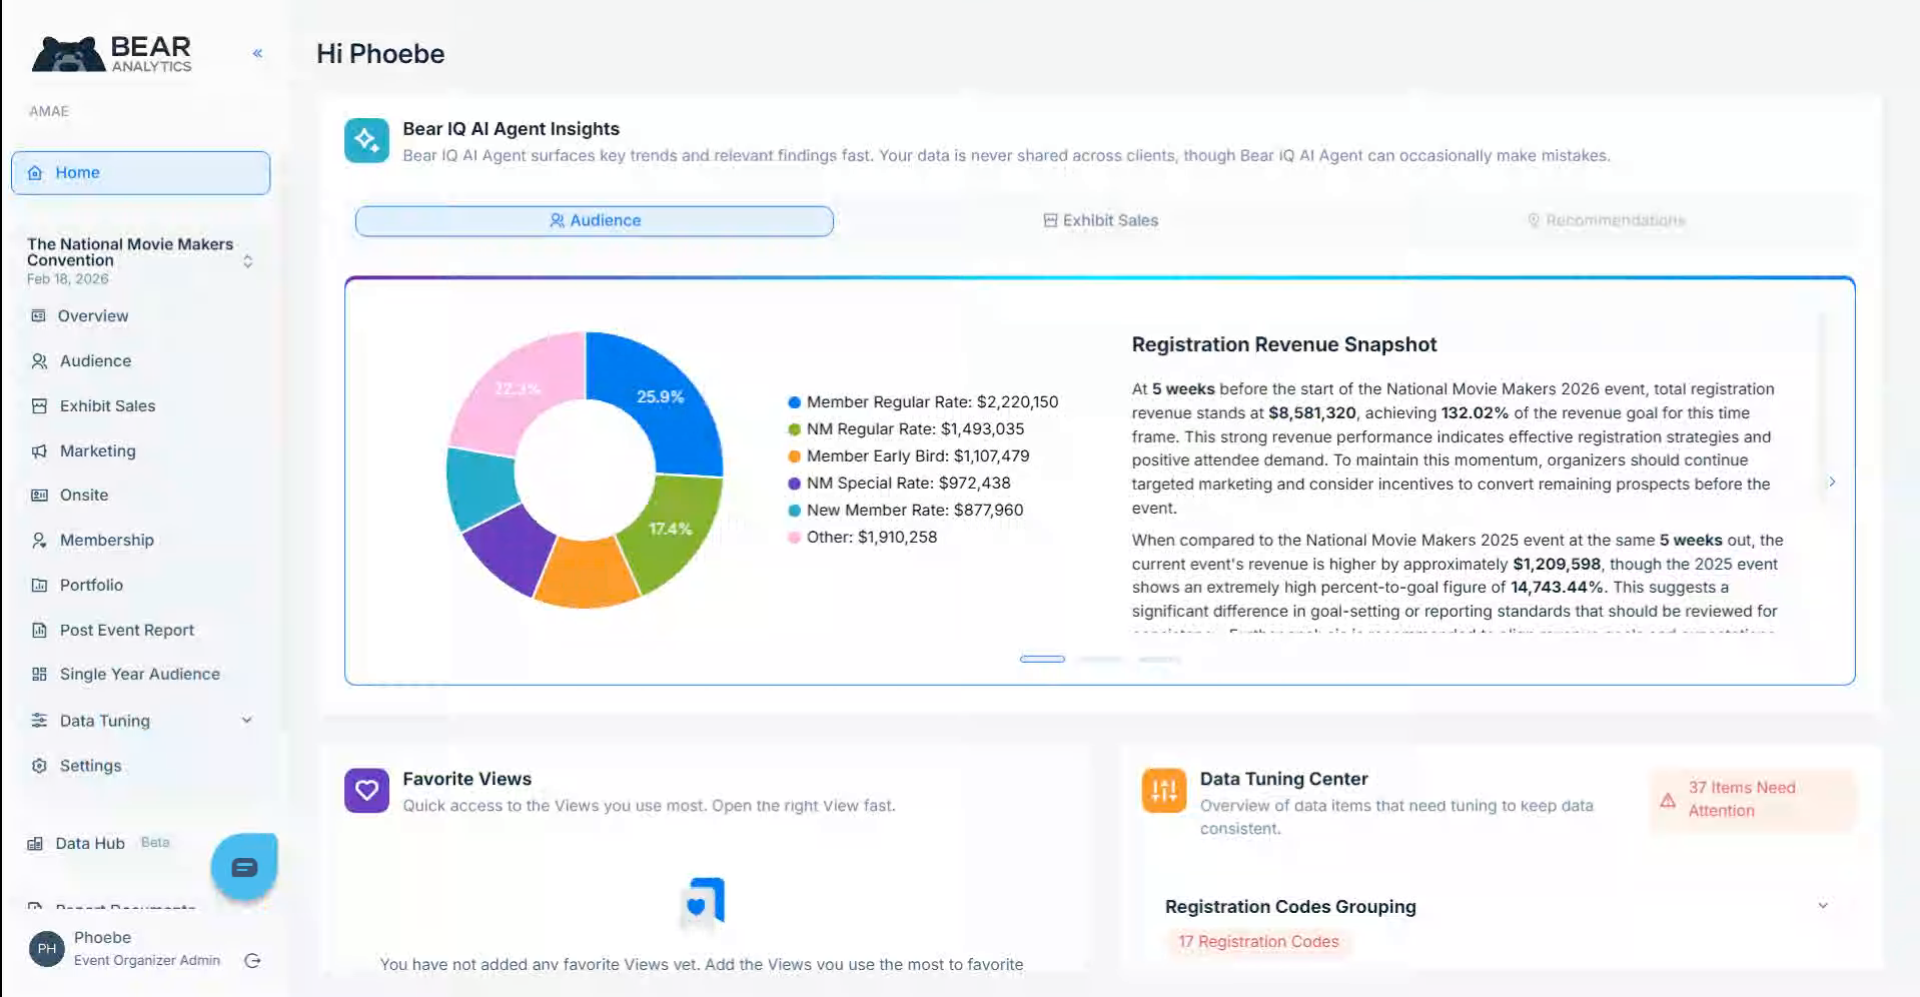
Login to your Bear IQ Dashboard at www.app.beariq.com
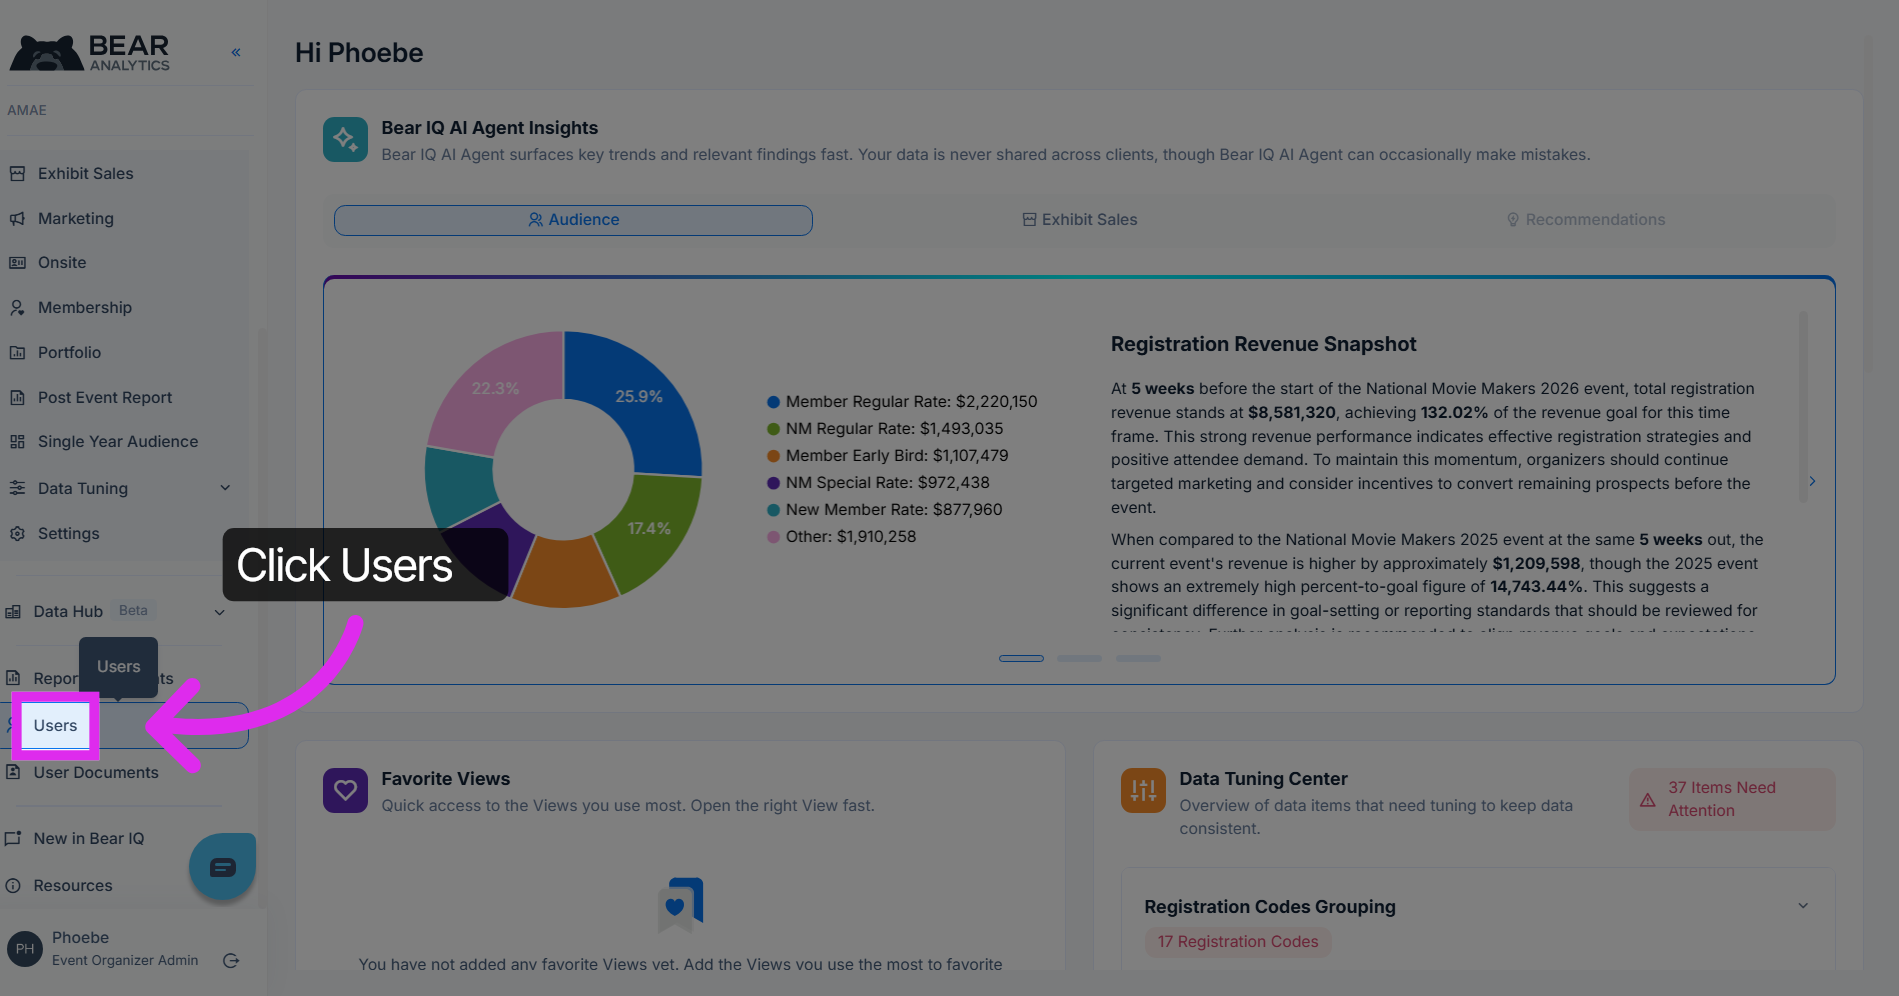
Access Users Section
Click "Users" to open the user management section in Bear Analytics.
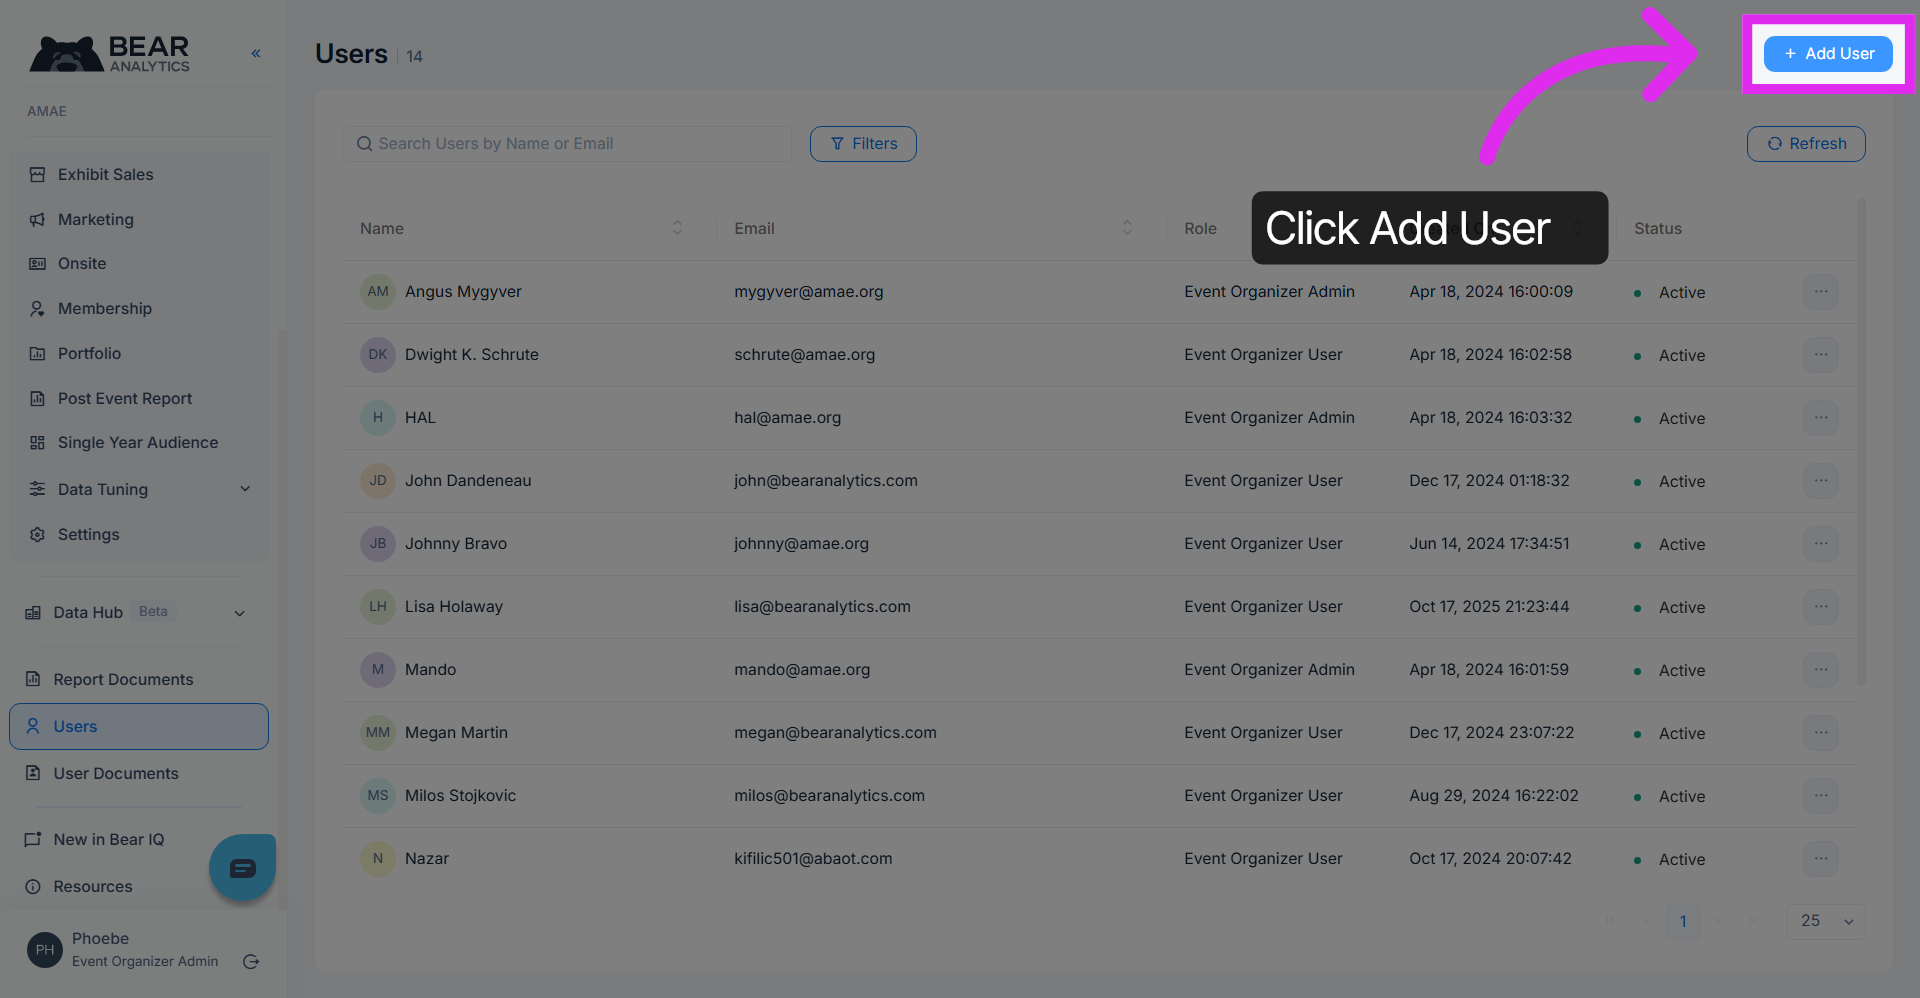
Adding a New User
Click "Add User" to start the process of adding a new user to your Bear Analytics account.
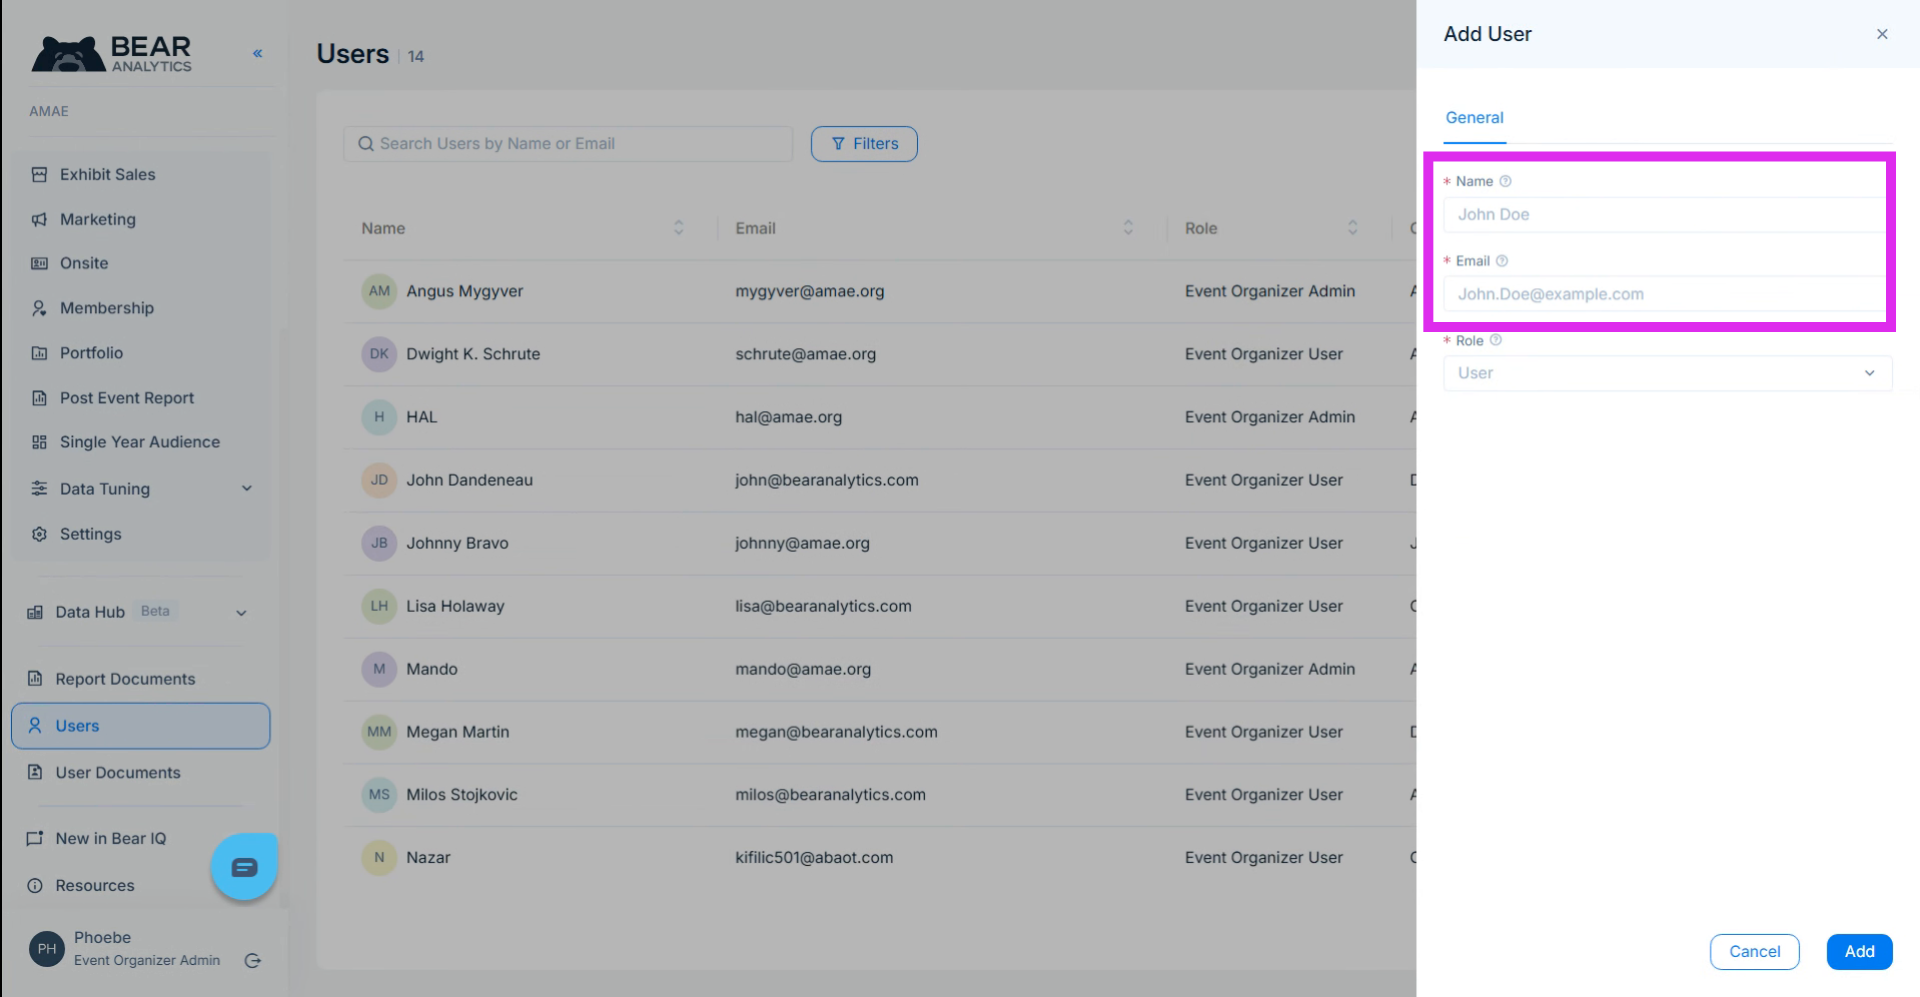
Enter User Details
Enter the user's full name and Email address
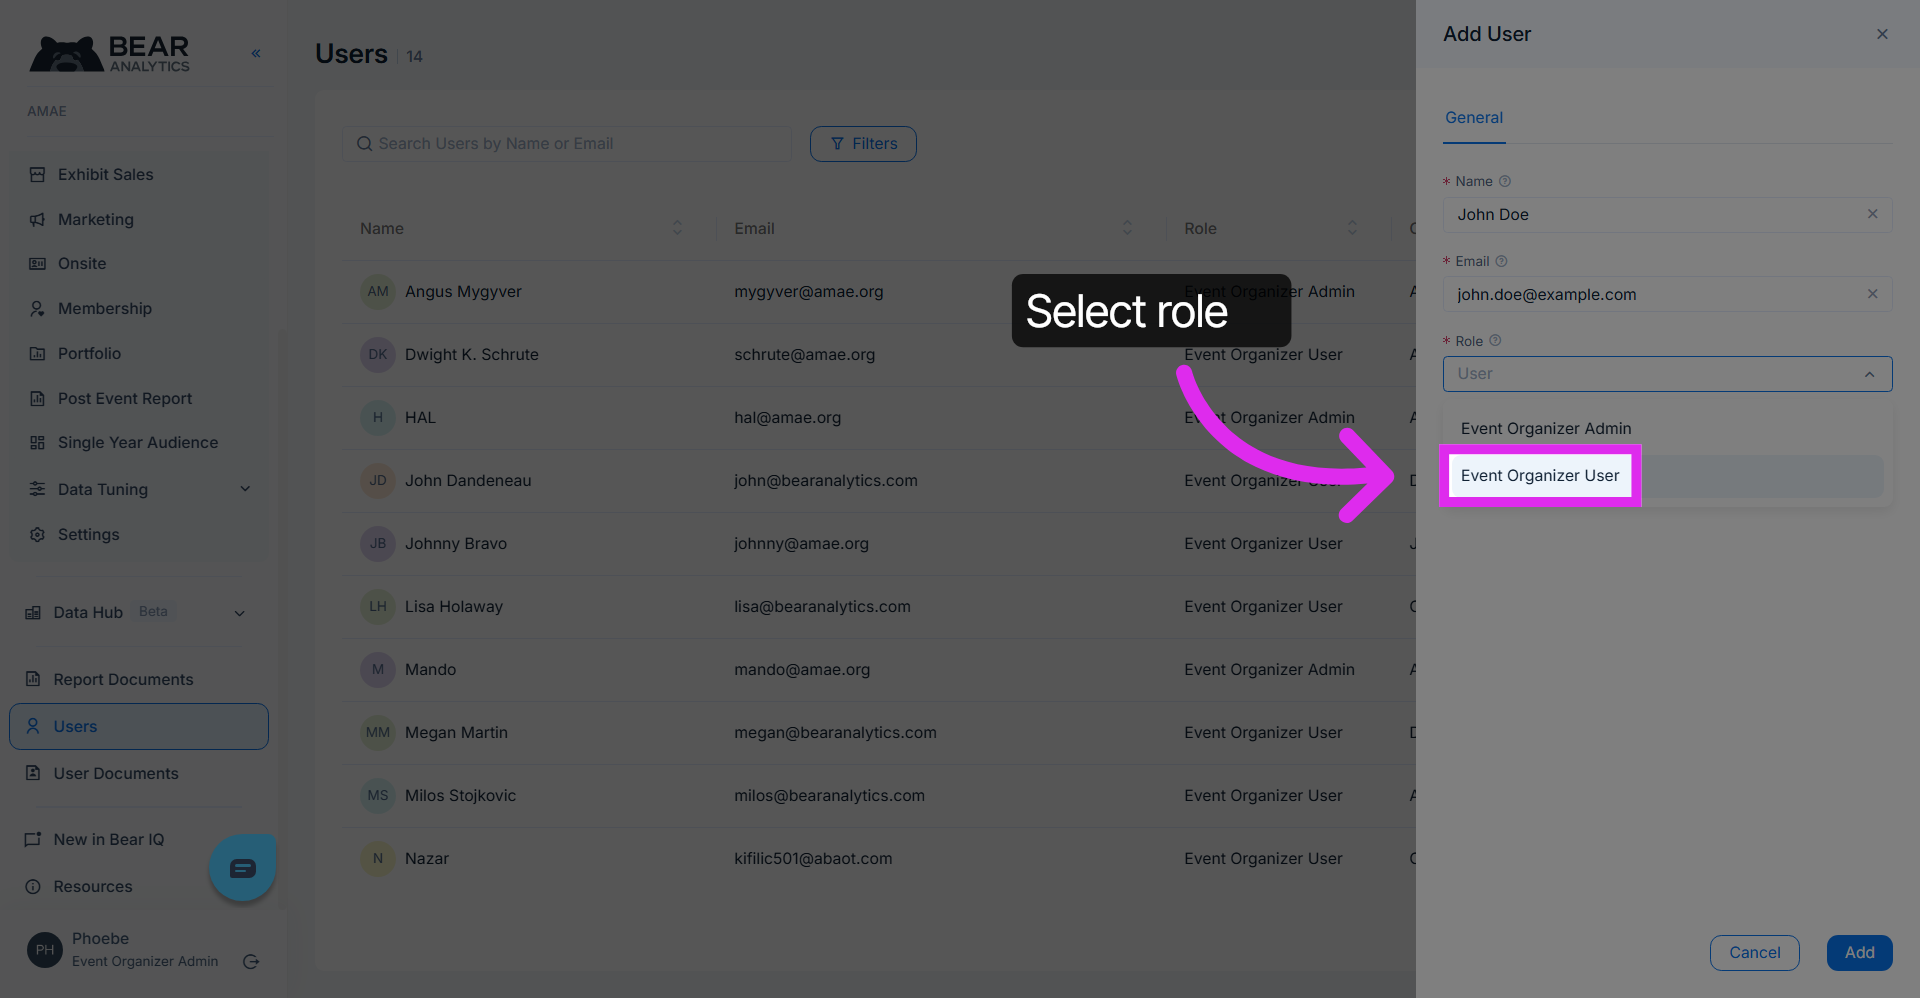
5. Assign User Role
Select "Event Organizer User" to assign this role to the user and click Add.
6. Advance to Role Settings
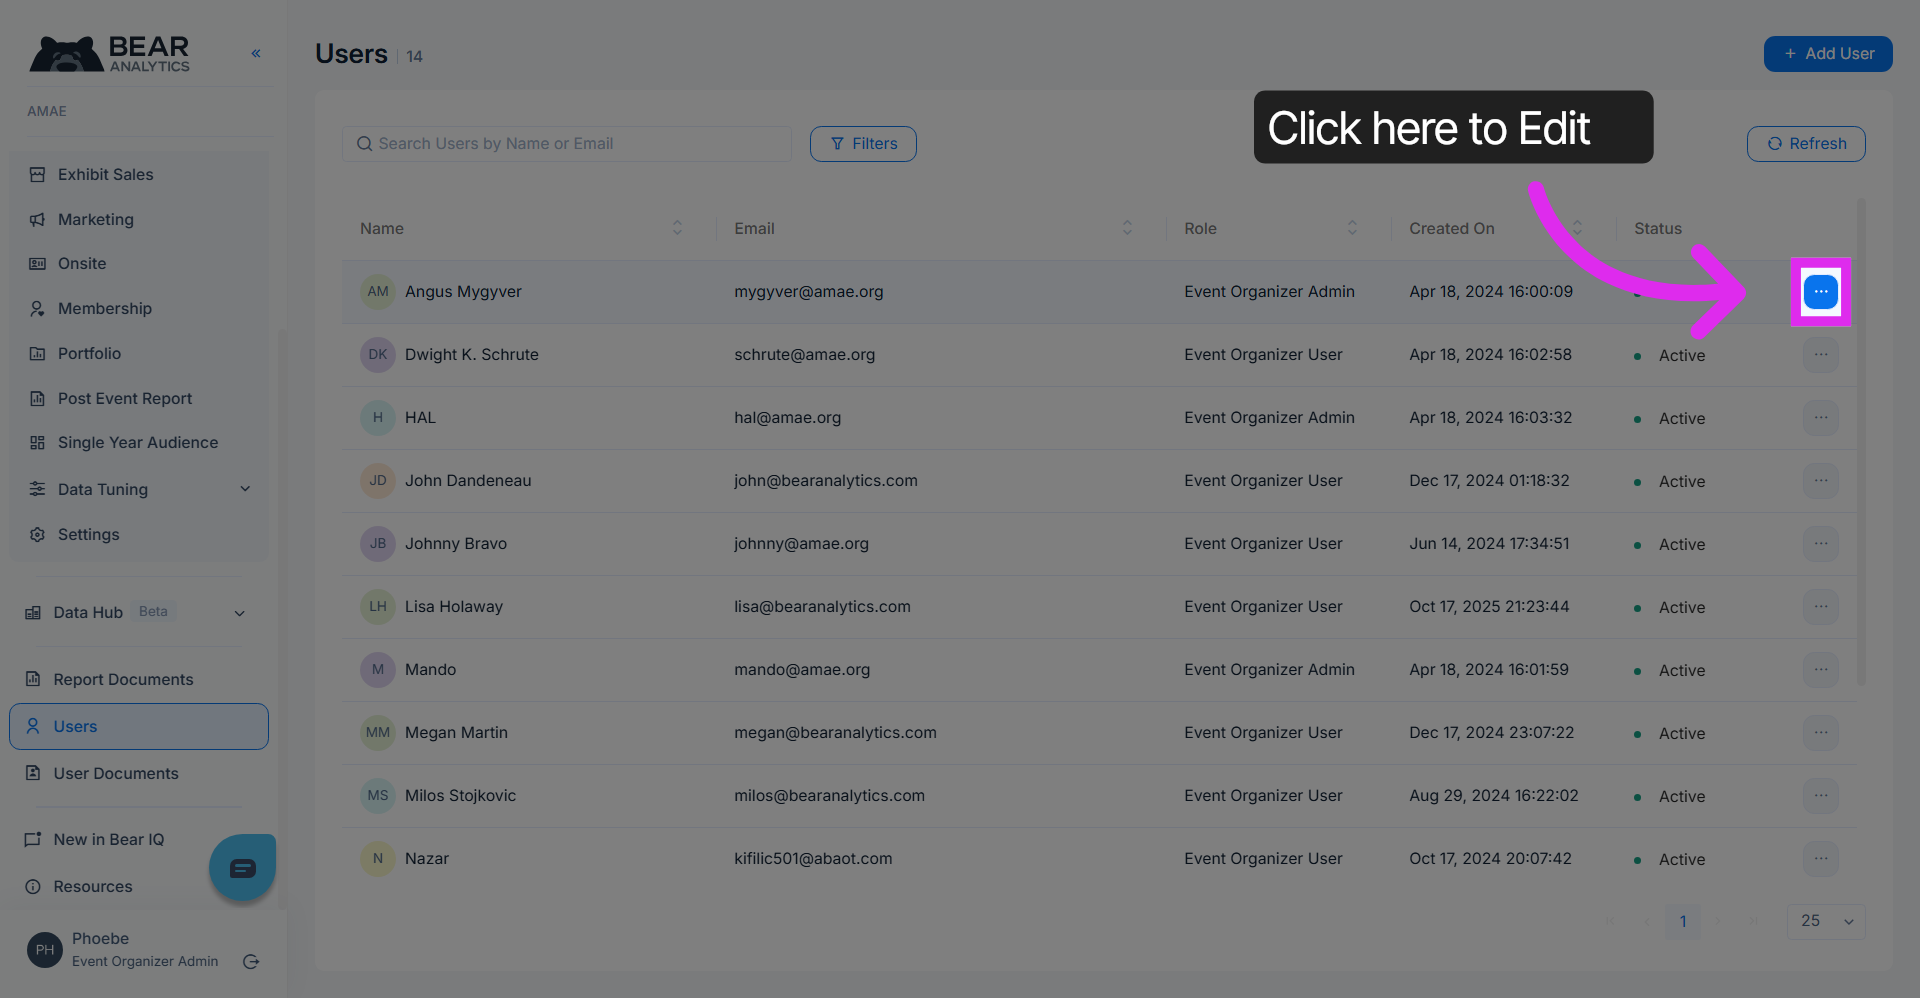
To edit or delete a user, click the three dots next to the user's name
7. Edit User Settings
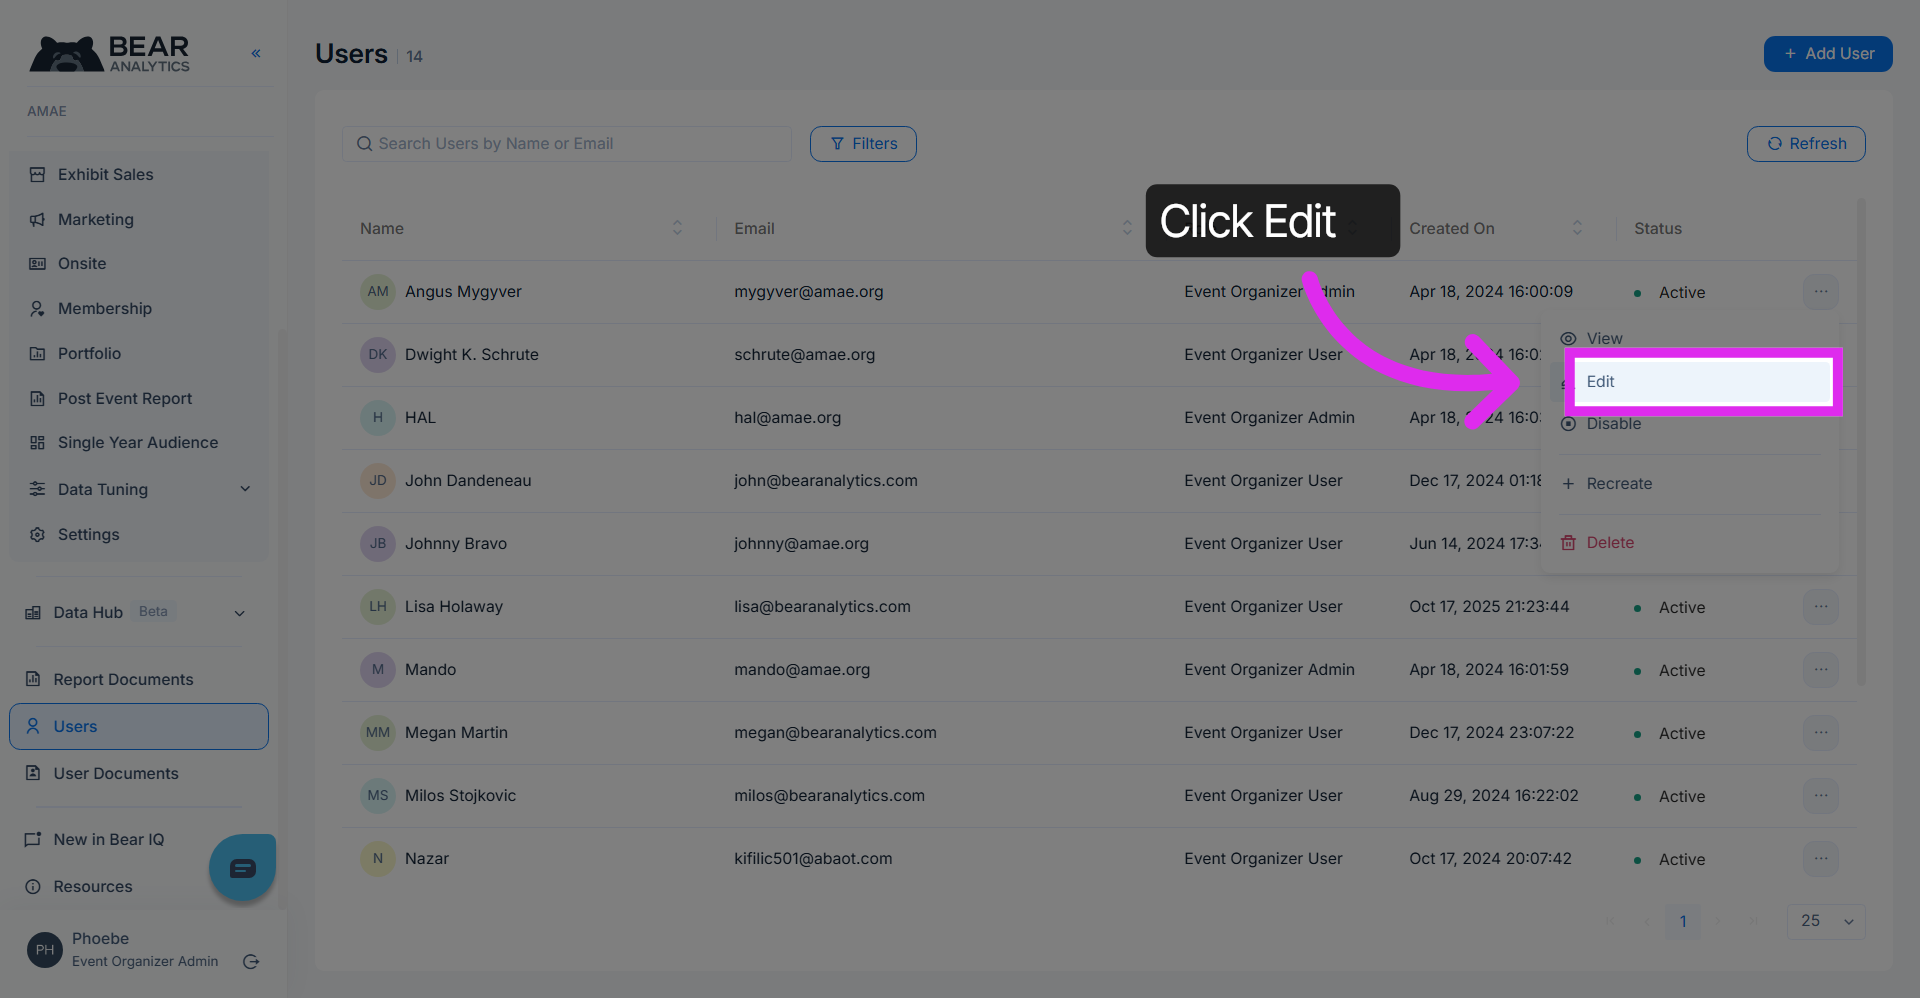
Click "Edit" to modify the user's settings and permissions.
8. Reassign User Role
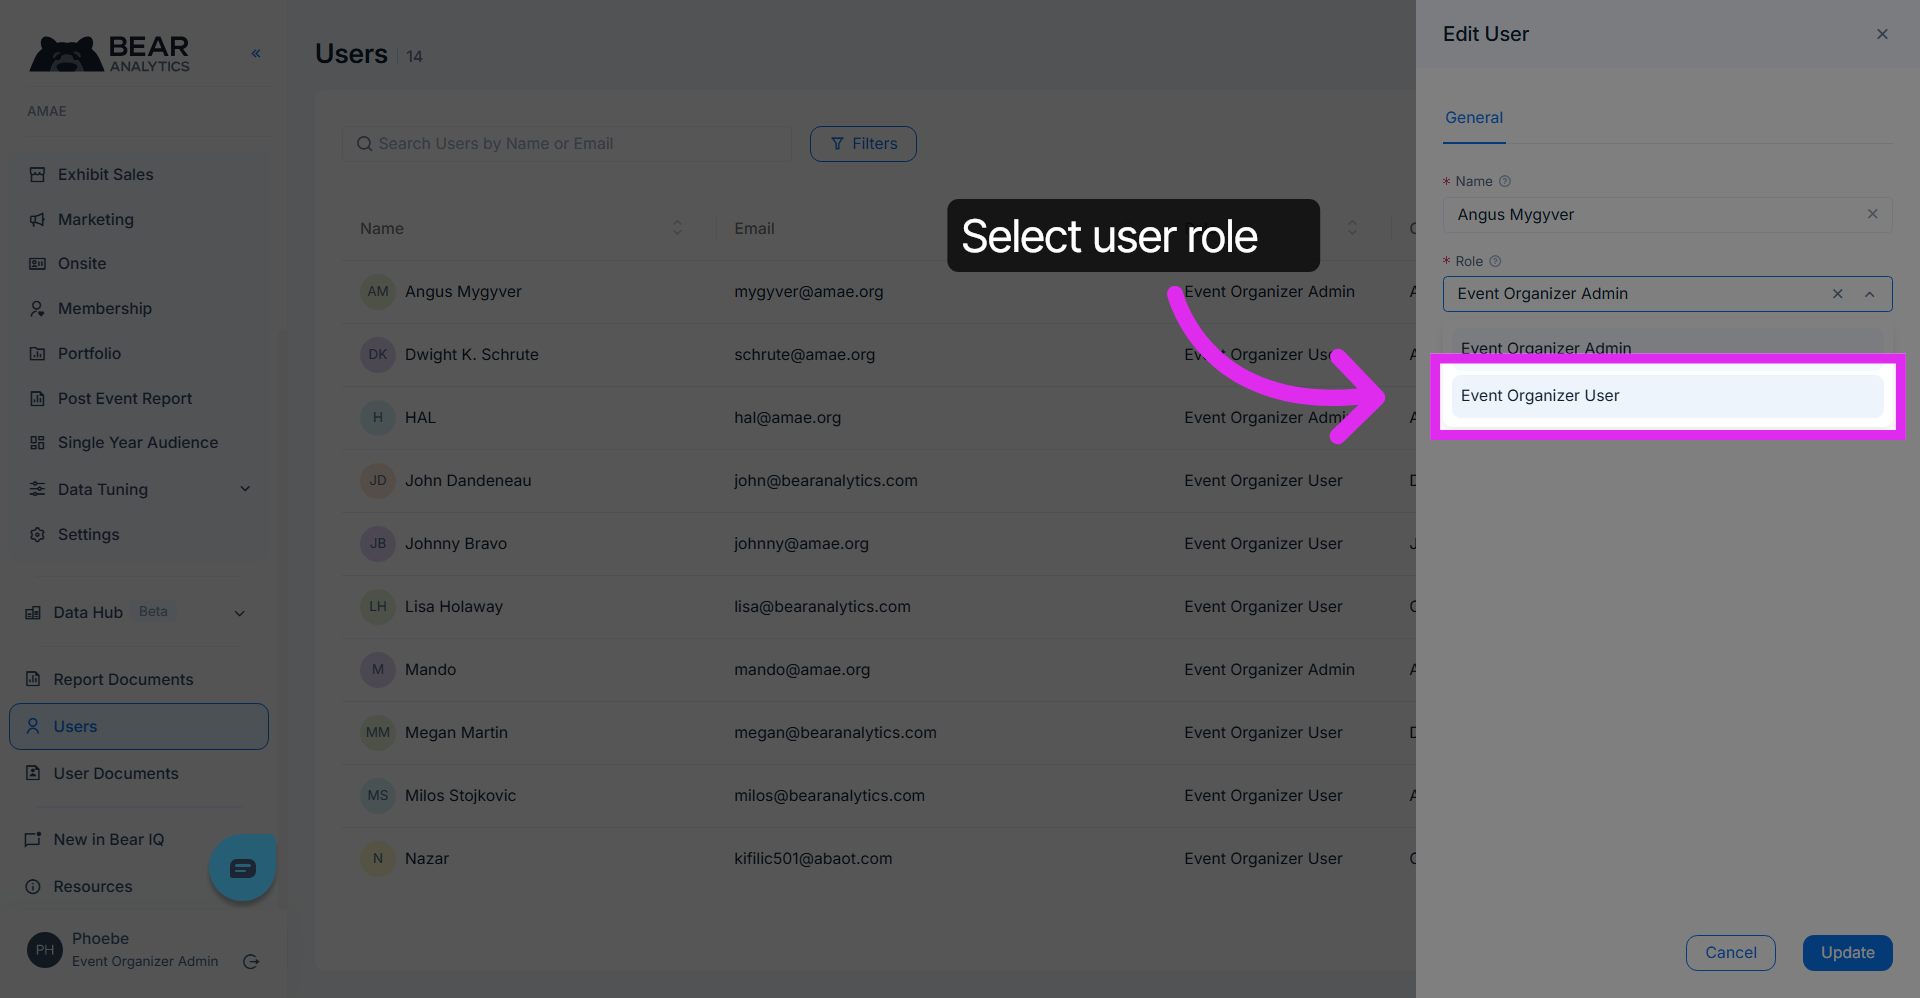
Here, you can change the user's details including the assigned role and click update.
You have successfully managed user roles and settings in Bear Analytics by adding users and assigning roles. Continue exploring additional features to optimize your user management experience.