
This tutorial guides you through uploading documents and generating detailed reports in Bear Analytics.
Login to your Bear IQ Dashboard at app.beariq.com
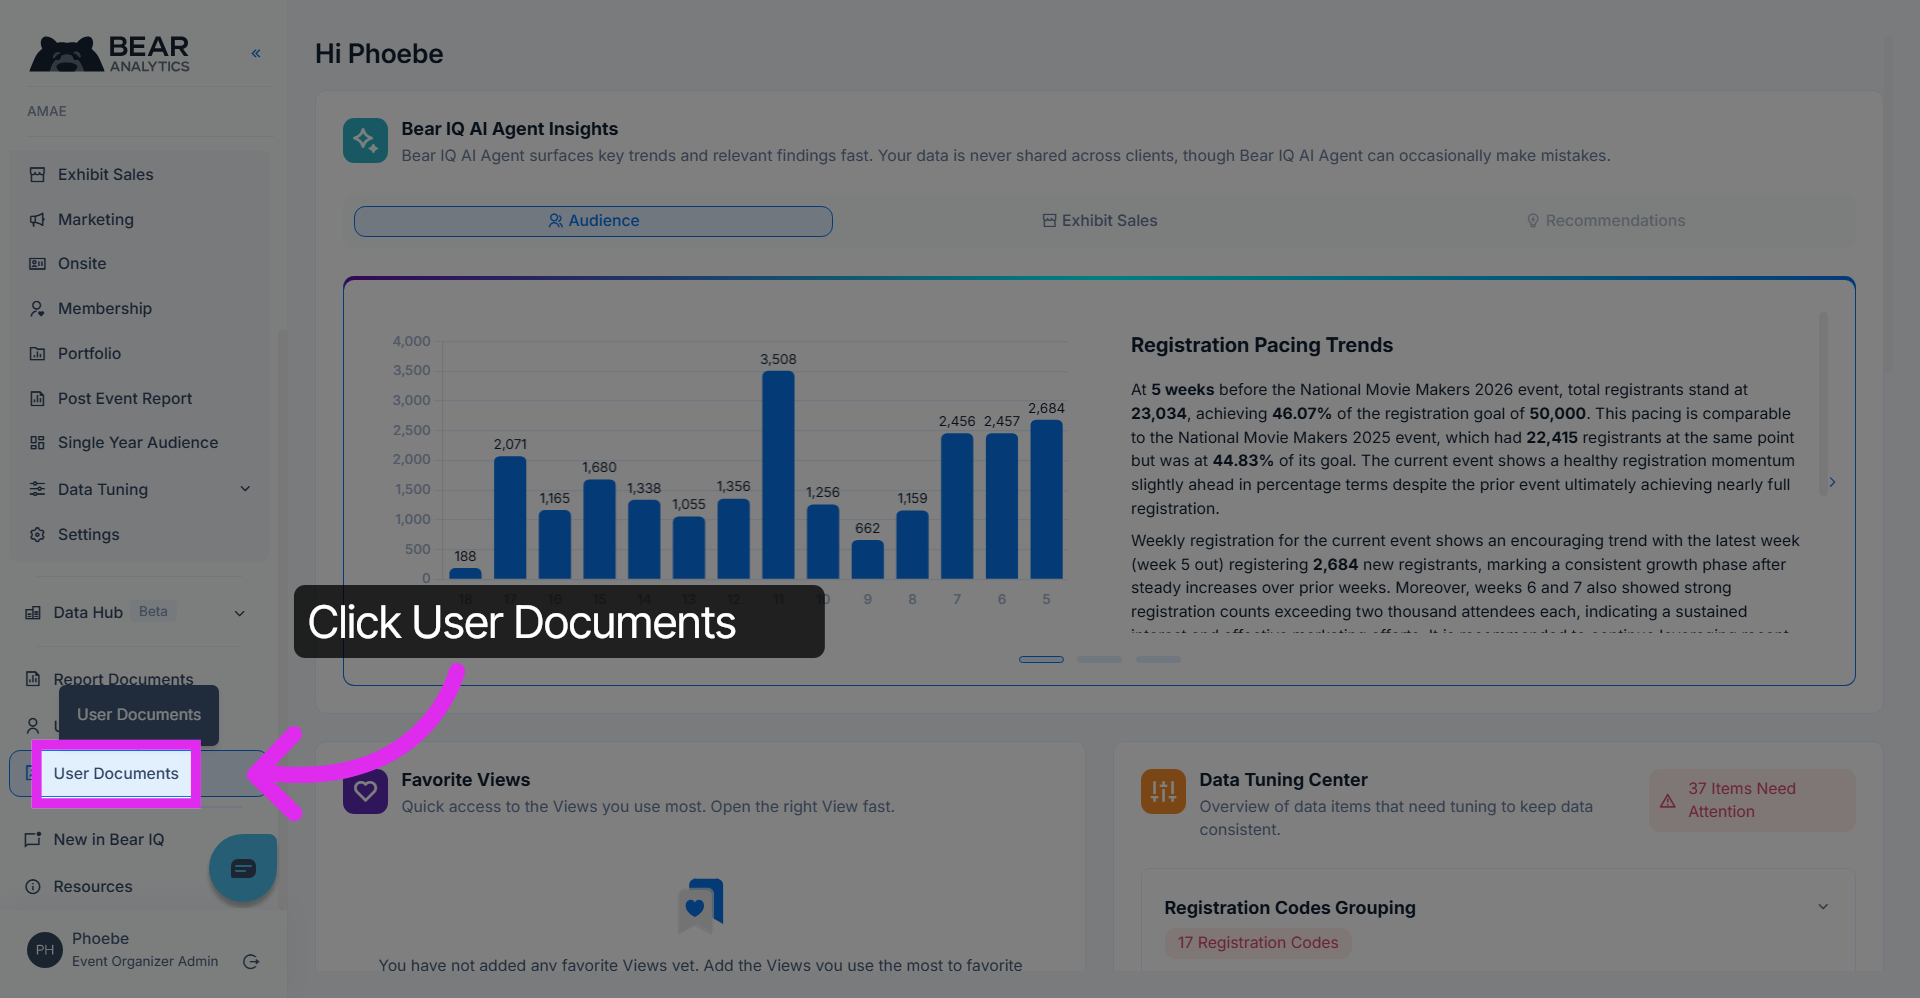
1. Open User Documents Section
To upload user documents in Bear IQ, simply head over to the user documents tab
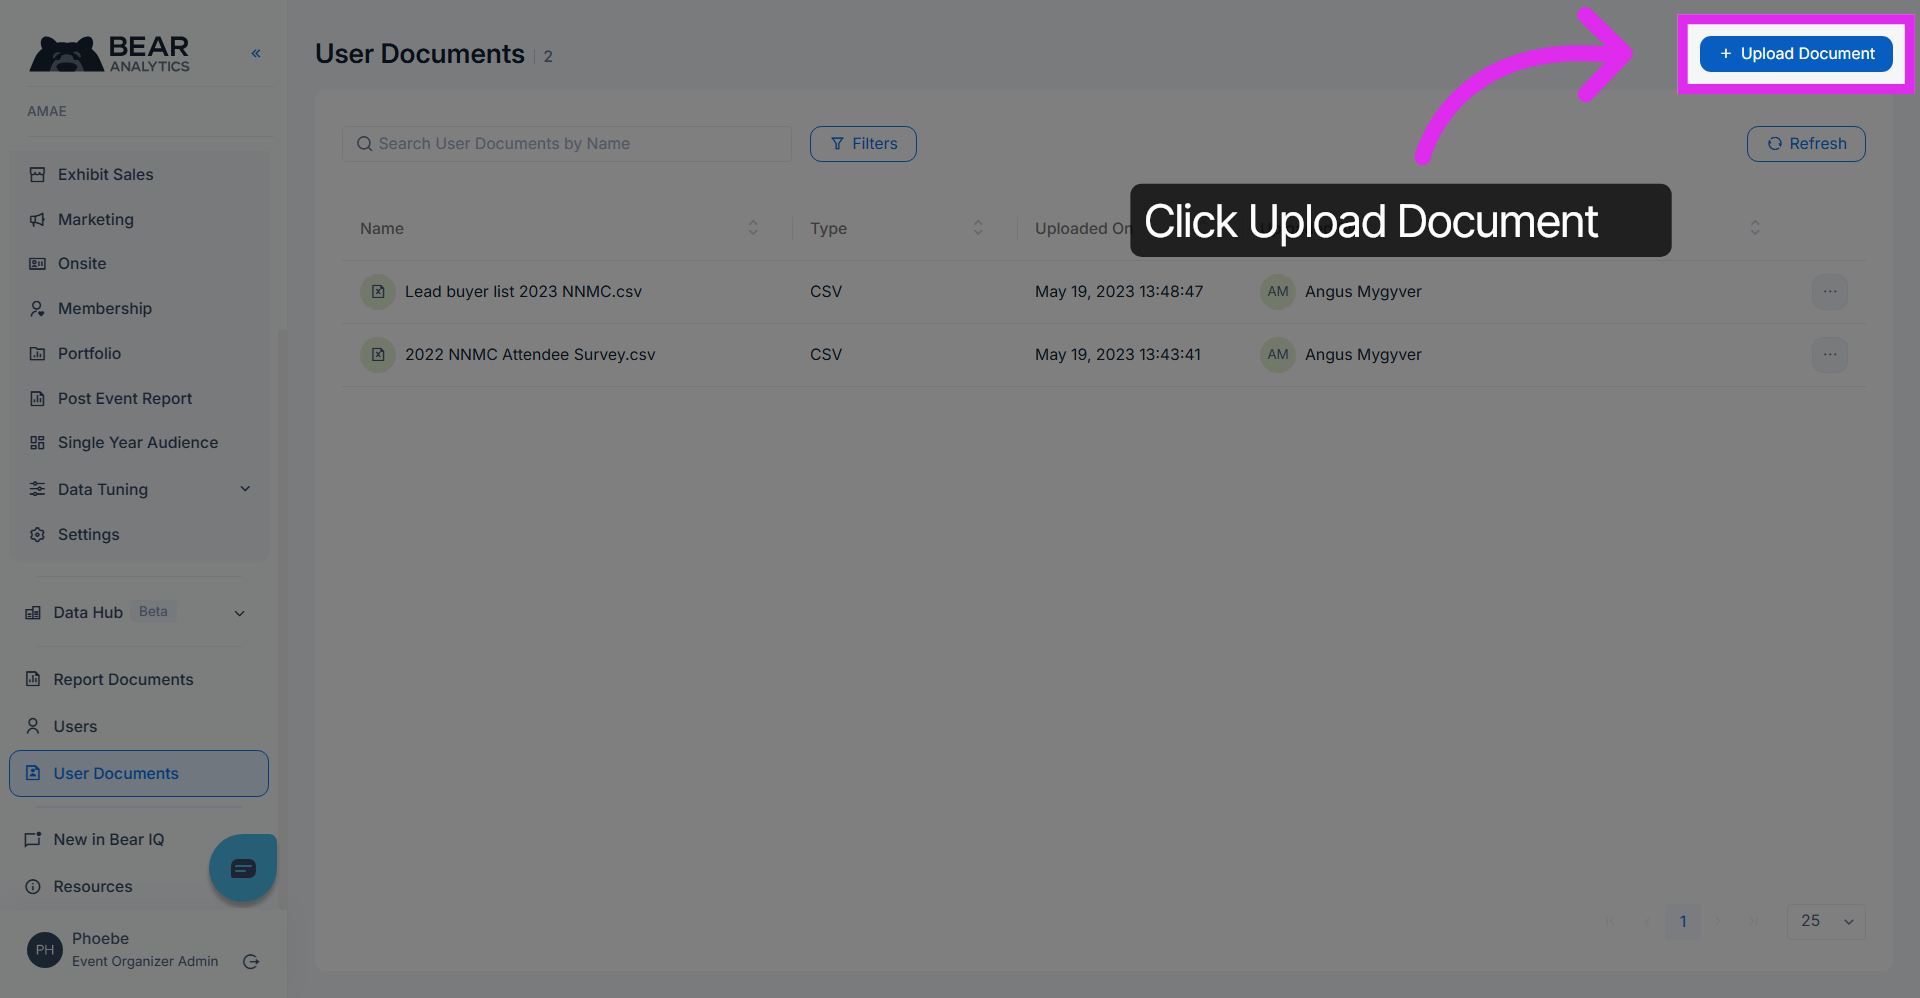
2. Initiate Document Upload
Click "Upload Document"
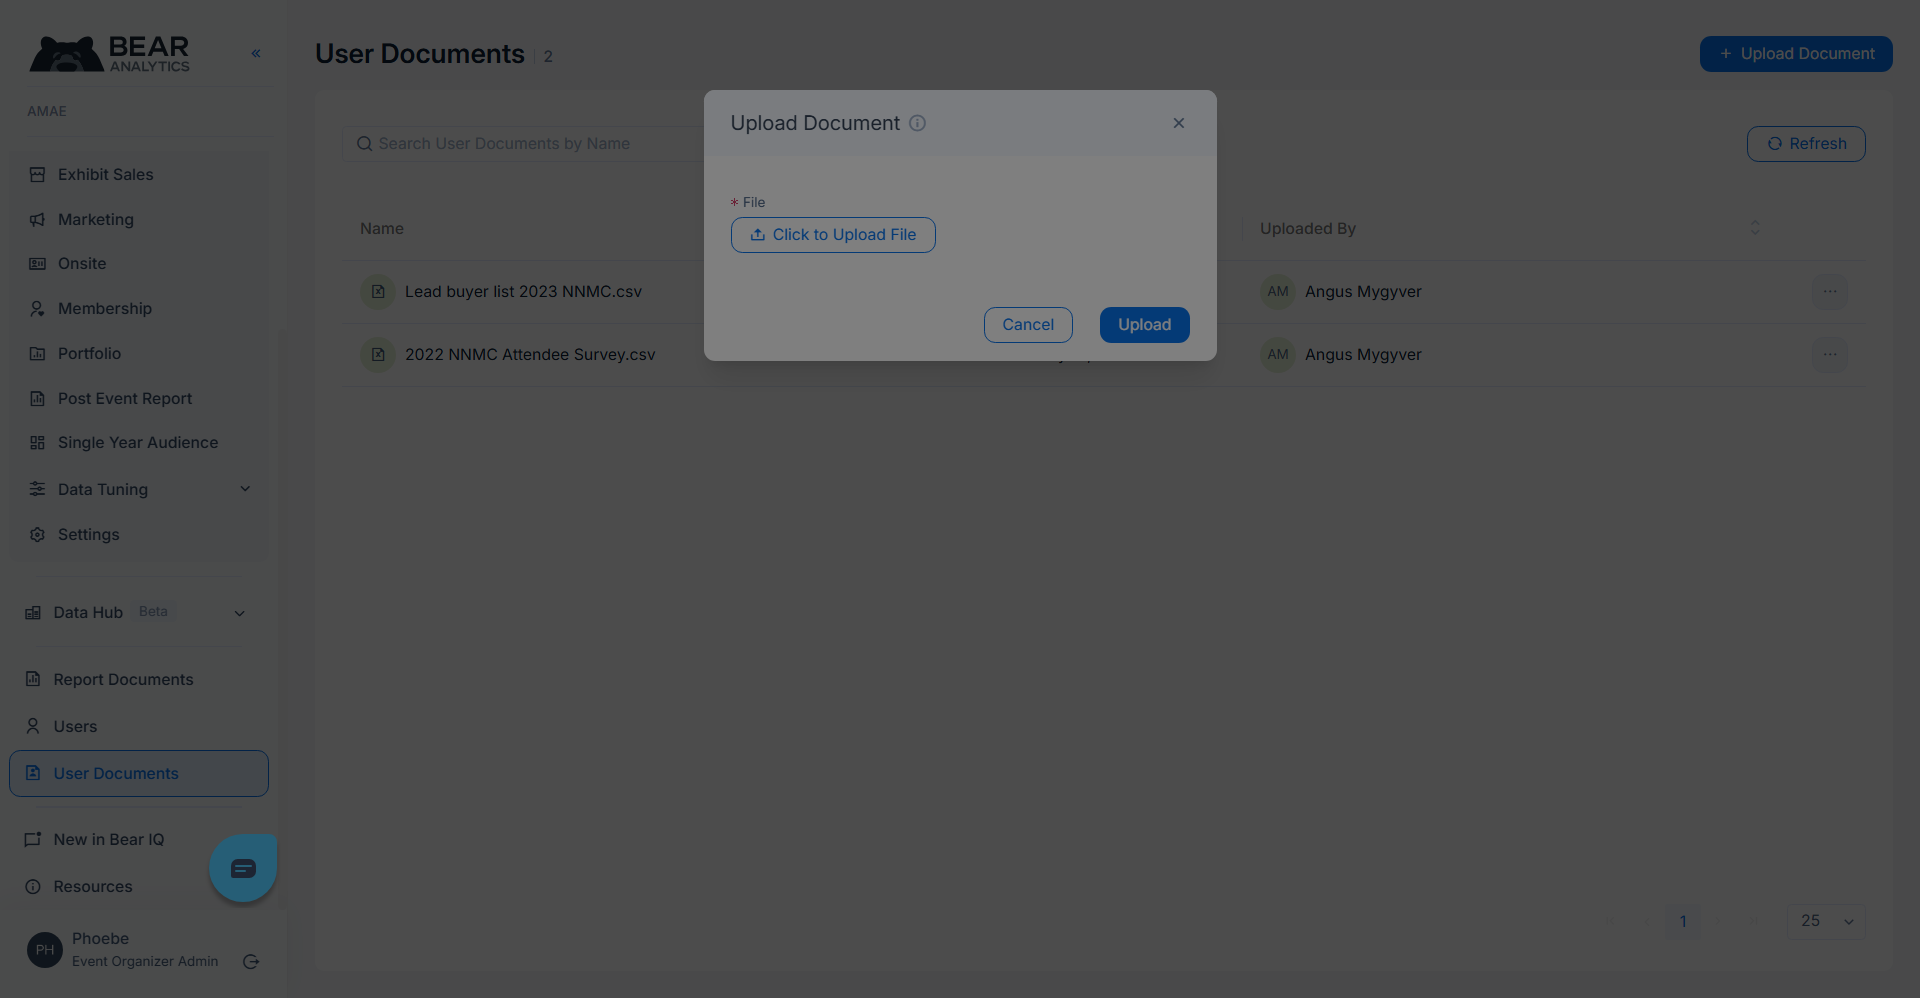
3. Upload File
Select a file from your local drive, and click on 'upload'. The uploaded file will now be visible in the user document list.
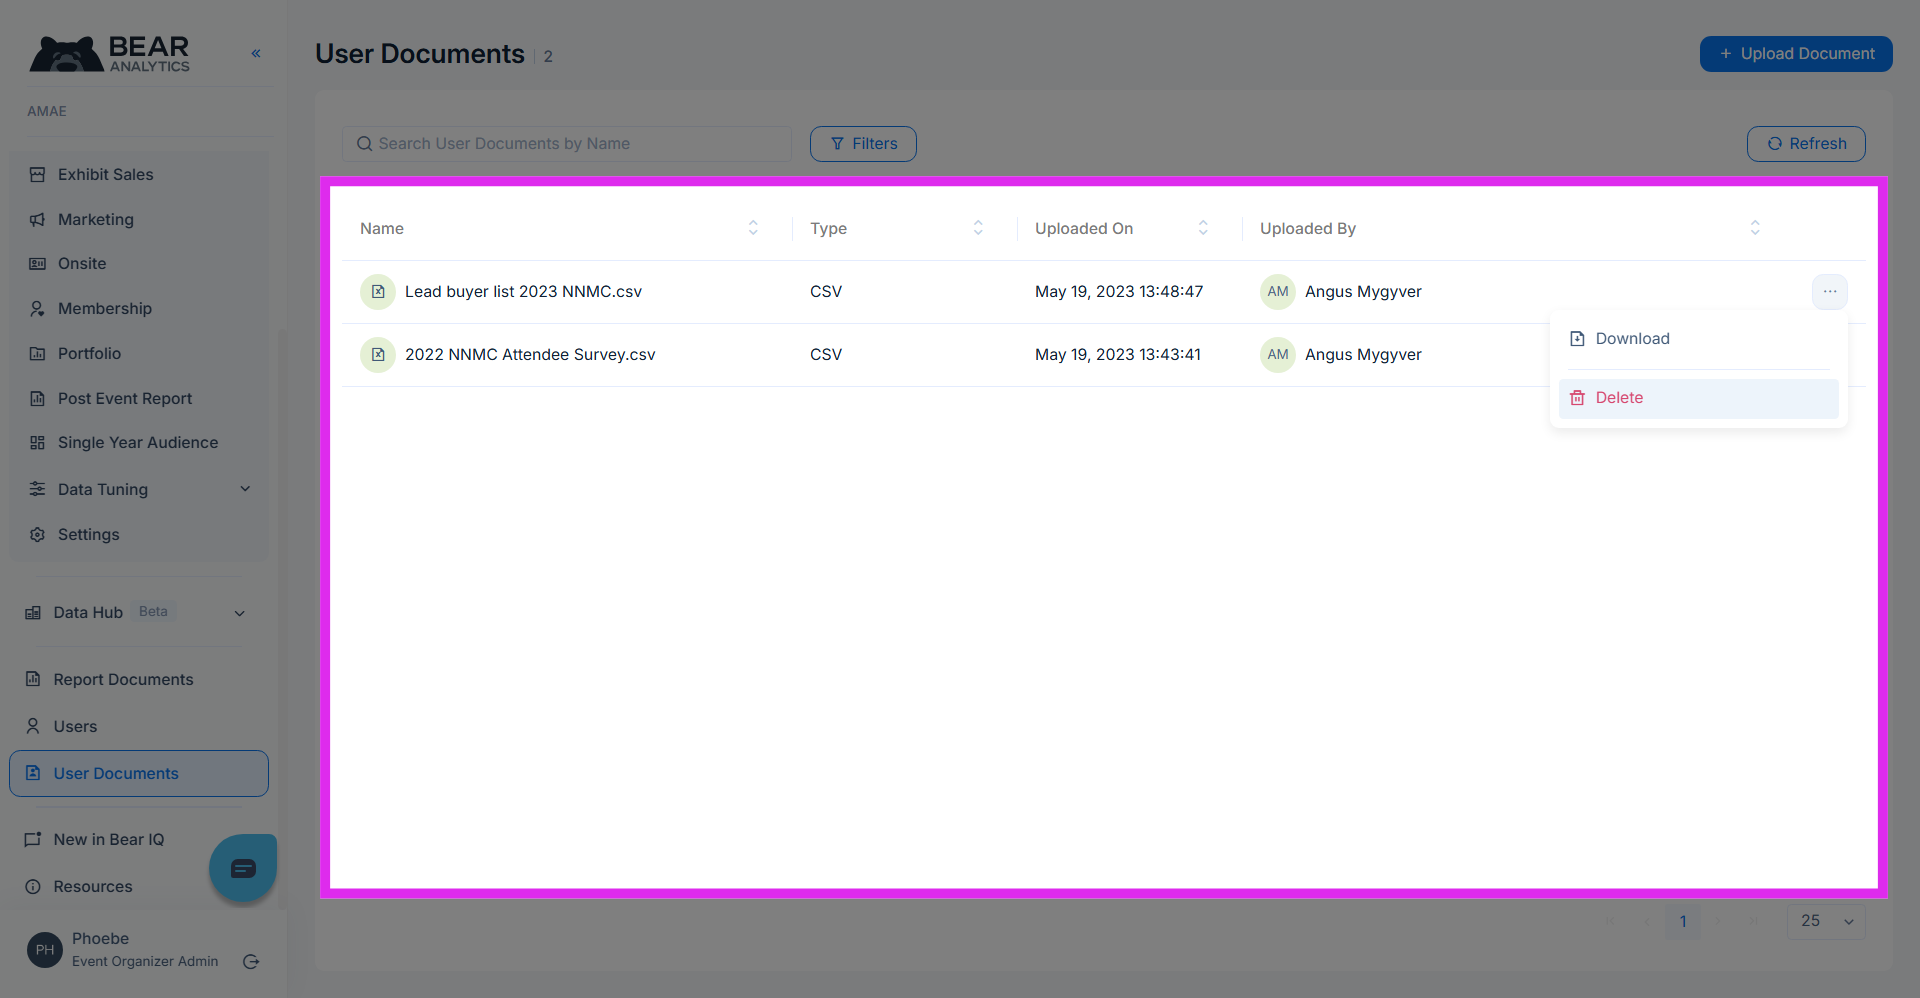
4. Download or Delete files
You can also download or delete a file by clicking on the three dots next to the file name and selecting "download' or 'delete'.
5. Access Report Documents
The Report documents tab houses all of the reports that you generate from Bear IQ. To generate a new report, click on "report documents" in your left hand menu.
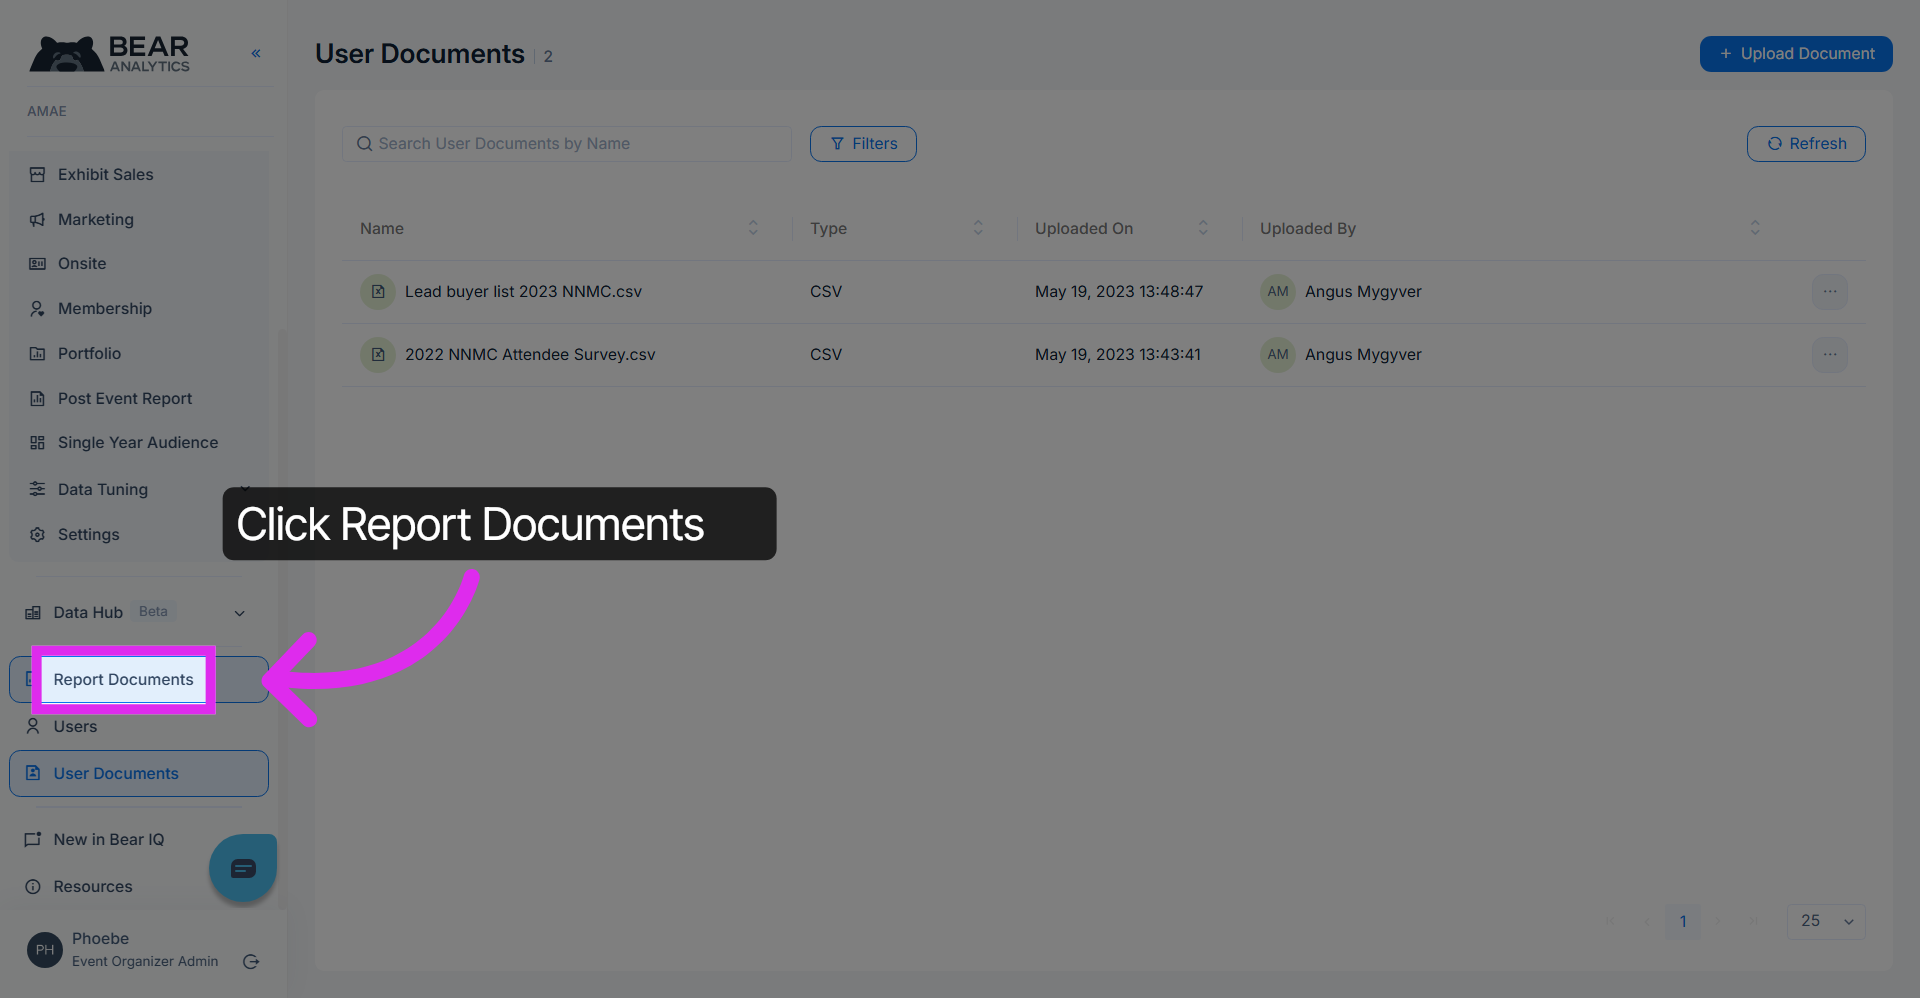
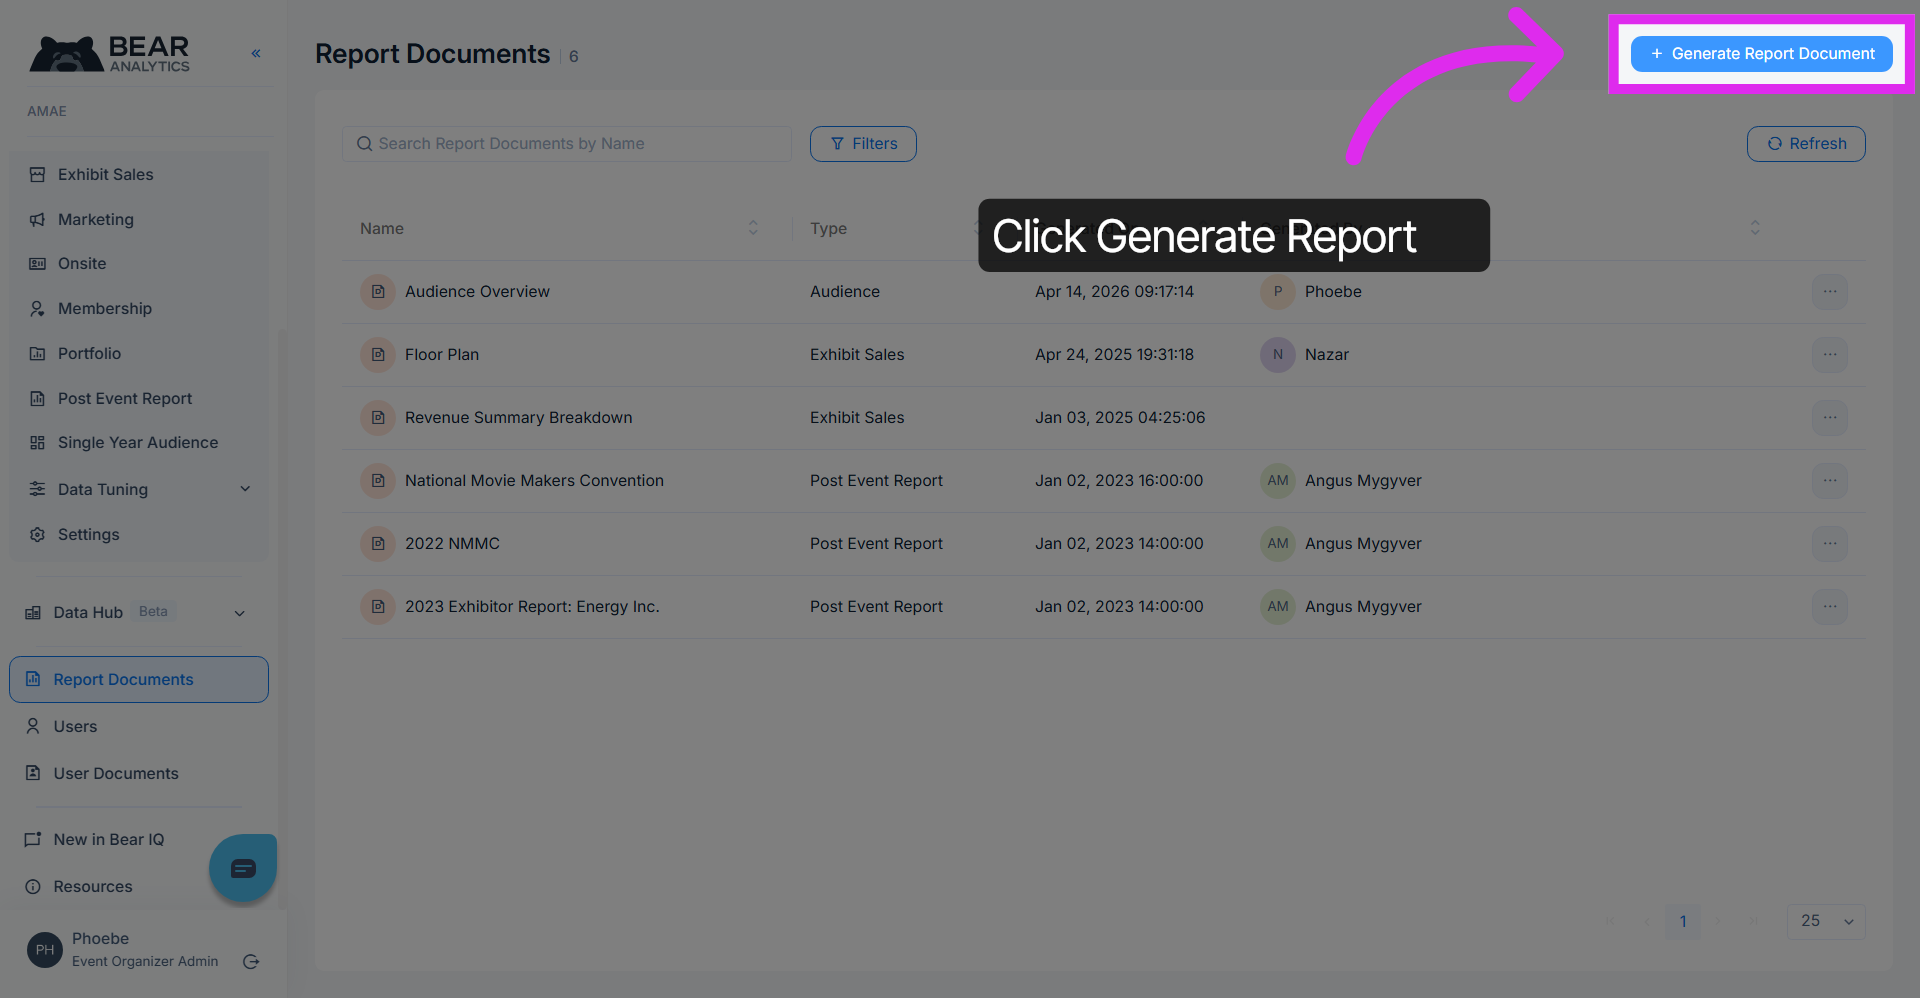
6. Start Report Generation
Click "Generate Report Document" to initiate the creation of a new report from your module.
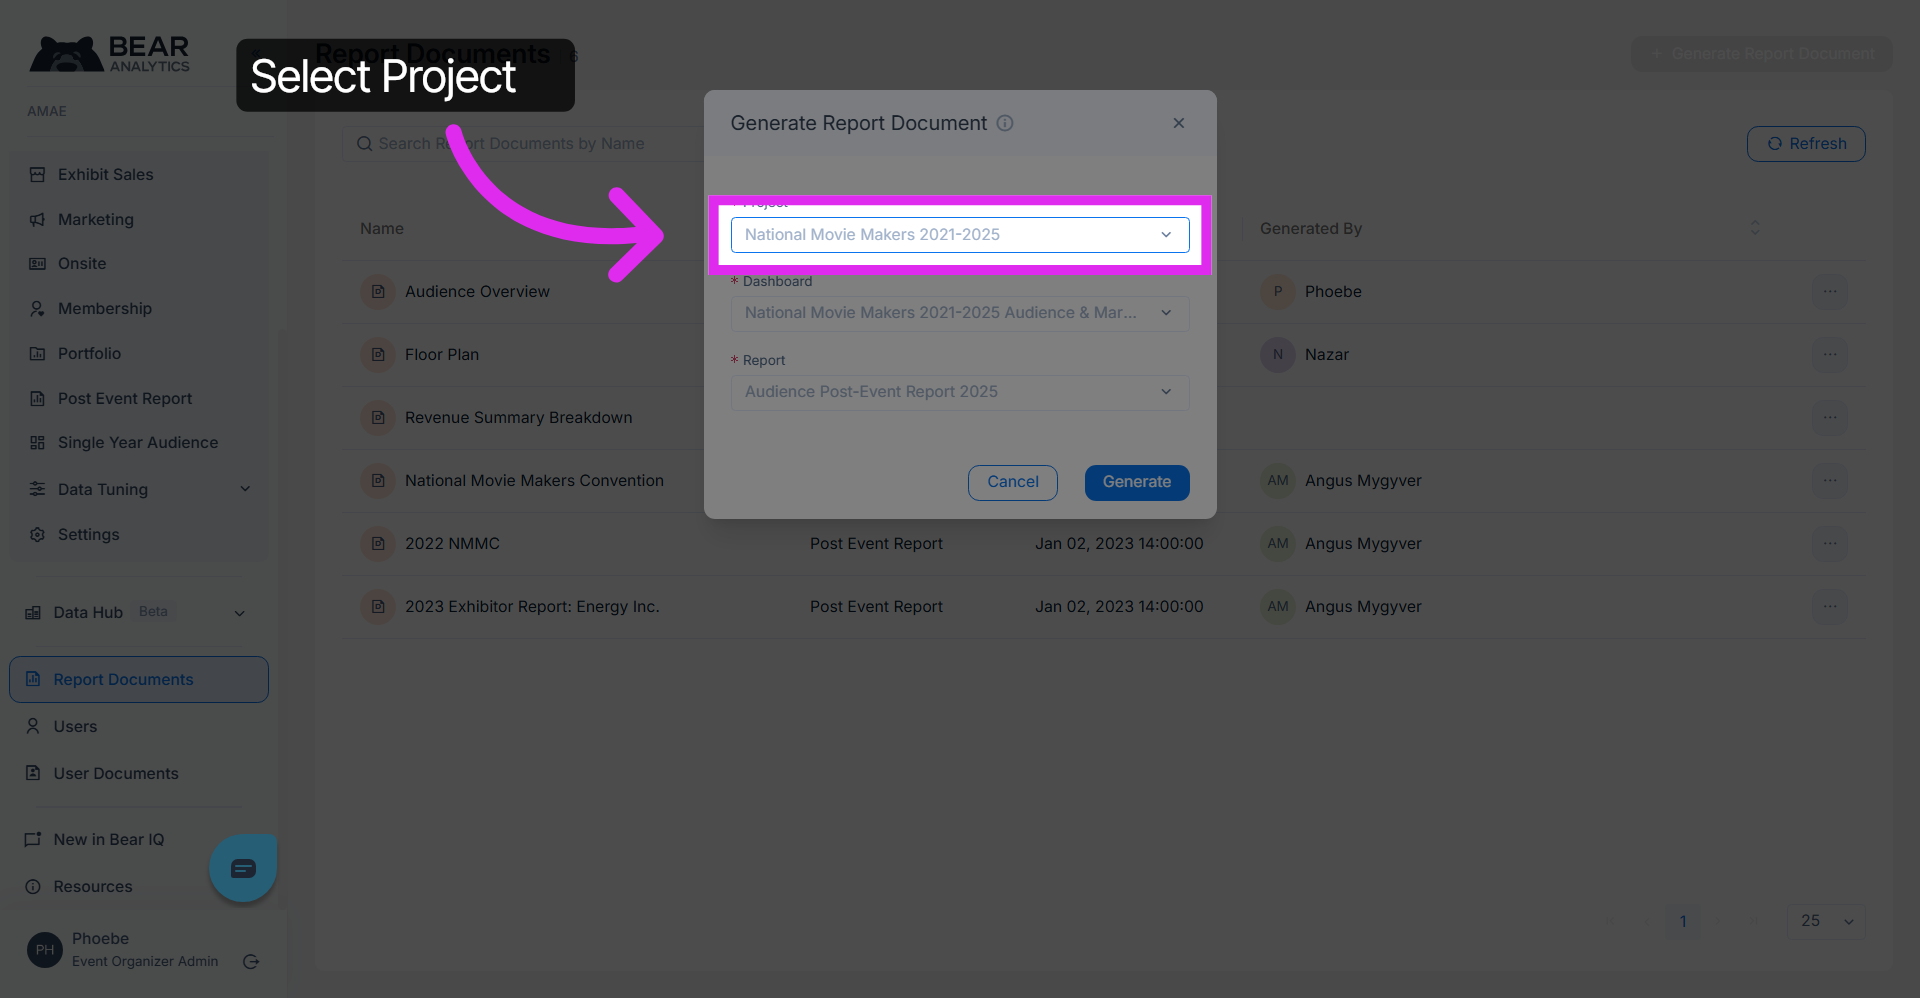
7. Select Project
Select the event project you'd like to use for the report.
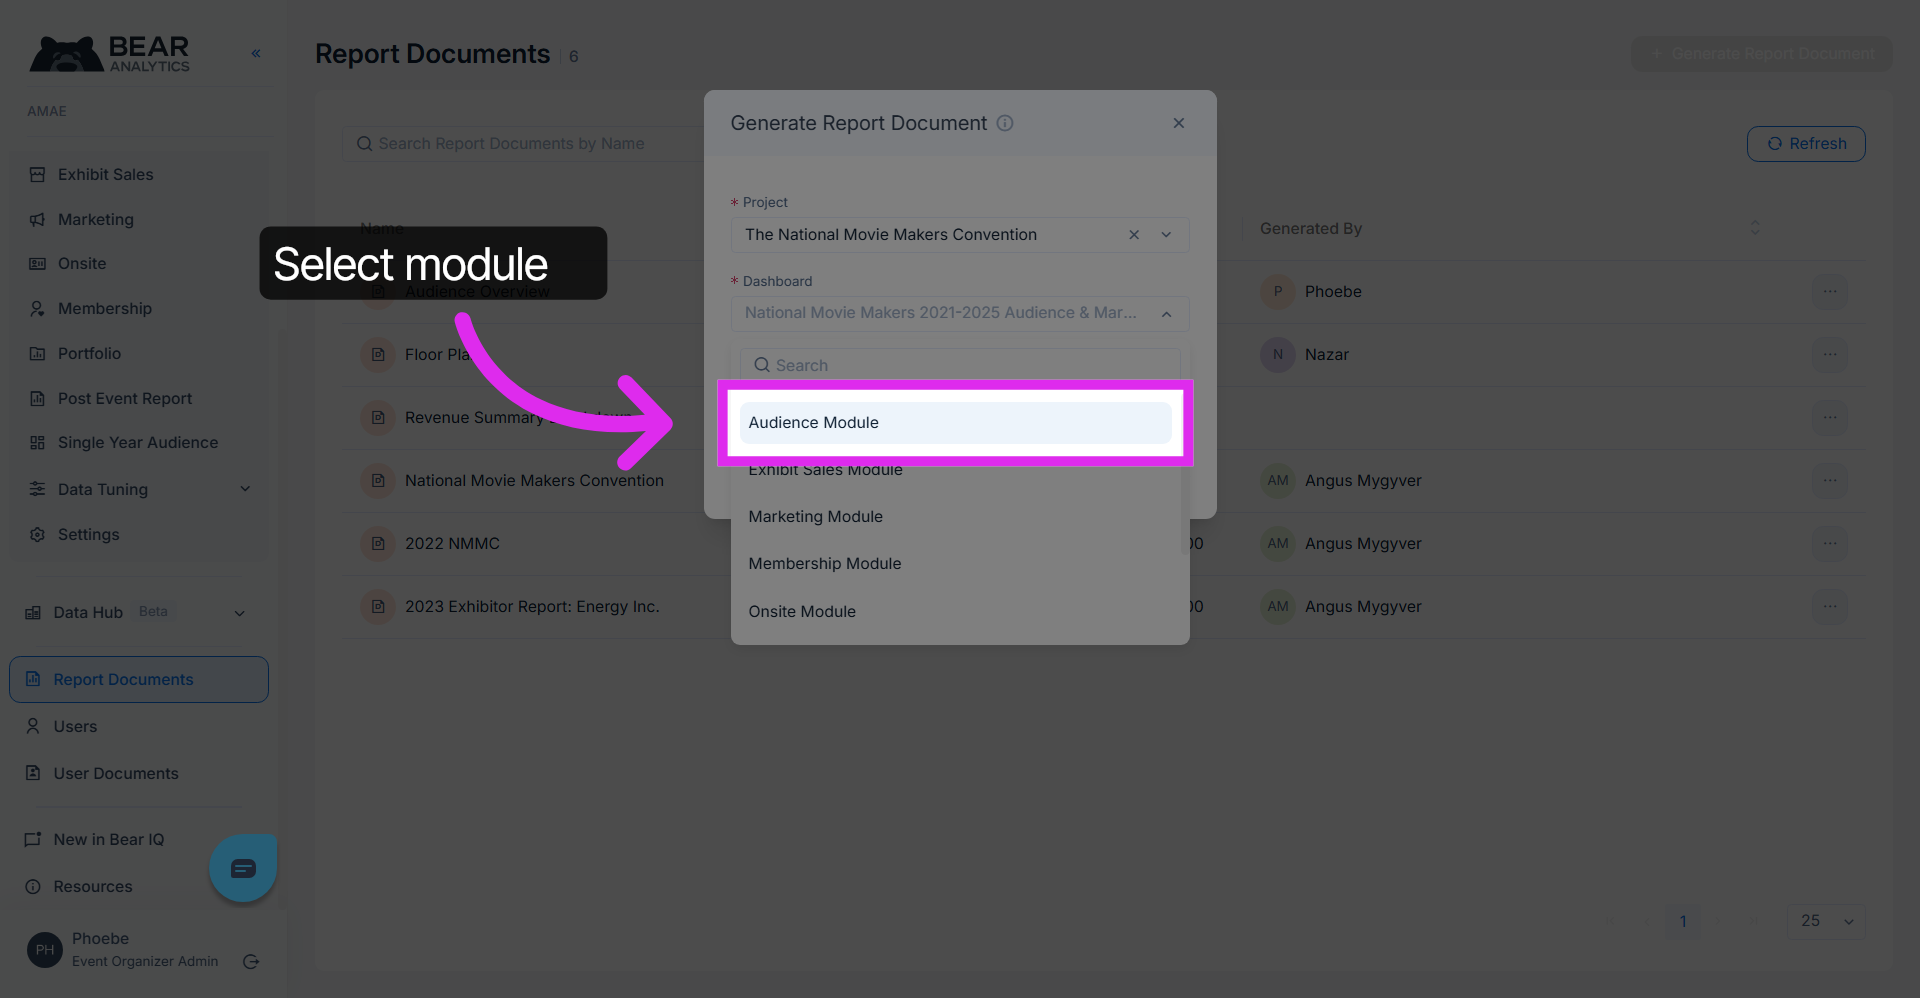
8. Select Module
Next, if you have multiple modules deployed, you need to select the module from which to generate your report. Let's select the audience module.
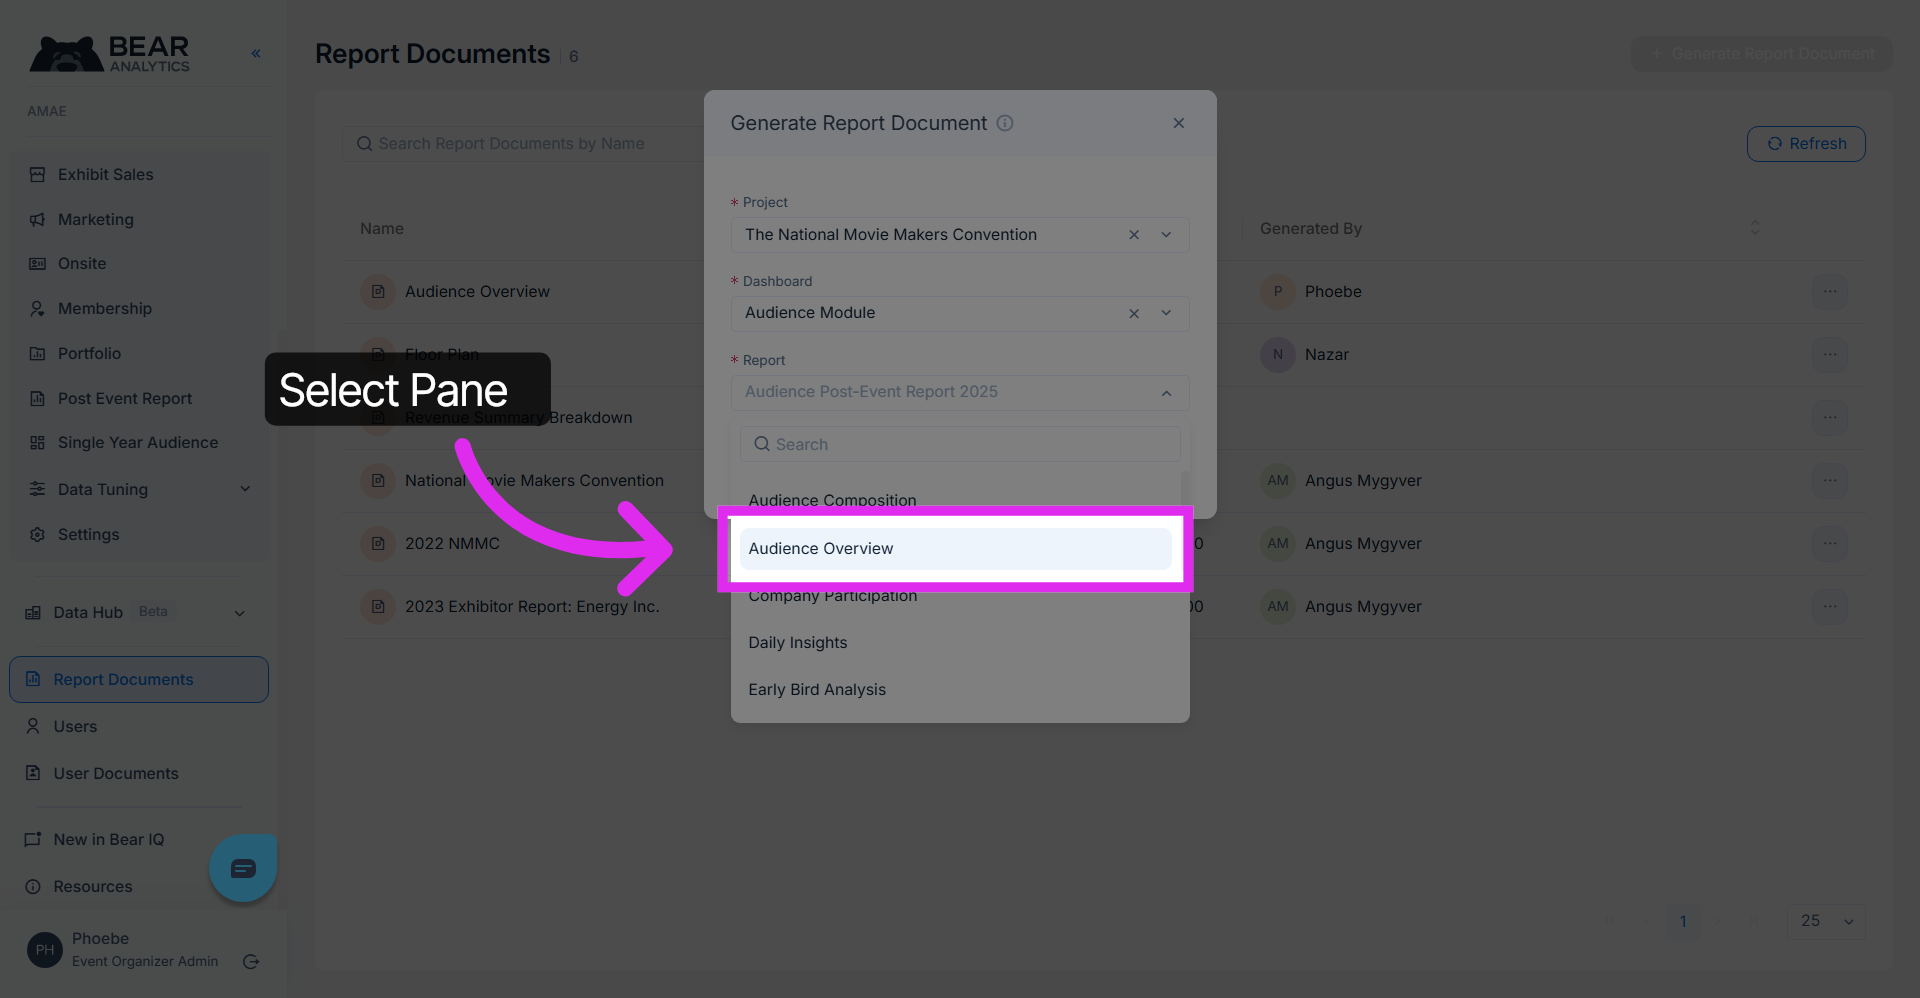
9. Select Pane
Select the specific pane within the audience module that you'd like the report generated for. For now, let's select the Audience overview pane.
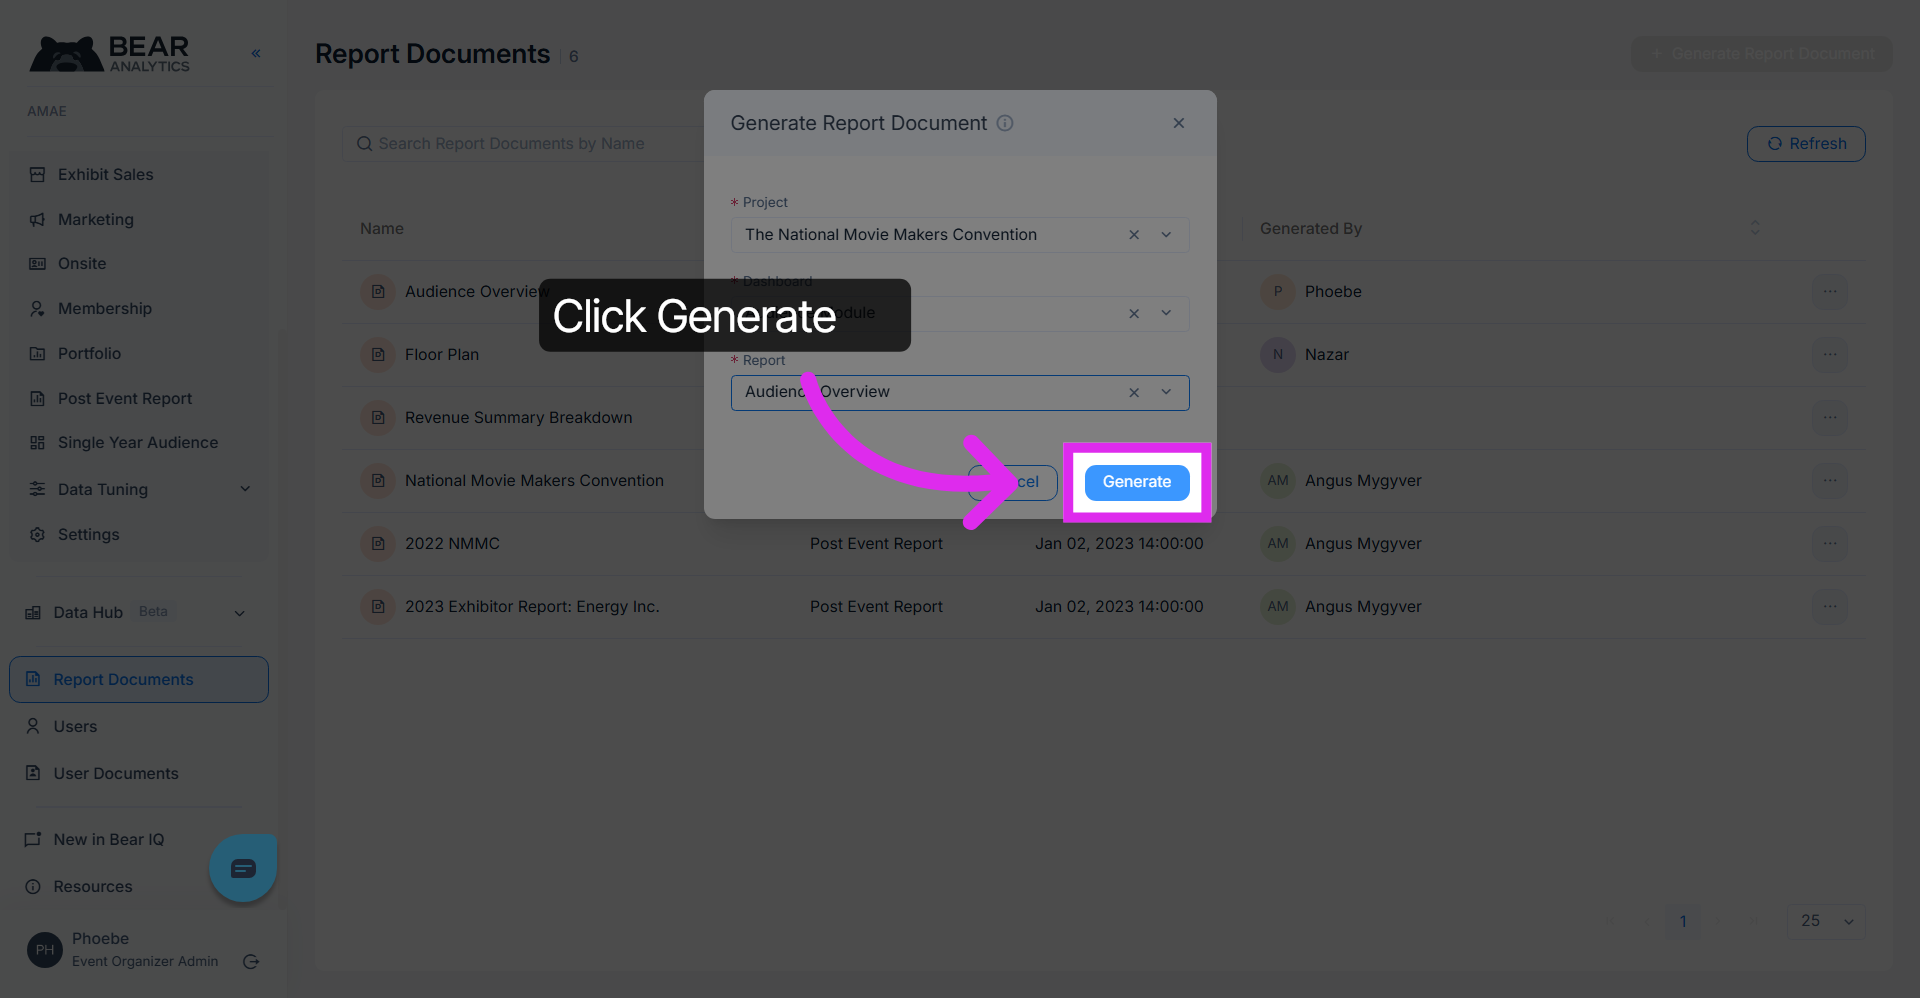
10. Generate Final Report
Click "Generate" to create the final version of the report based on your selected parameters and data.
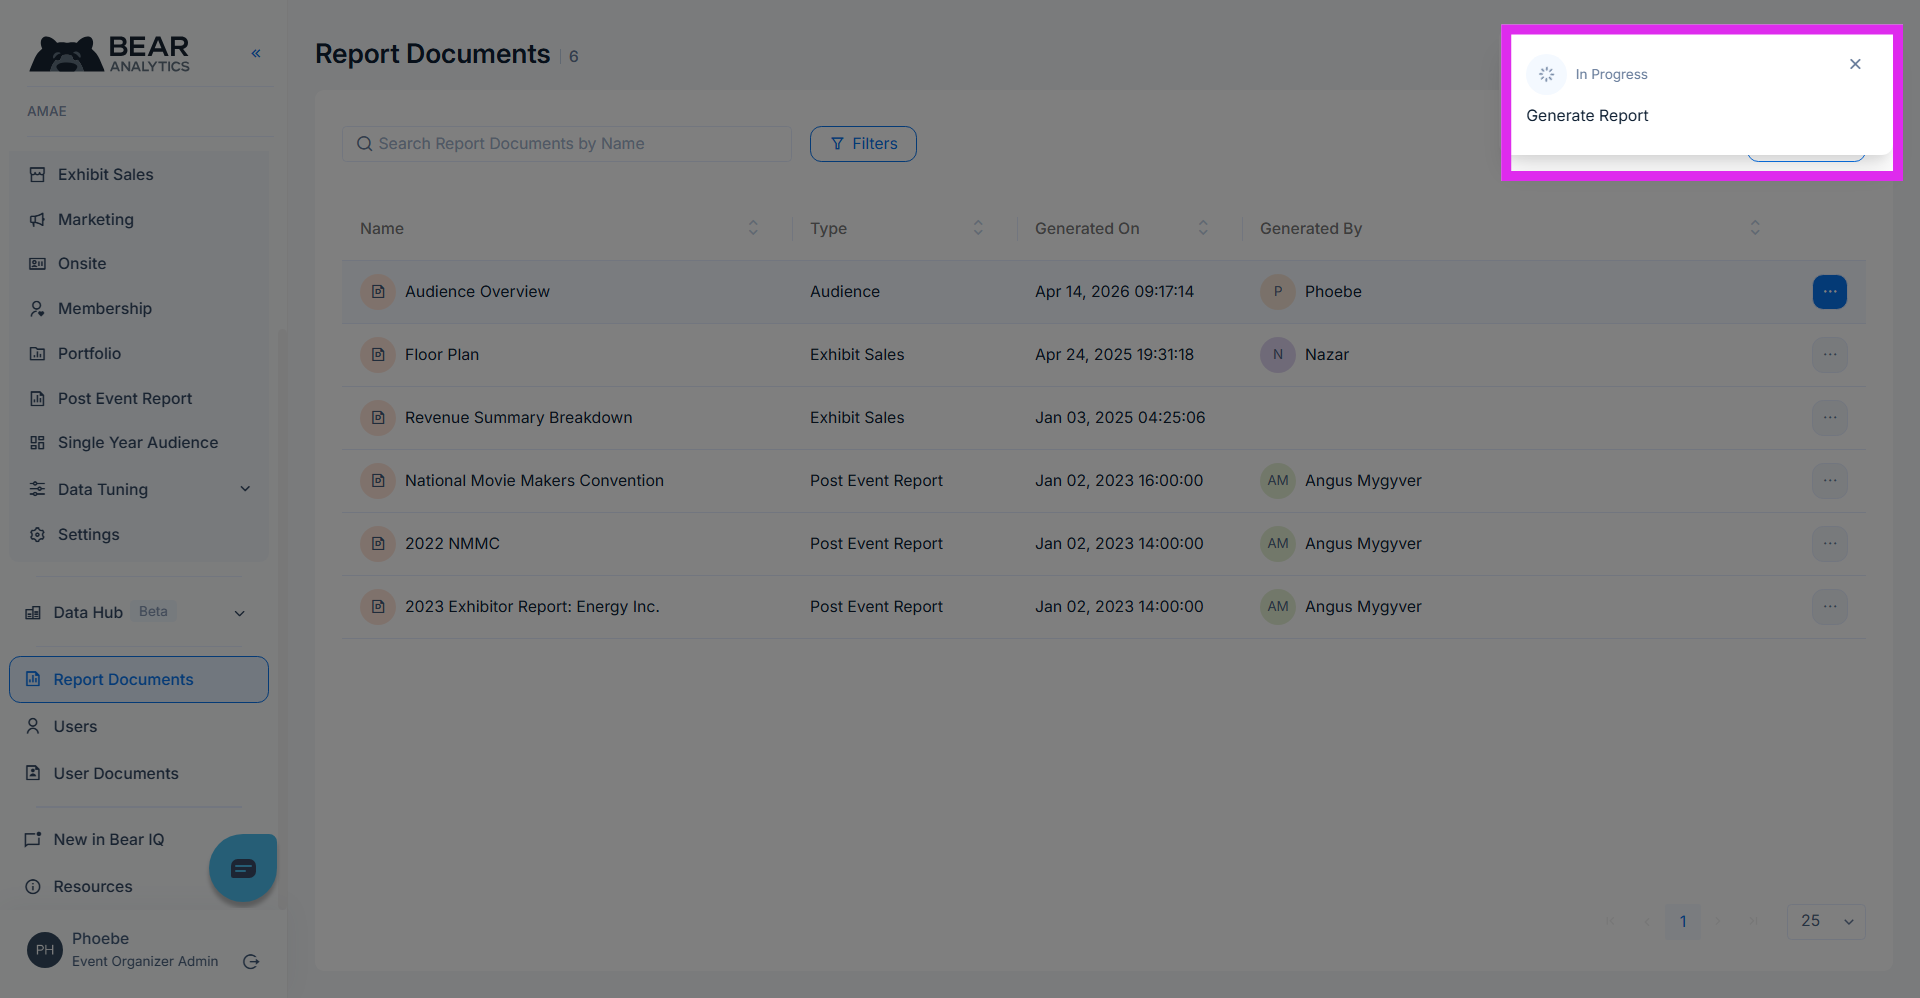
11. View & Download Report
You will notice a pop-up notification appearing in the top right corner of your screen. Once the report has been successfully generated it will be available for you to view in the report section.
You have successfully uploaded documents and generated detailed audience and marketing reports in Bear Analytics. Use these reports to analyze event data and inform future strategies.