
This tutorial guides you through configuring audience and exhibit sales goals within Bear Analytics. You will learn how to edit and save key audience and sales metrics to monitor progress effectively.
Login to your Bear IQ Dashboard at app.beariq.com
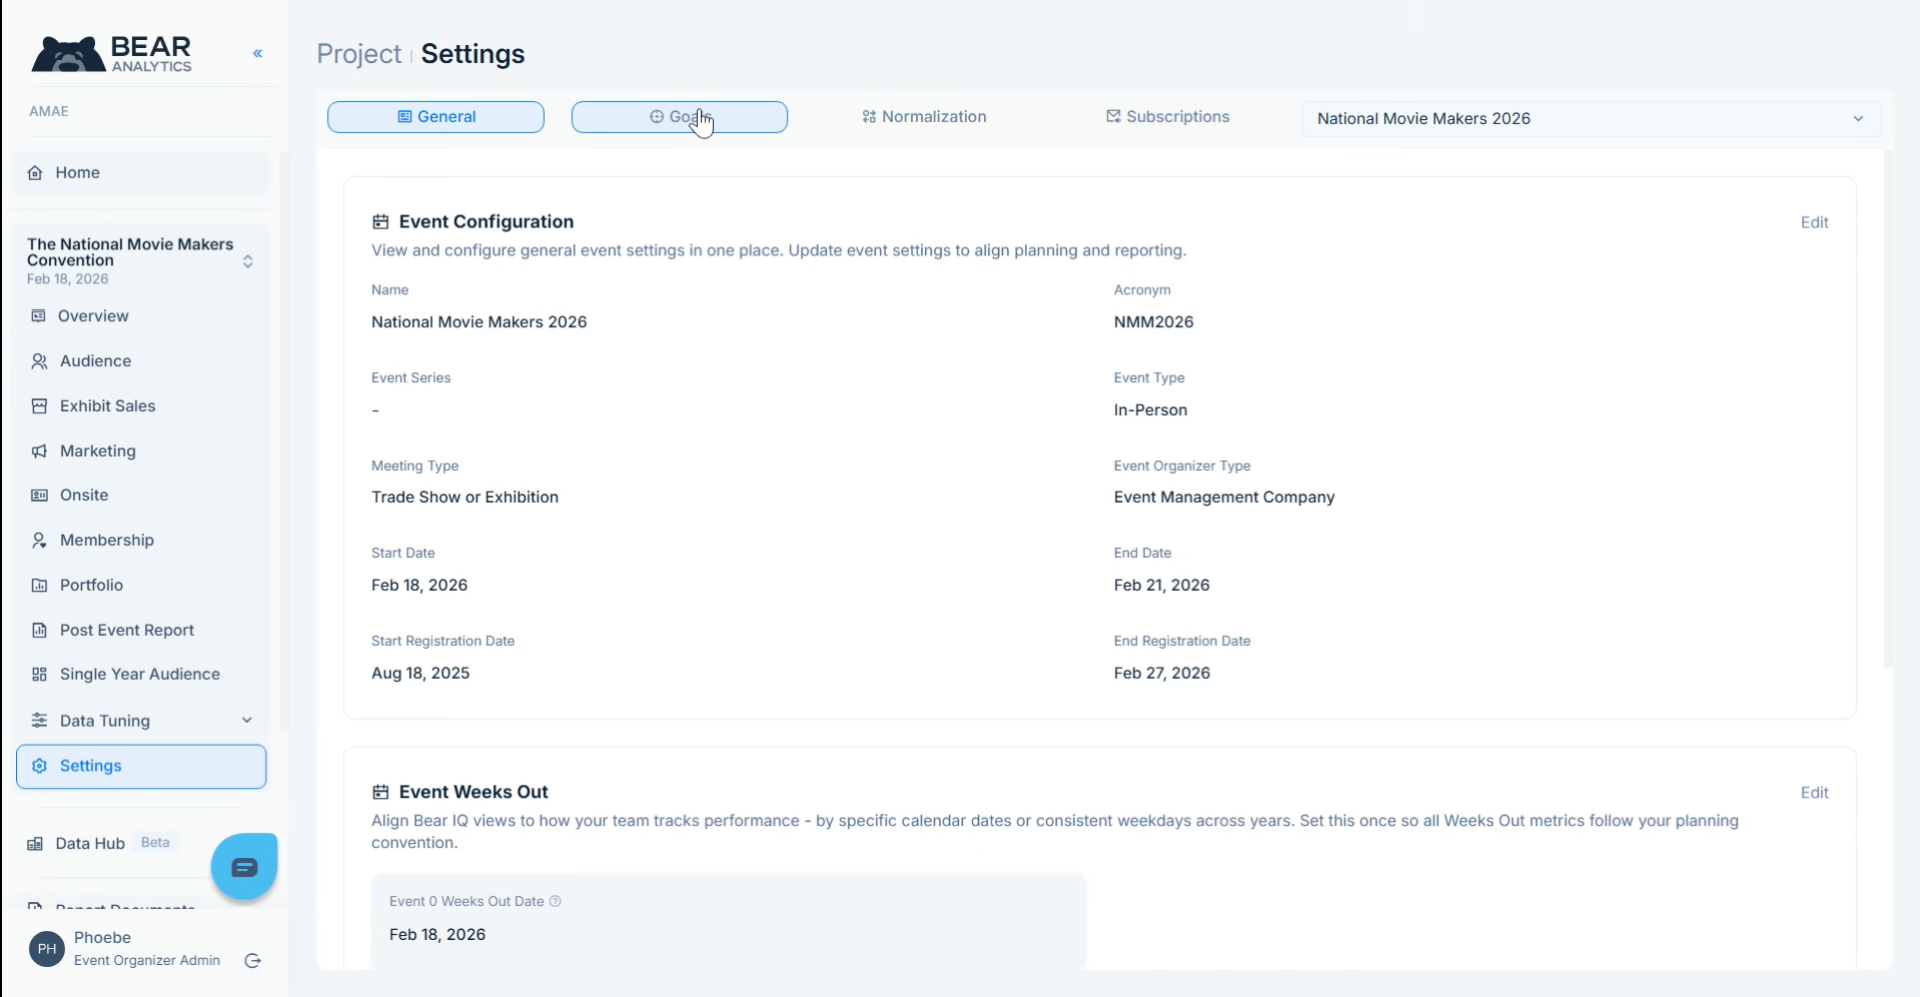
2. Navigate to Settings
Click "Edit" to begin modifying audience goals
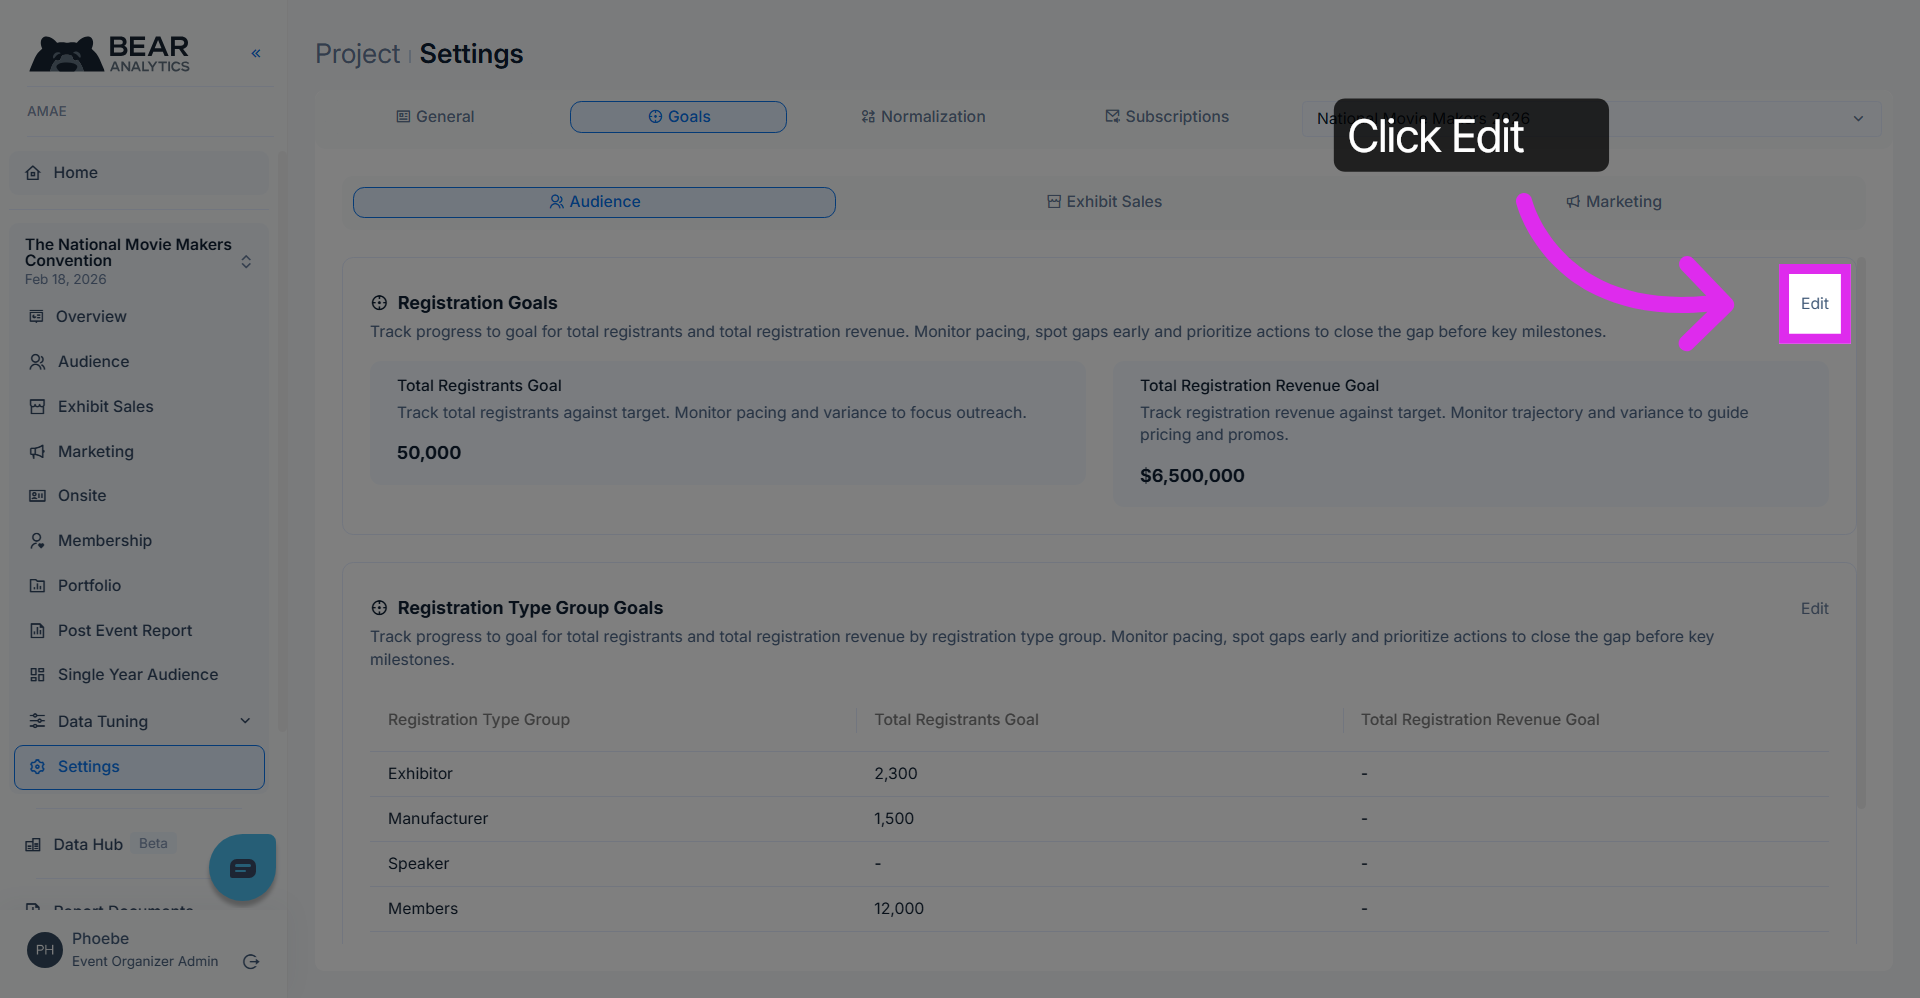
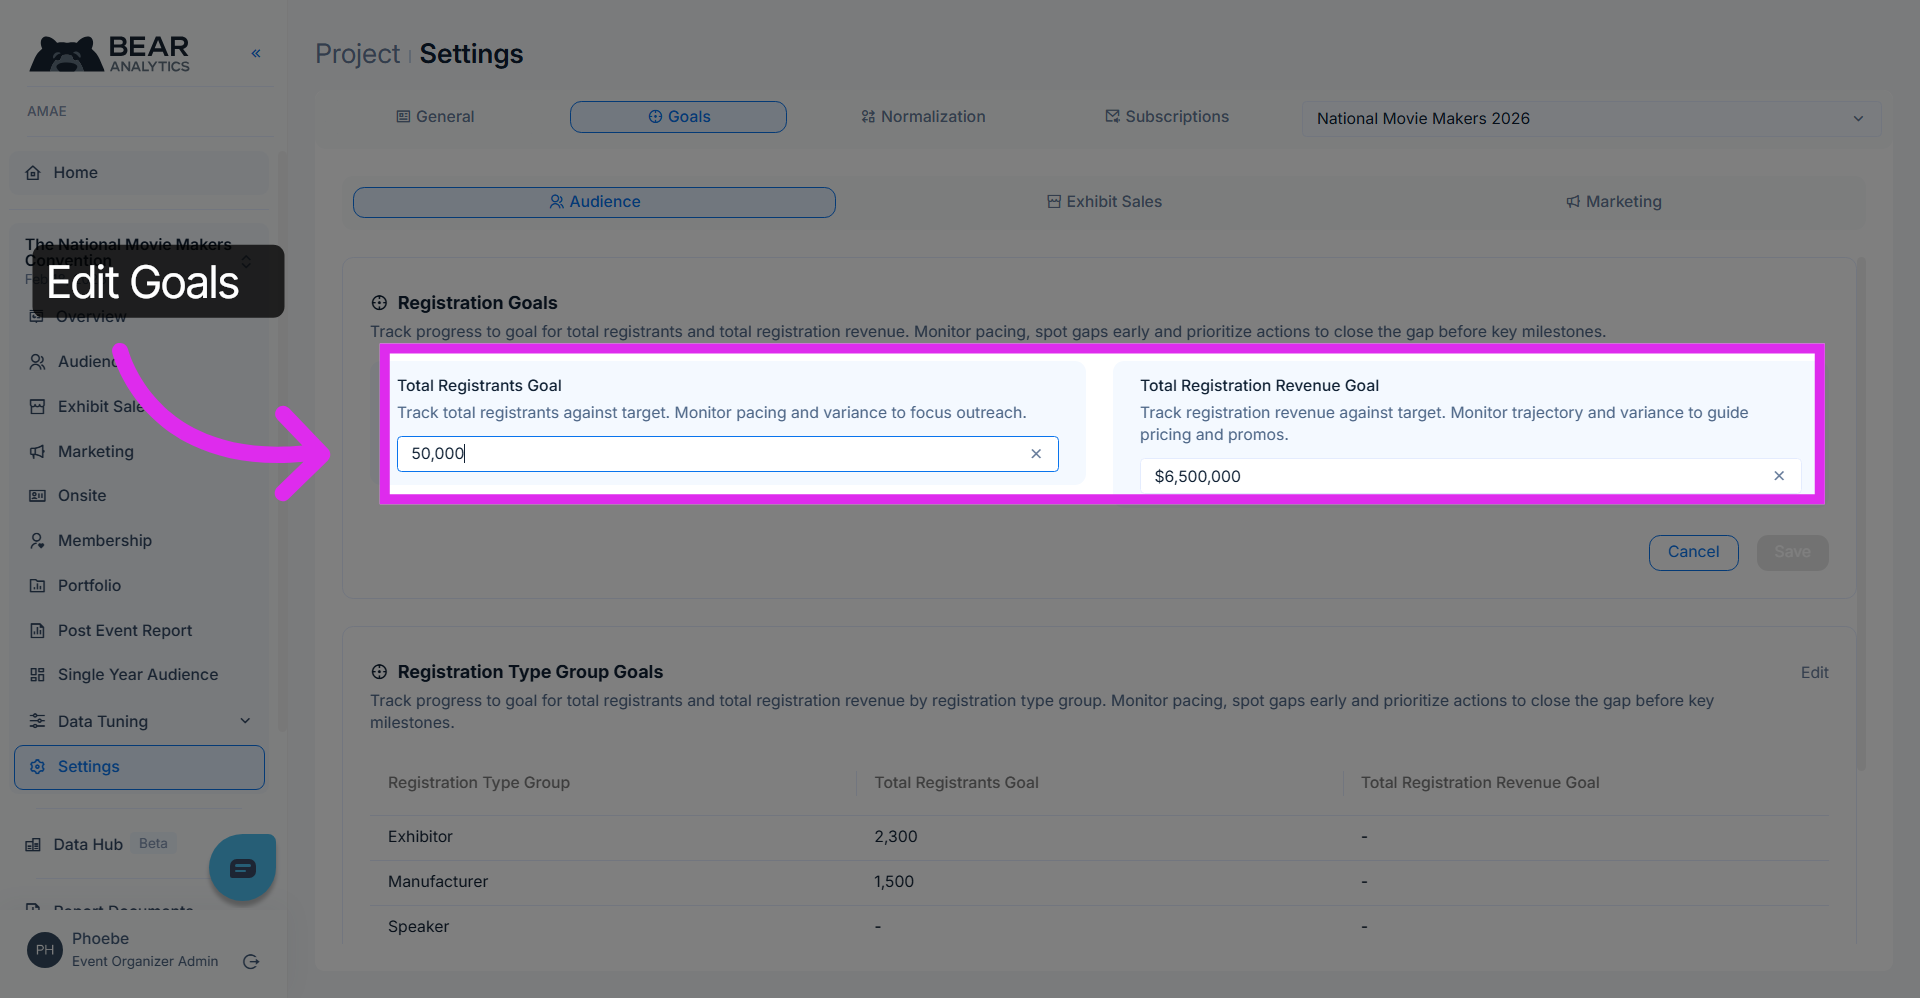
3. Adjusting Registrant and Revenue Goal
Here you can add or update your total registrant and revenue goal.
Click "Save" to apply the updated changes
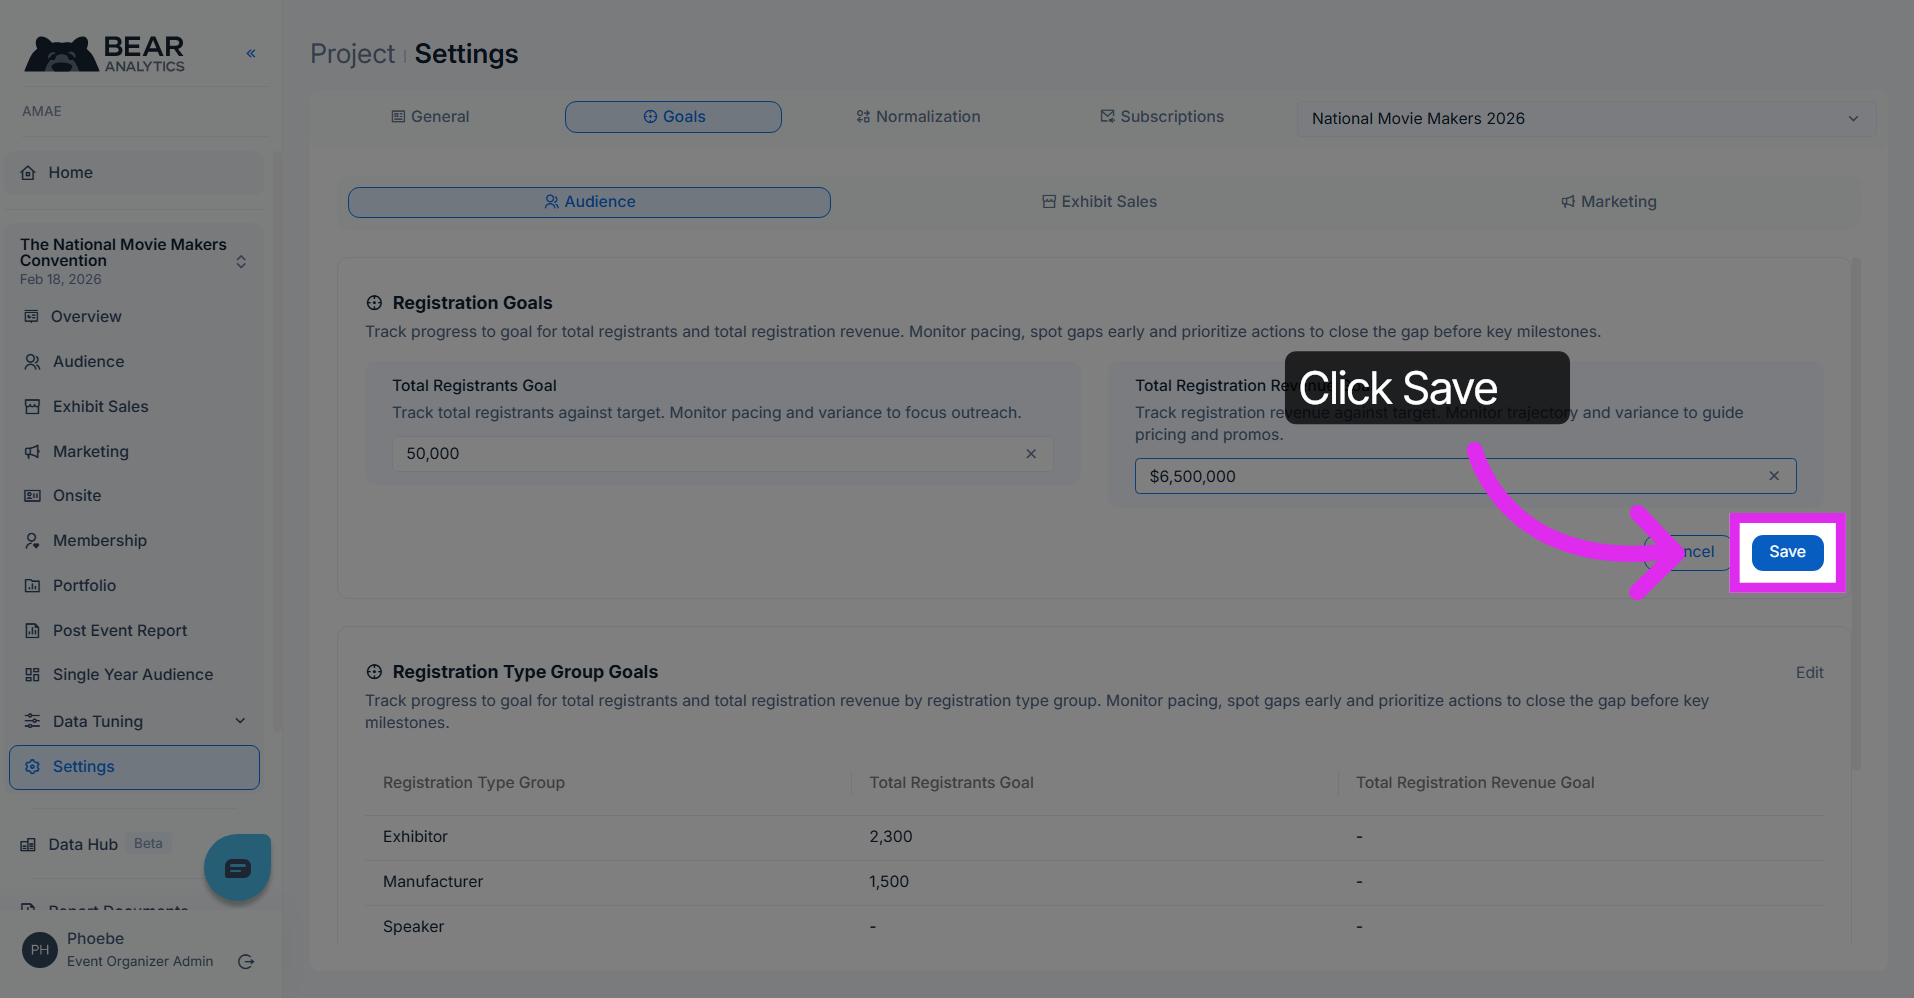
5. Add or Edit Registration Group Goals
You can also add registrant and revenue goals for registration groups. Click edit to get started.
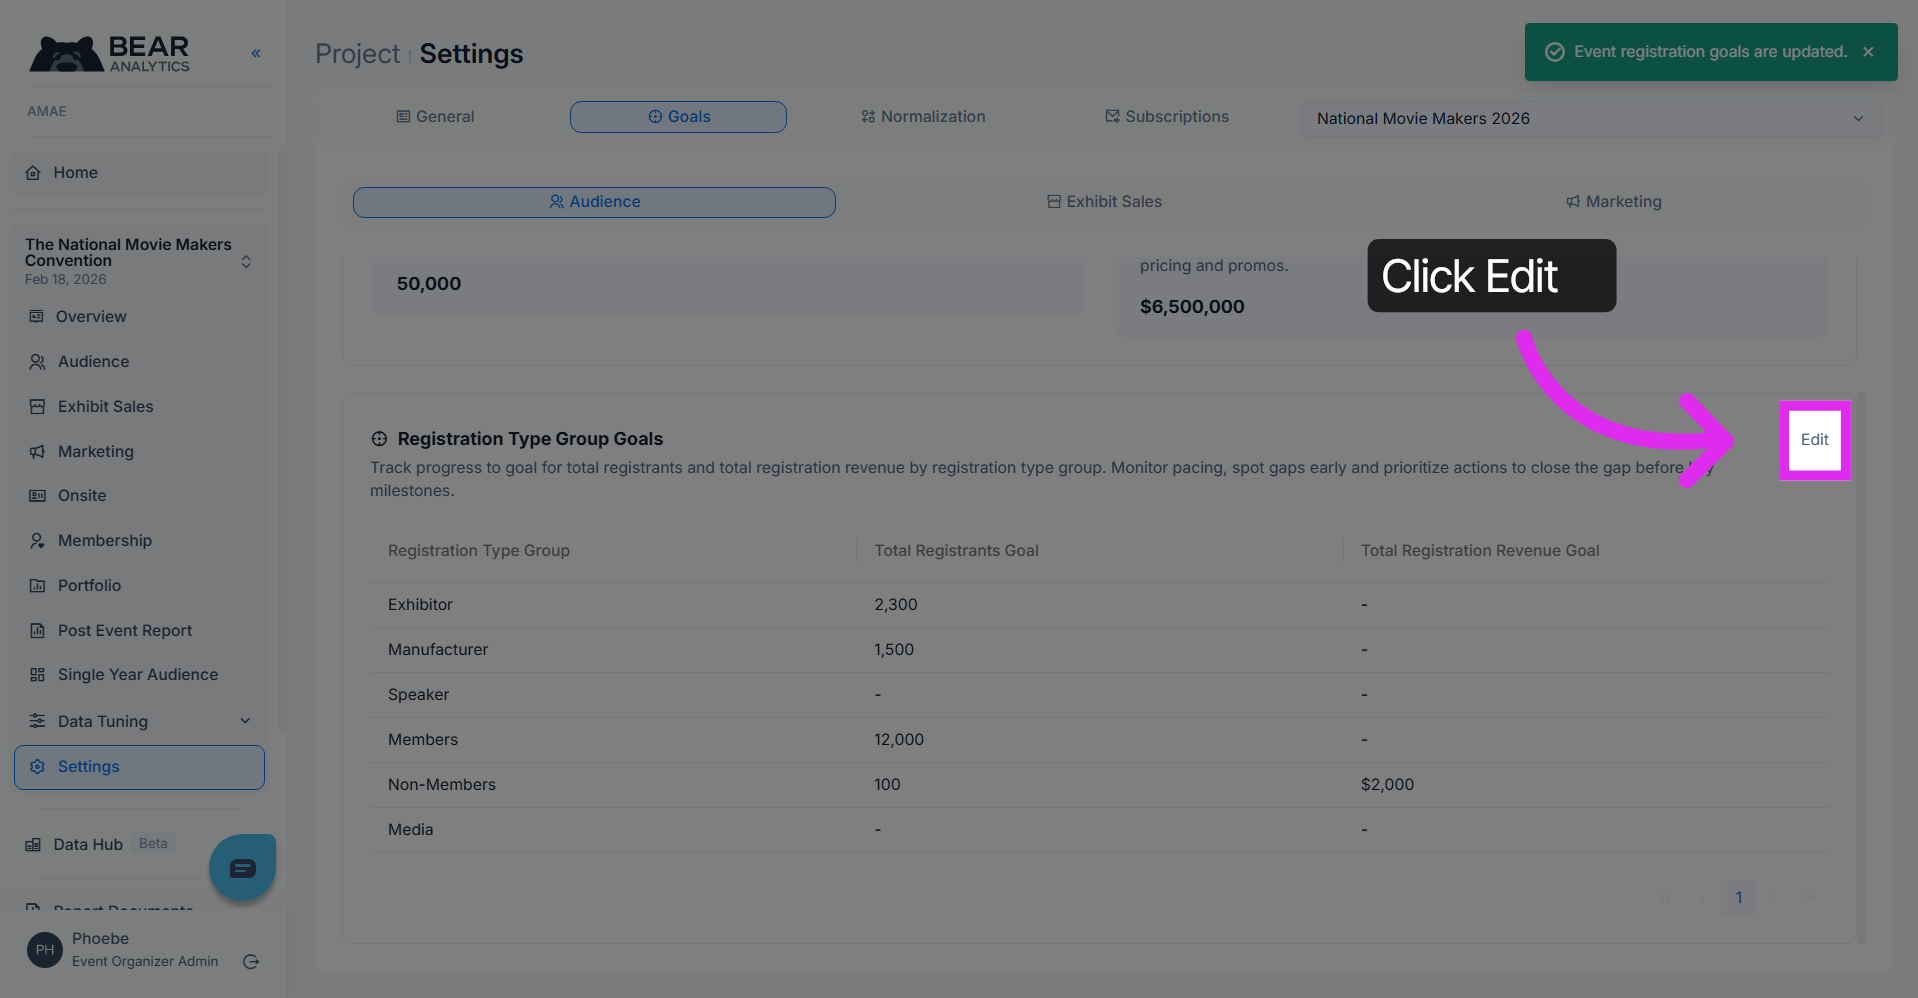
To be able to add or edit goals for registration groups, you would need to have them set in your project settings.
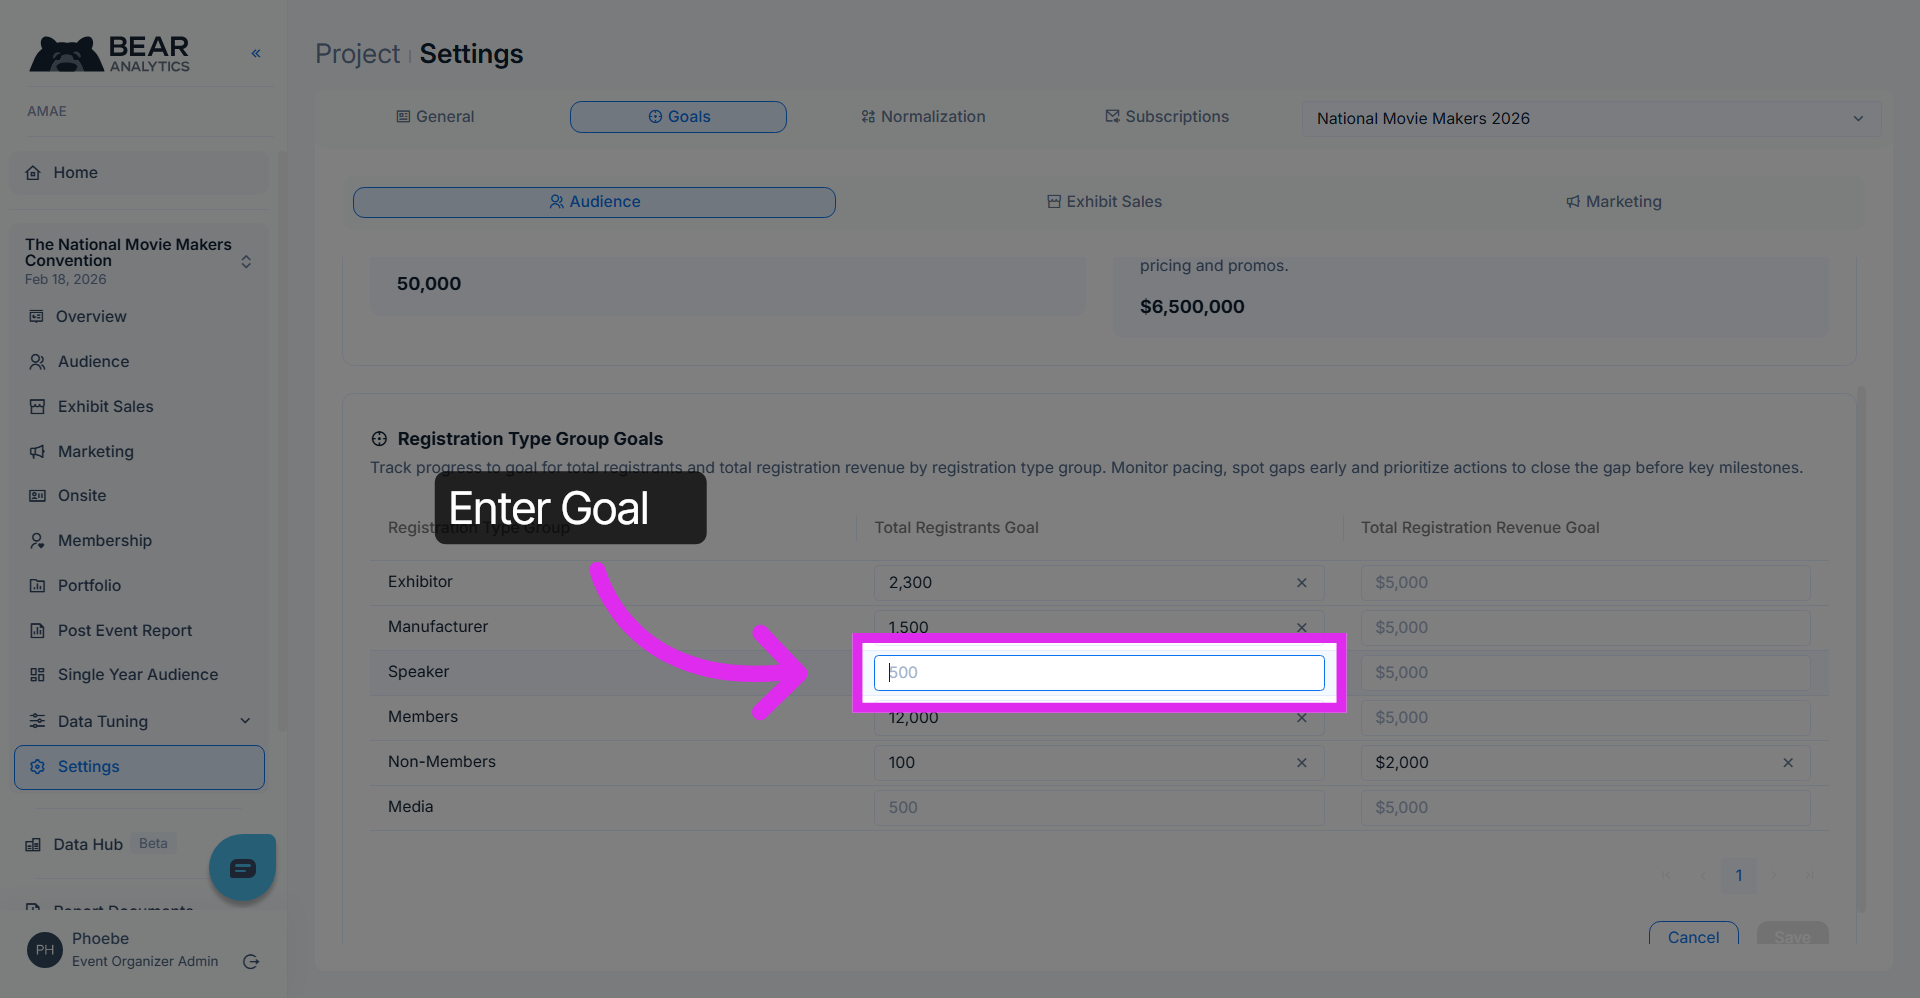
7. Save Updated Metrics
Click "Save" to save the recent changes.
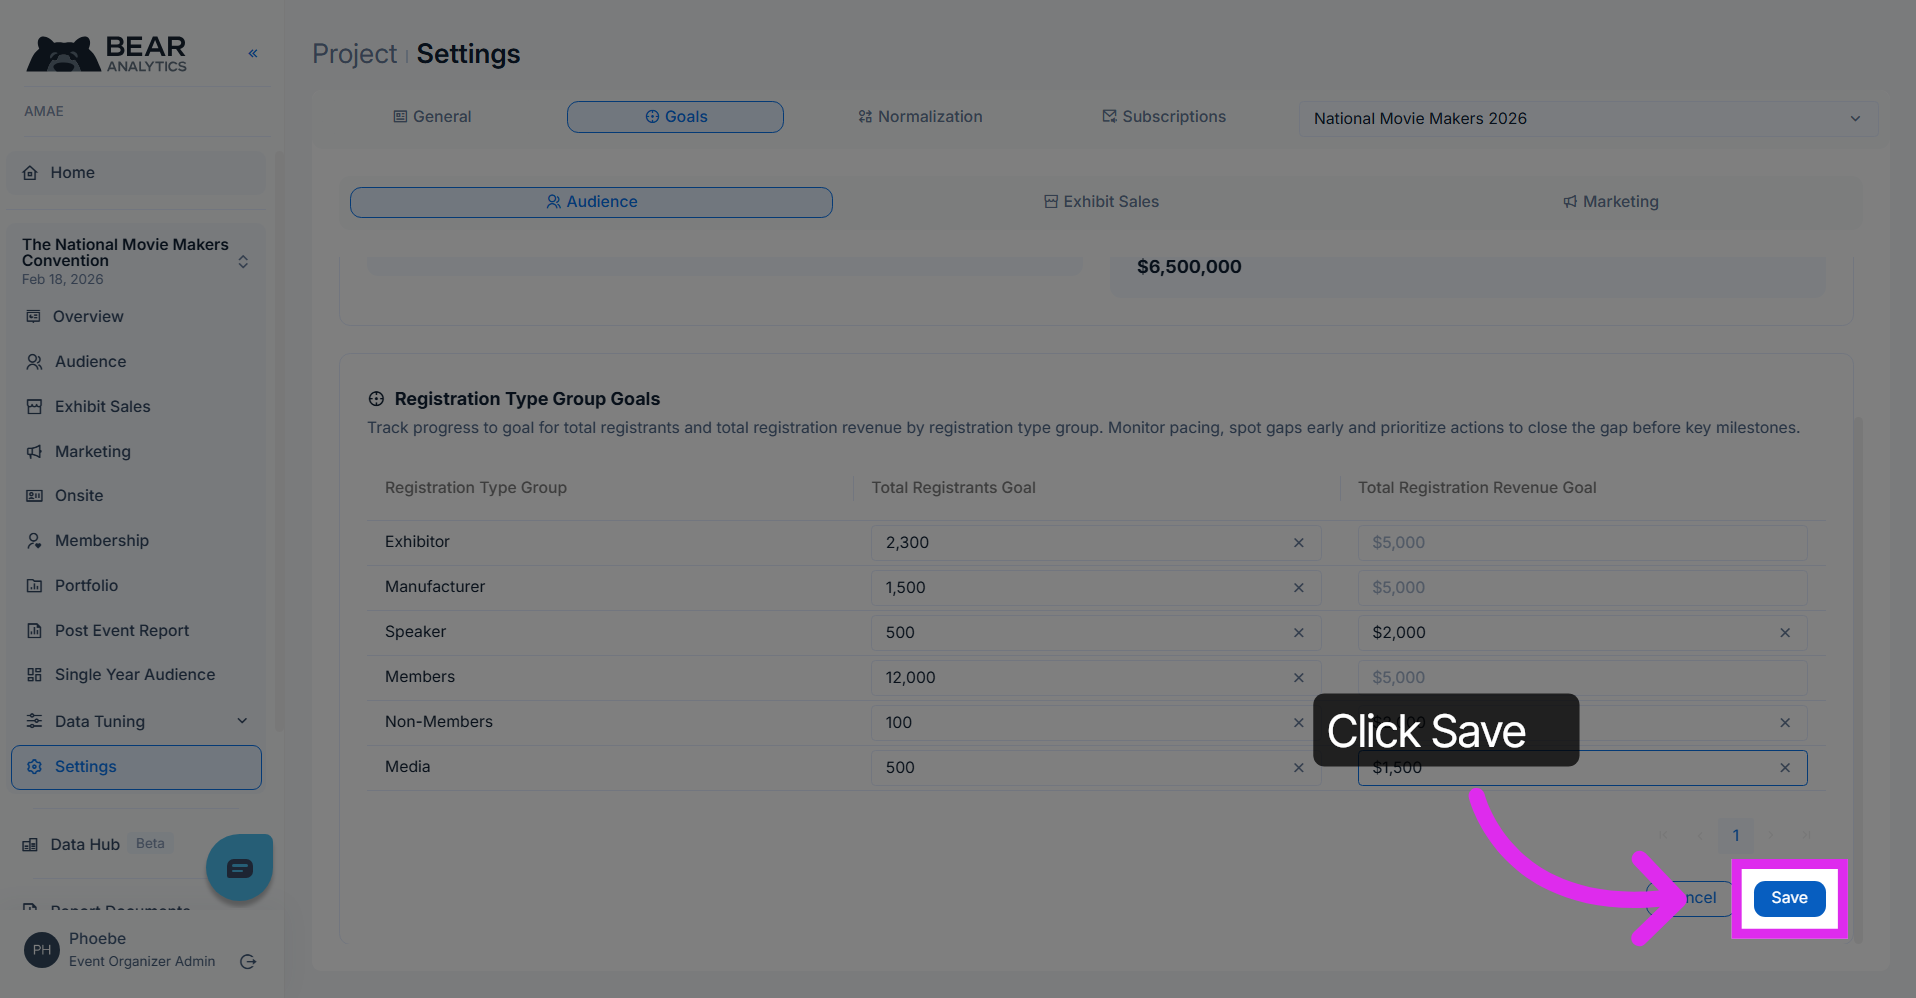
8. Access Exhibit Sales Goals
Click here to open the Exhibit Sales Goals overview.
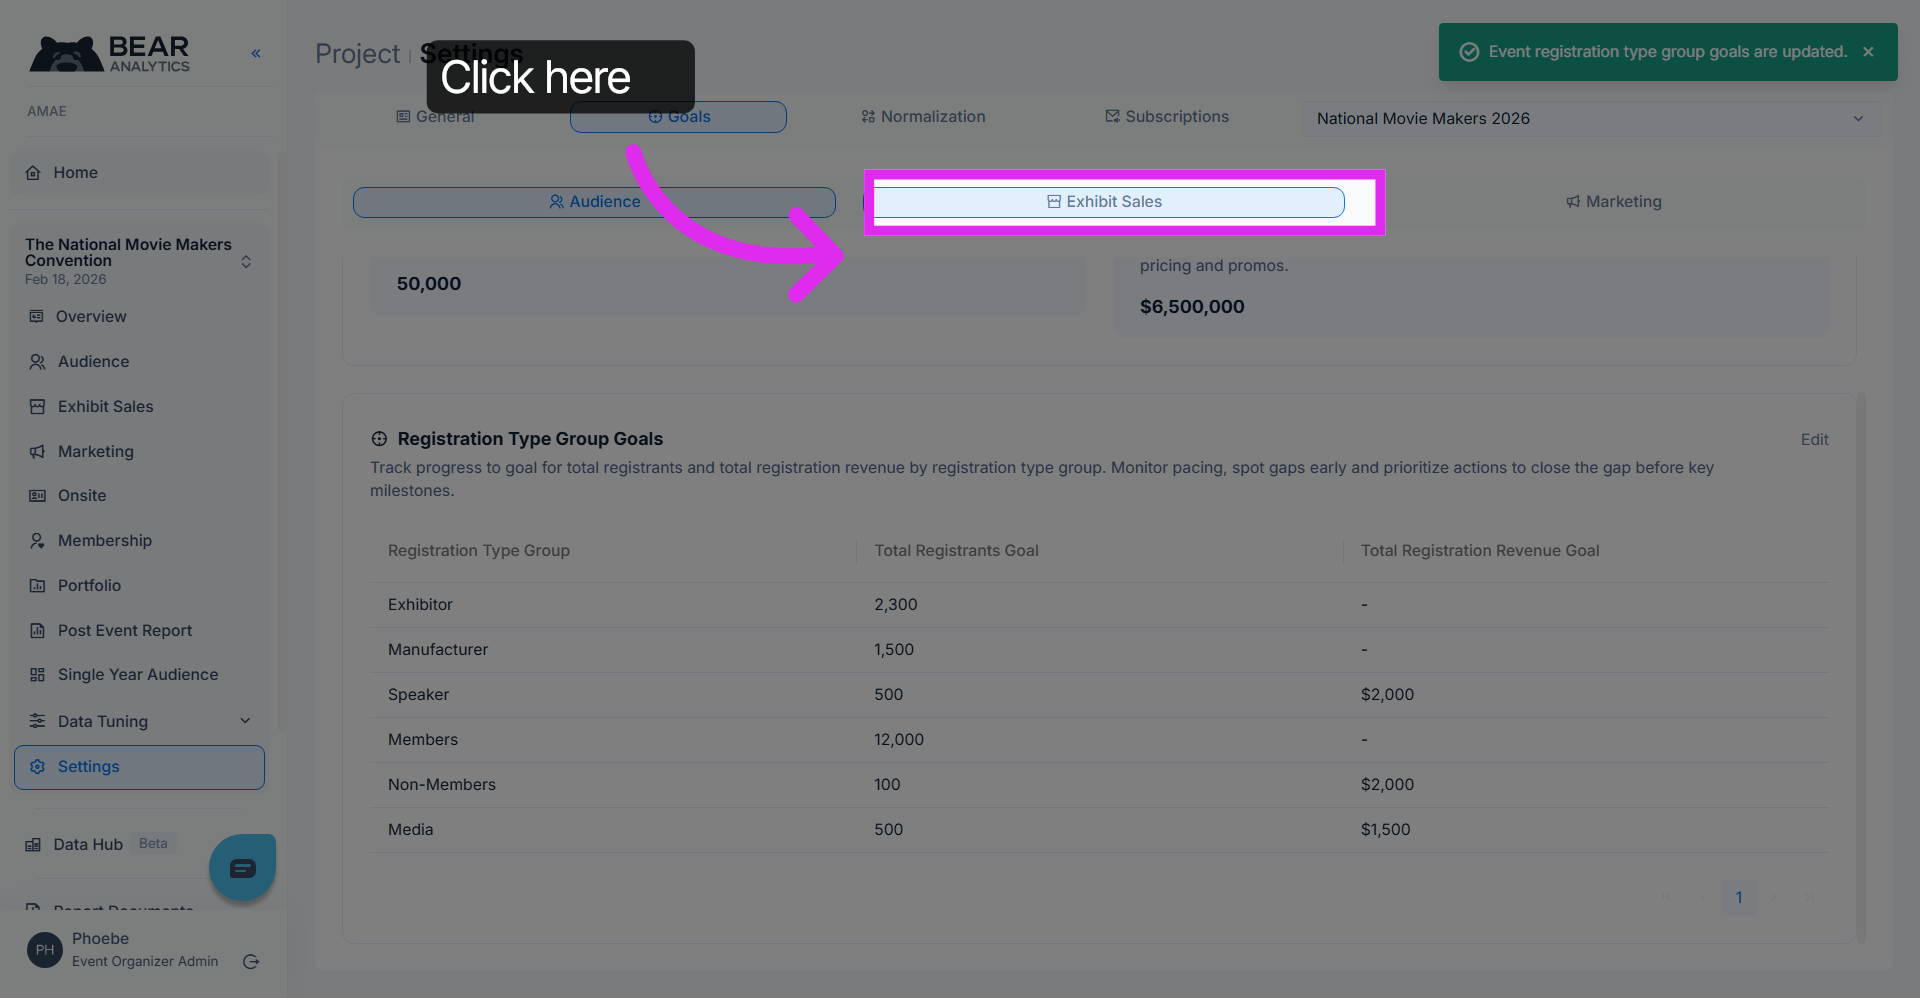
9. Open Sales Goals Details
Here's where you can update your exhibit sales goals such as total square footage and booths and revenue goals for sales items that you are tracking.
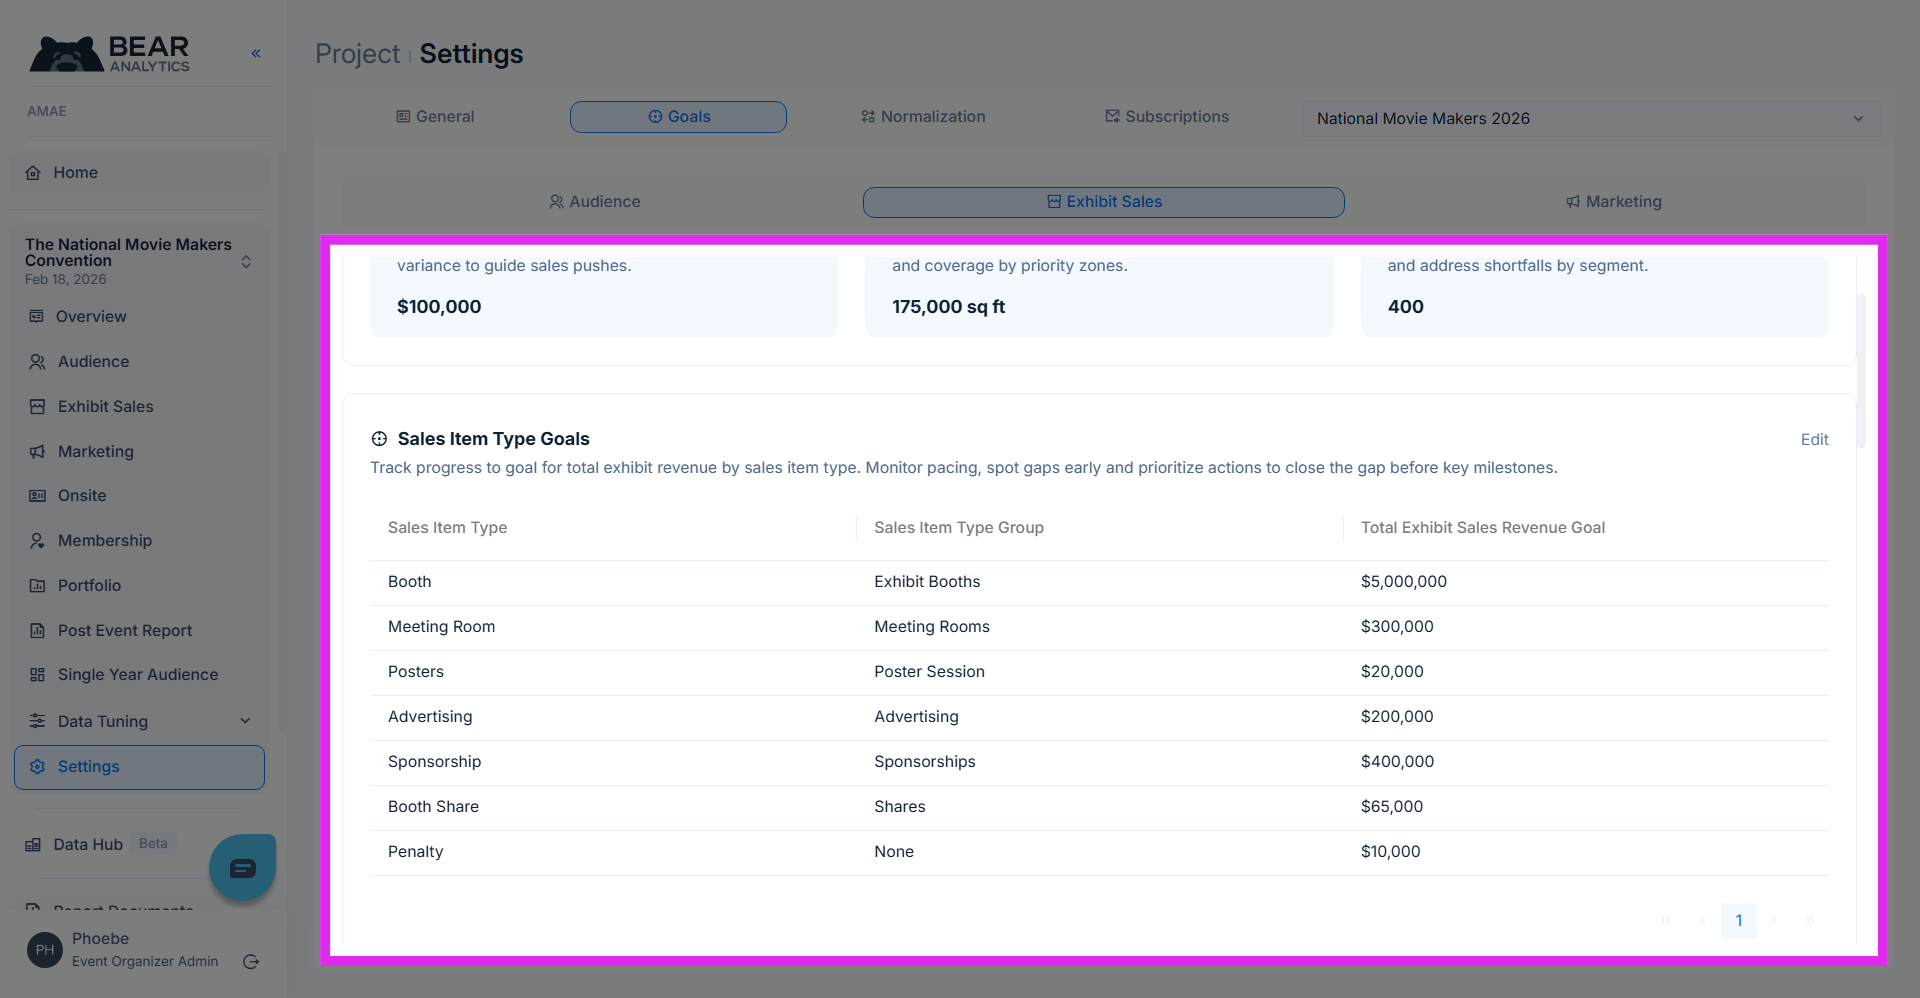
10. Edit Sales Goals
Click "Edit" to modify the sales goals parameters.
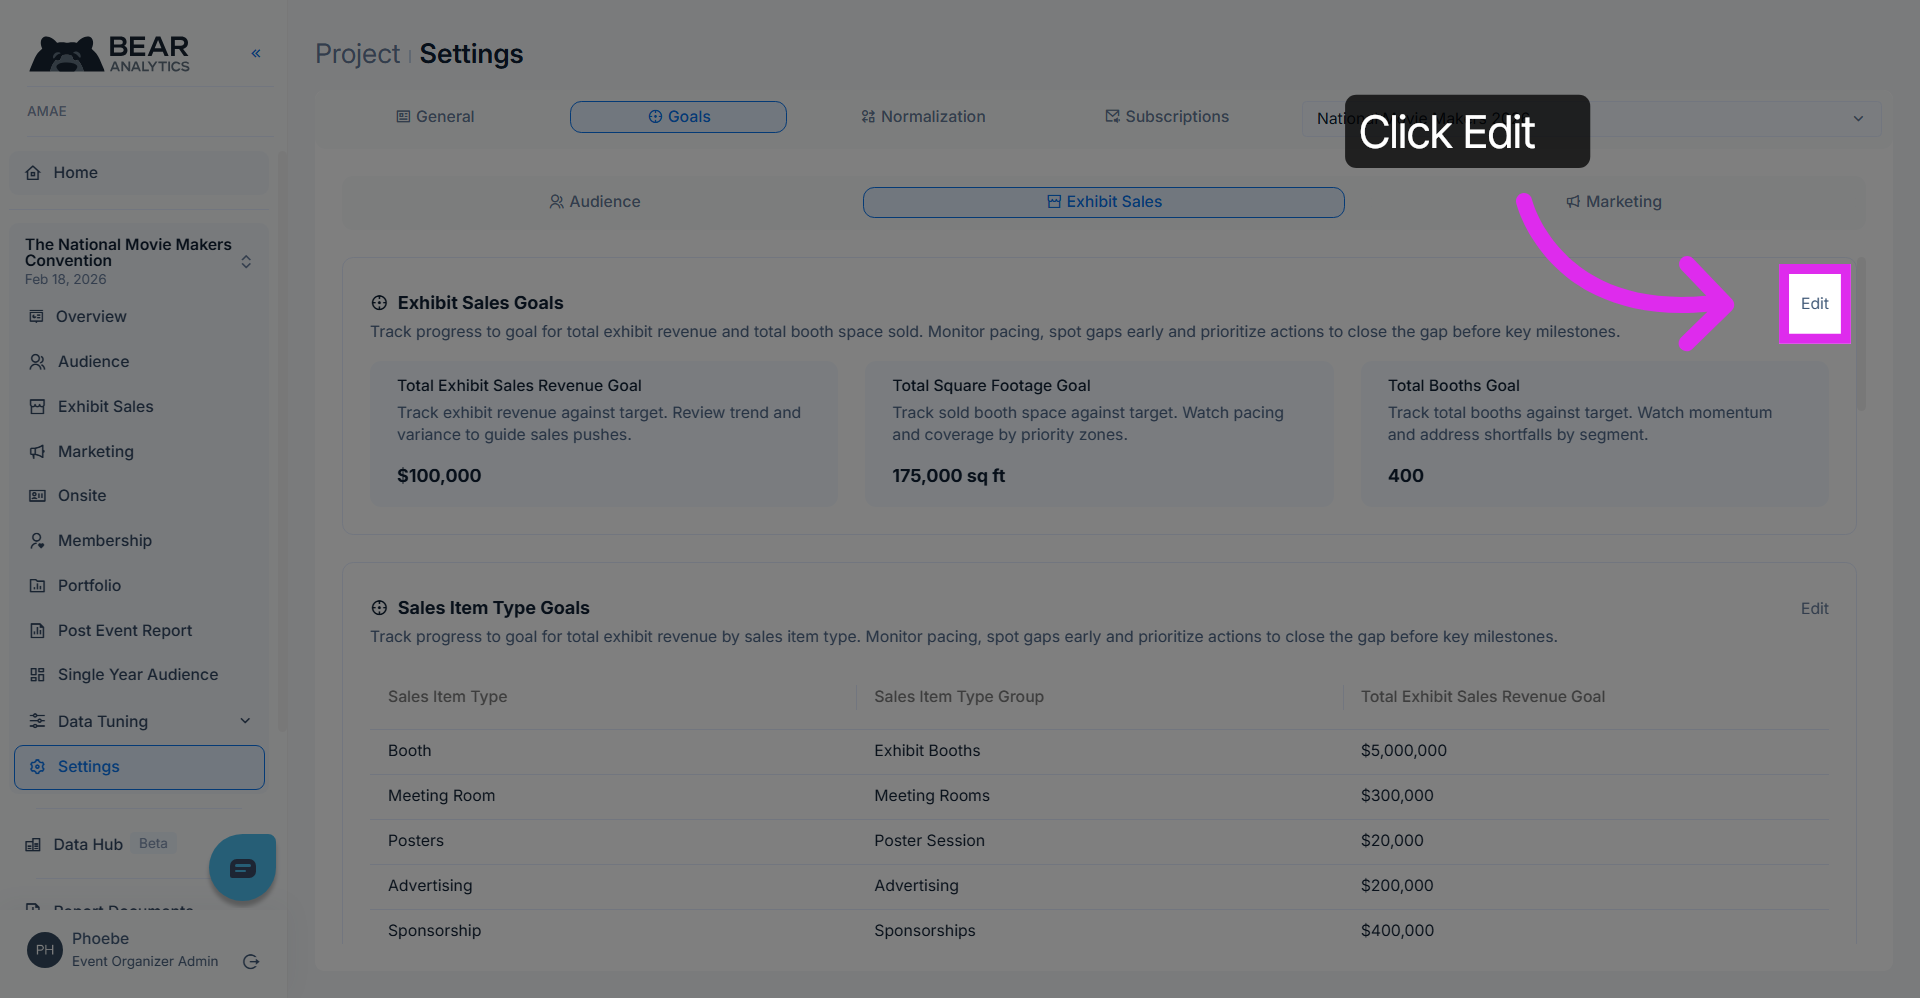
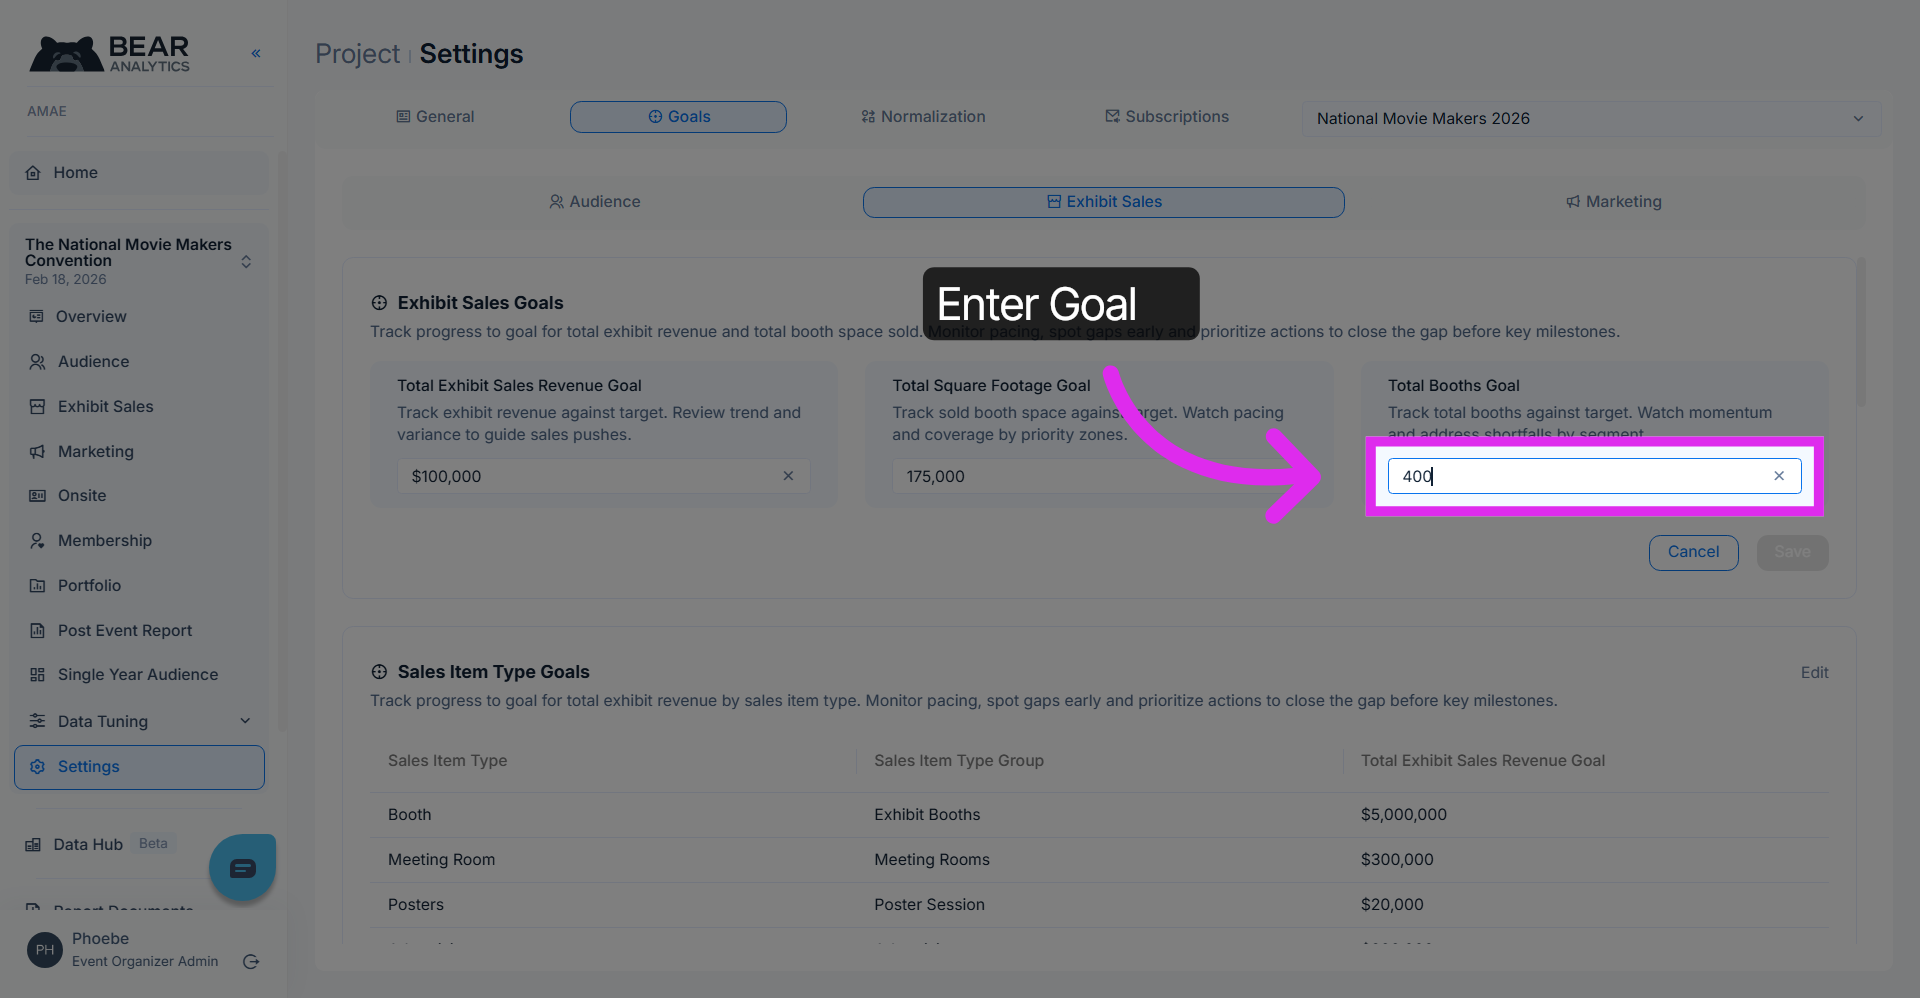
11. Update Booth Space Goal
Add or update the total booth space goal and click save.
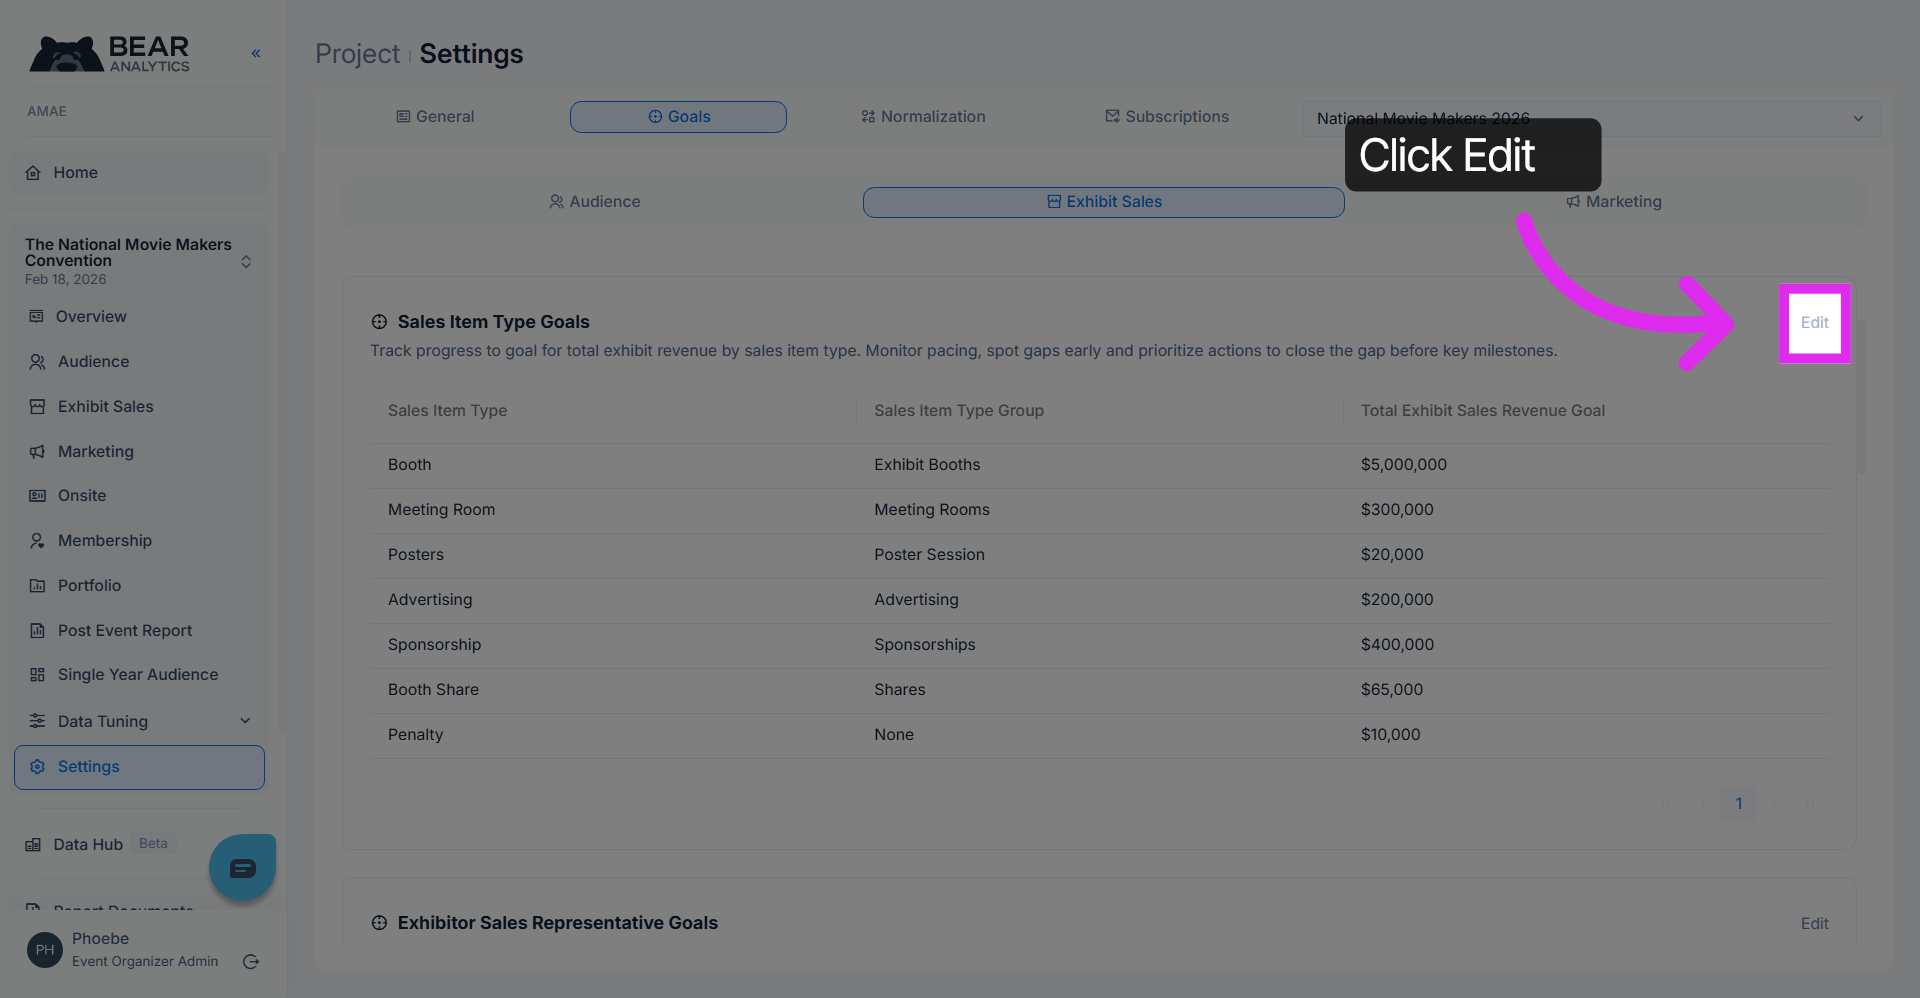
12. Edit Revenue Goal
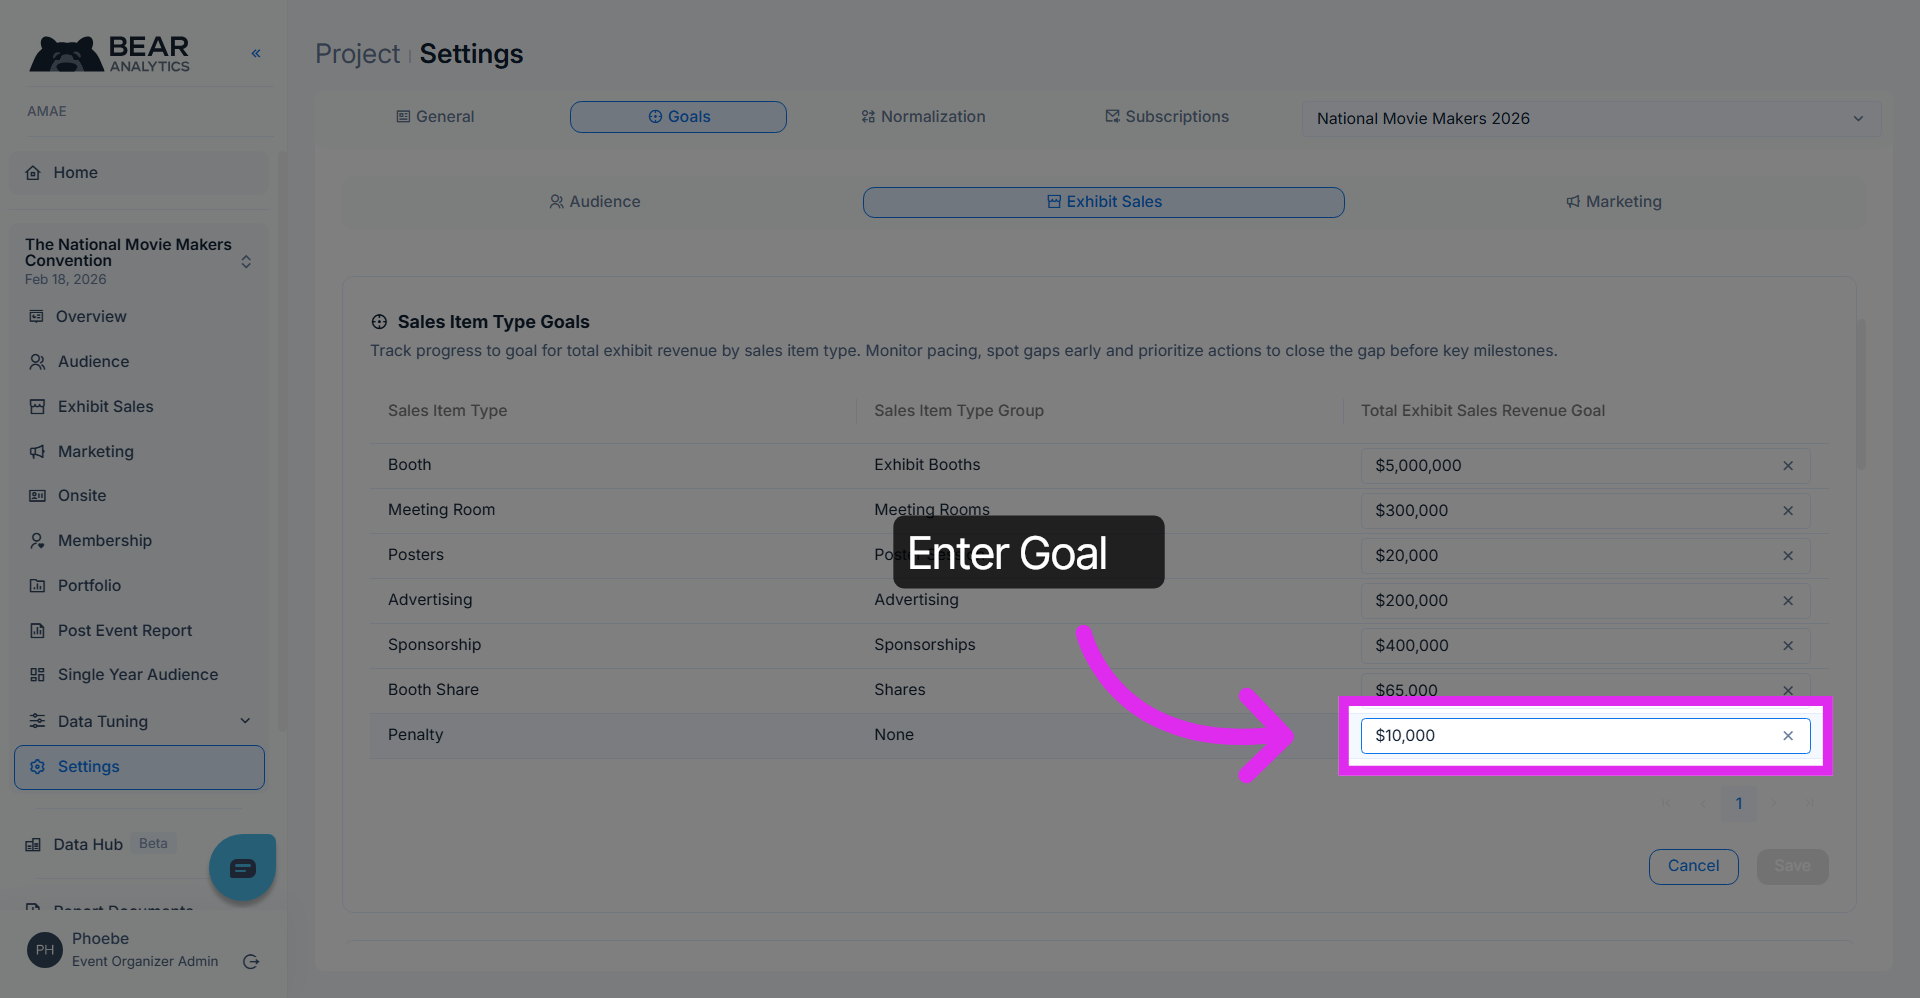
Click "Edit" to adjust the revenue sales goal for your sales items.
13. Set Revenue Target
Enter the revenue goal against your selected sales item and click save.
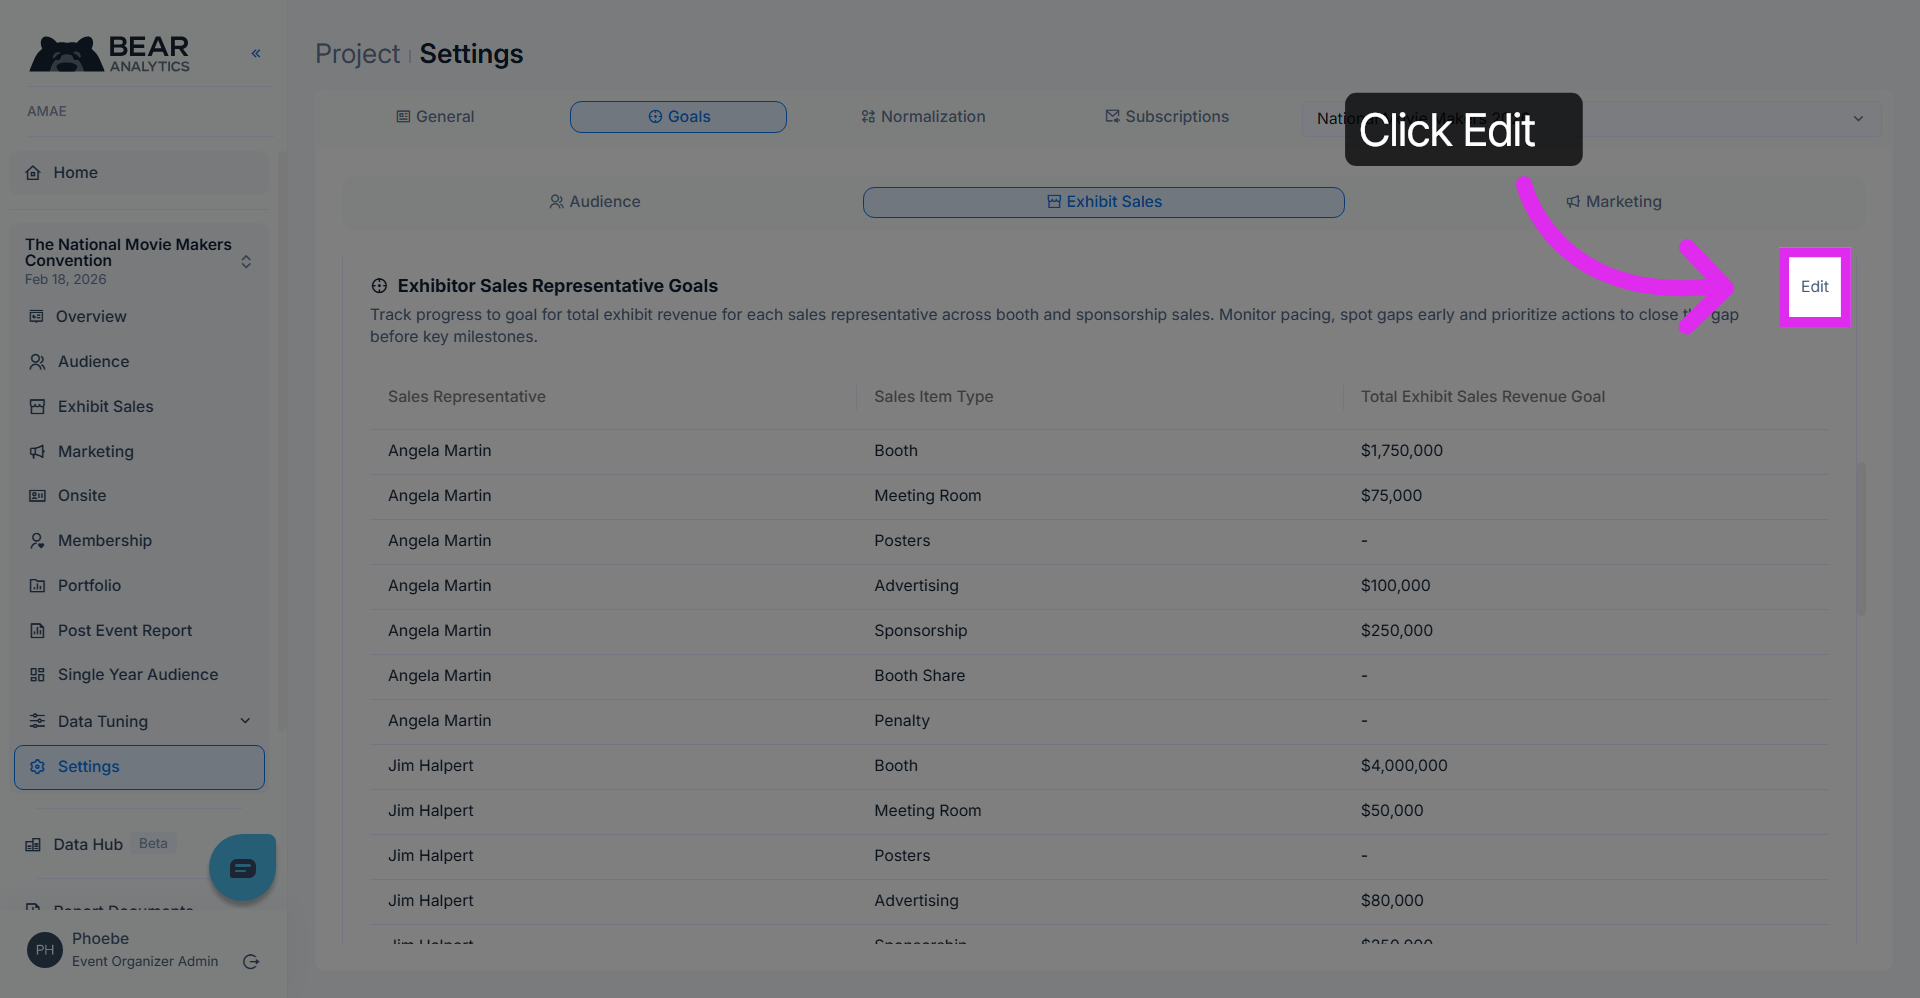
14. Edit Final Sales Goal
Bear IQ also enables you to track goals per sales representative. Click edit to update or add goals for your sales rep
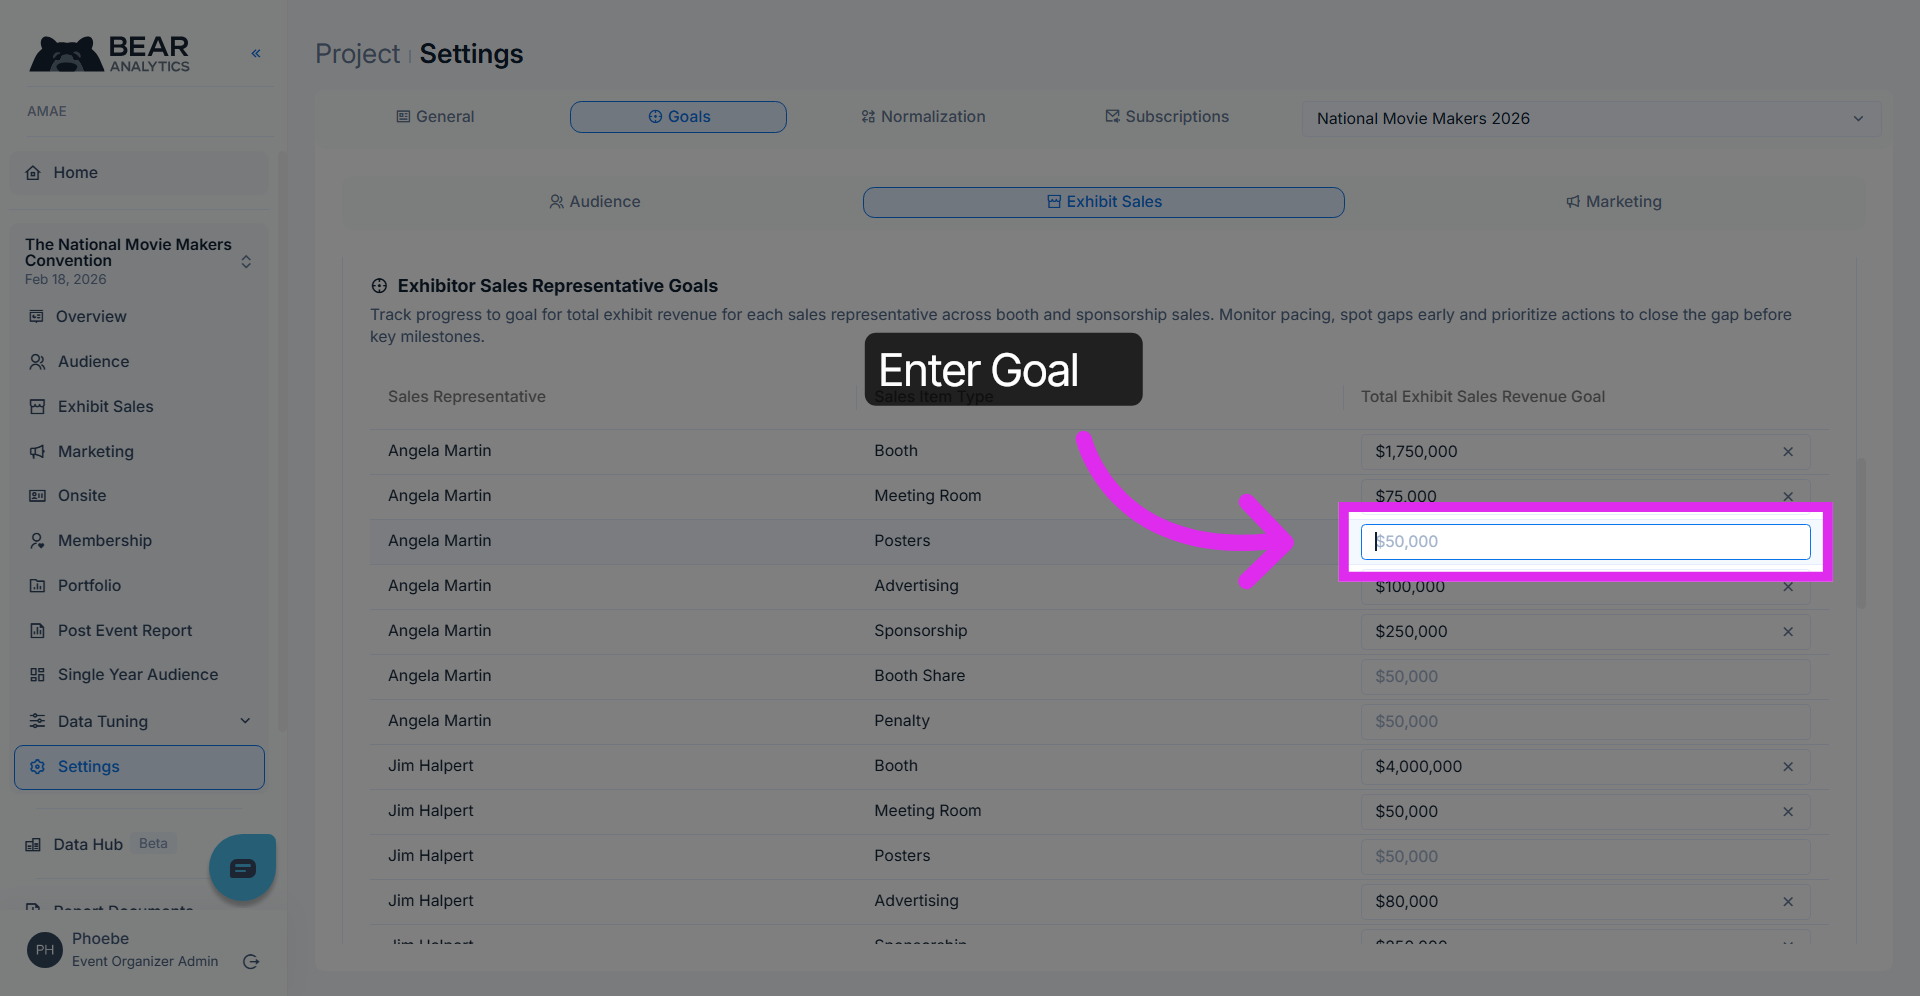
15. Adjust Final Revenue Goal
Enter a goal amount against your selected sales representative and click save.
You have successfully configured and saved audien exhibit sales goals in Bear Analytics. Monitor these metrics regularly to track progress and identify areas needing attention for successful event planning.