This guide offers detailed instructions for adding new users to your Bear IQ platform. Whether you're an event organizer aiming to provide your team with access to event data or a business analyst sharing insights with colleagues, this process is straightforward and crucial. By adhering to these steps, you'll ensure that your team can effectively collaborate and leverage the platform's capabilities.
Tip: Have the new user's email address and full name prepared in advance.
Key moments to look out for:
-
Finding the Users tab
-
Choosing the appropriate user role
-
Accurately entering the user’s details
Heads up: make sure you have permission to add users
Step-by-Step Instructions
Step 01: Log into Bear IQ
Open https://app.beariq.com and log into your Bear IQ account. Once logged in, the dashboard displaying various event insights will be visible.
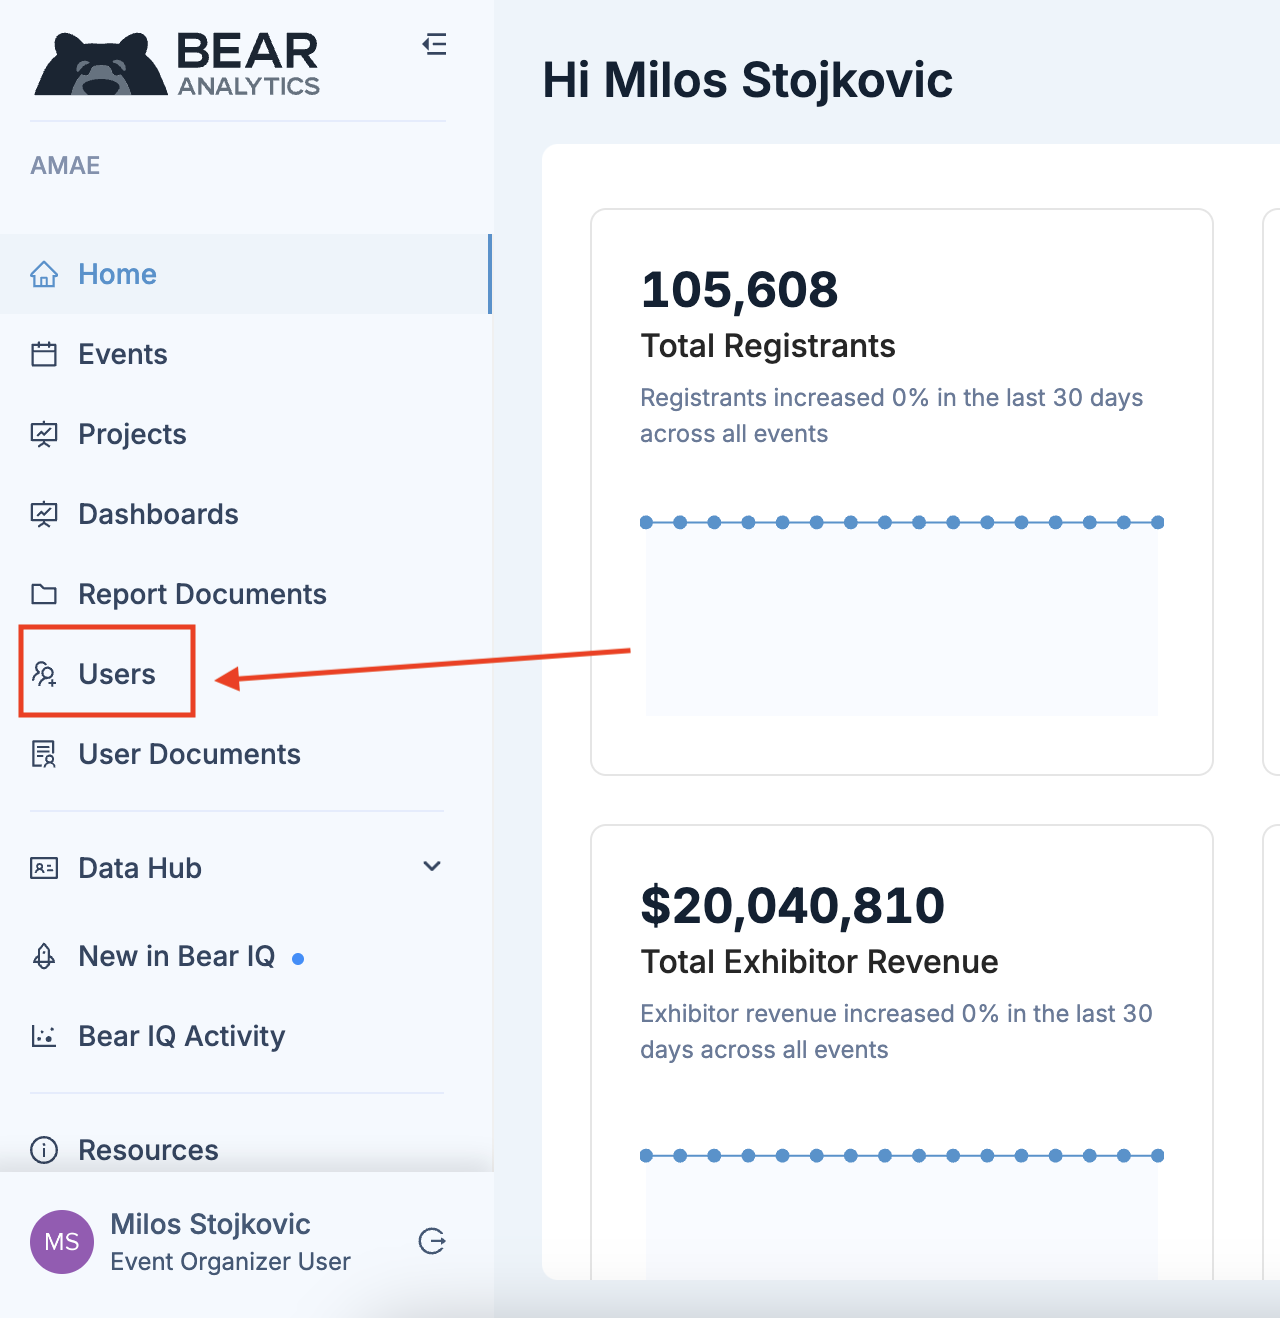
Step 02: Go to the 'Users' Tab
On the left side of the screen, locate the slide-out menu. Click on the 'Users' tab to view the list of all users with access to your event analytics dashboard.
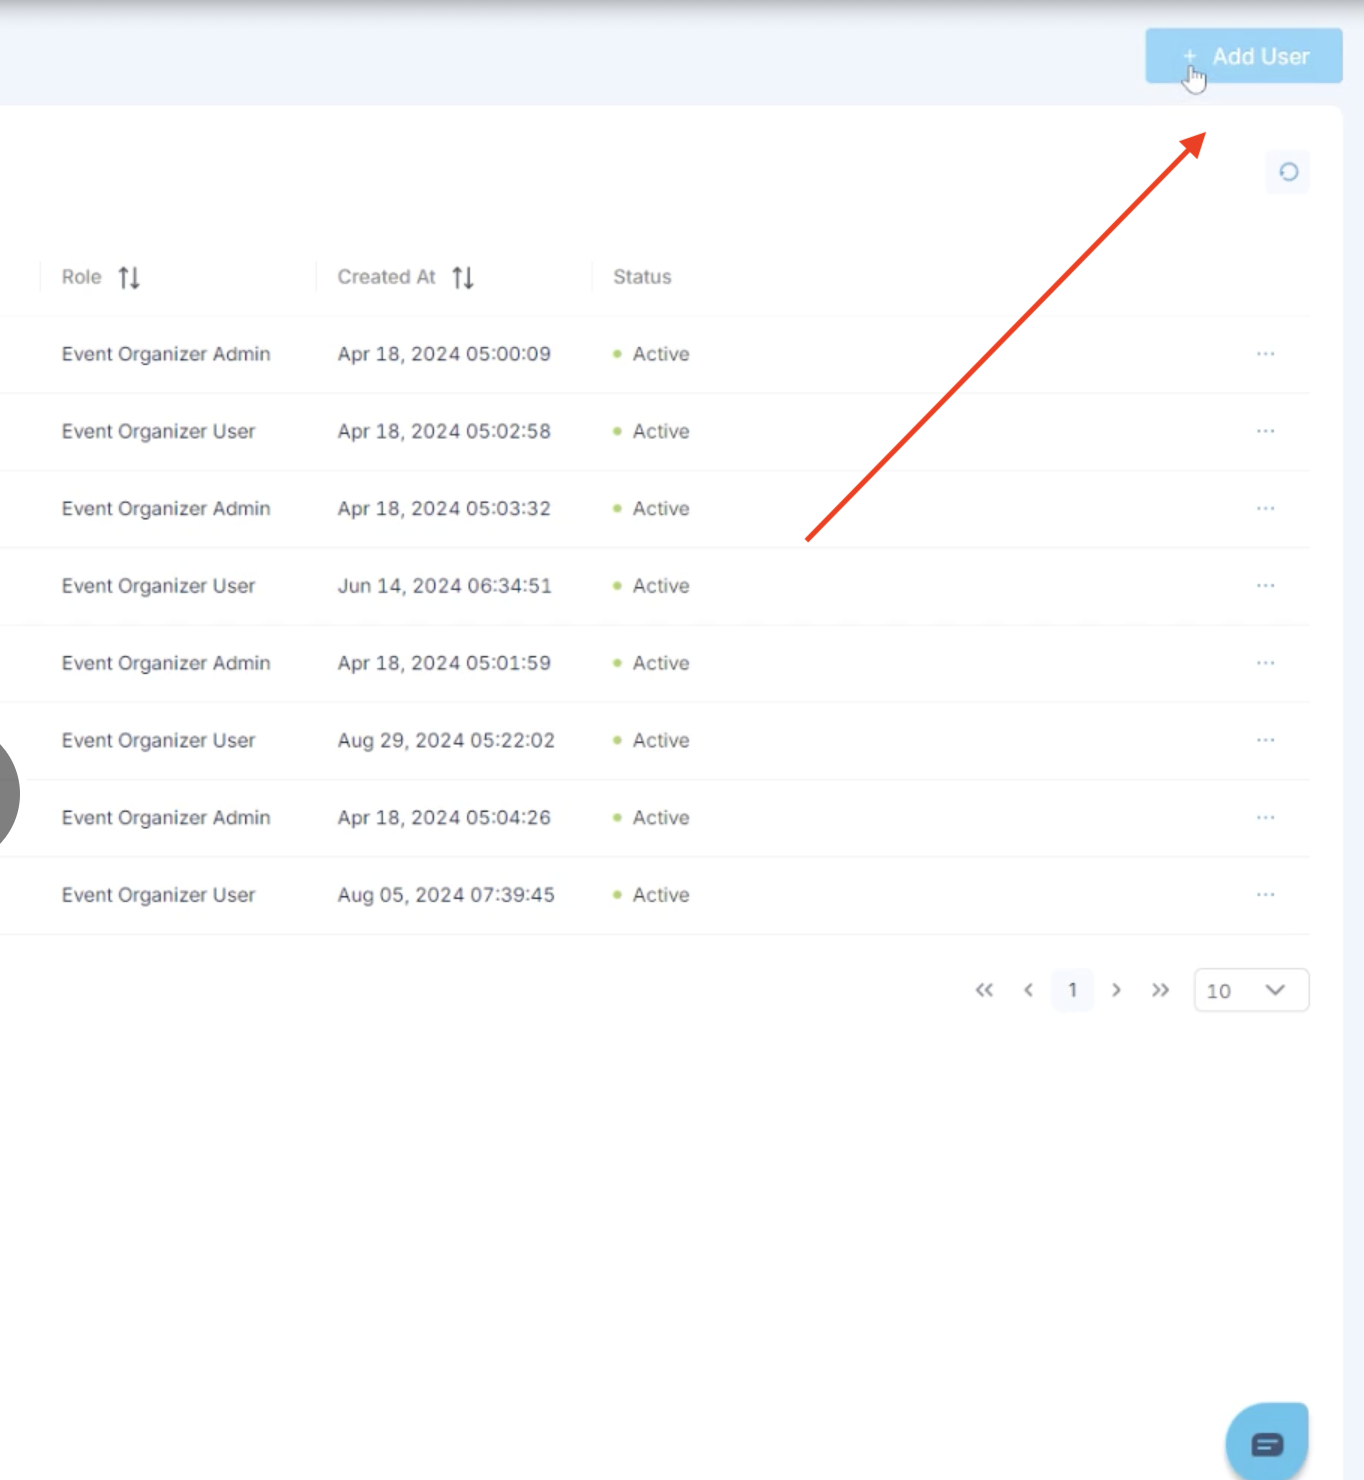
Step 03: Select “Add Users”:
In the upper right corner, find the blue "Add User" button. Click it to initiate the process of adding a new user to your platform.
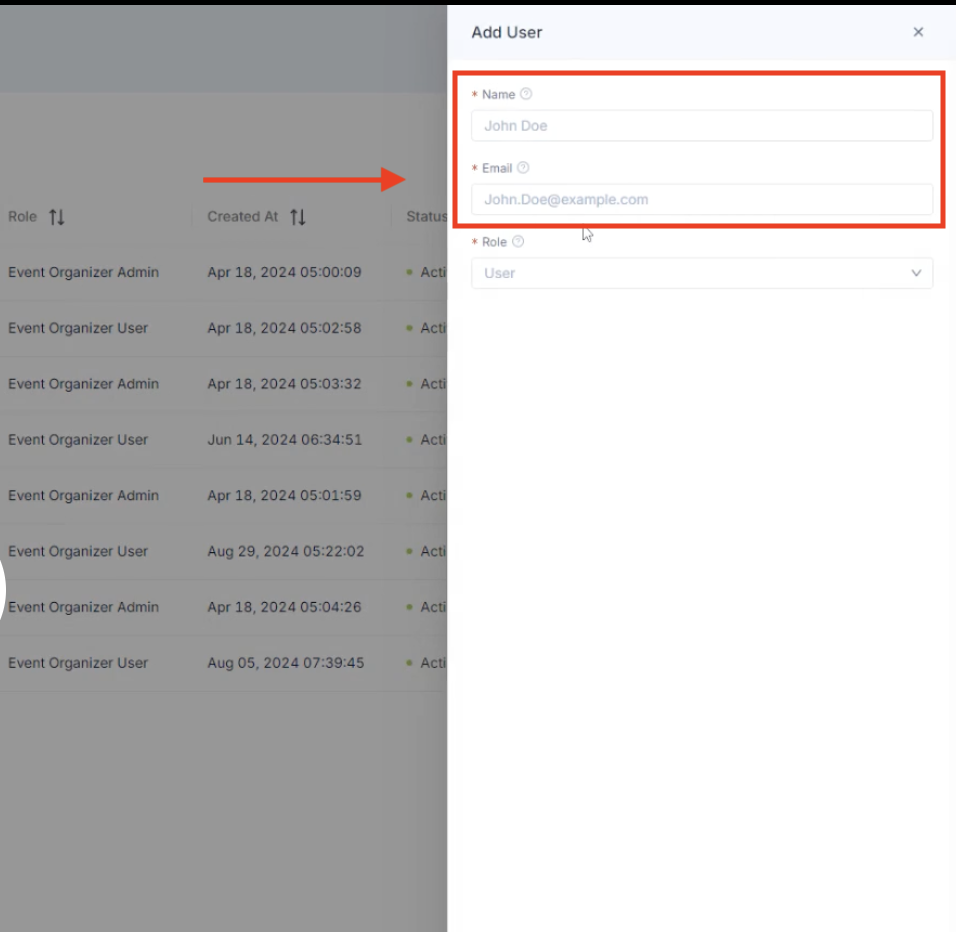
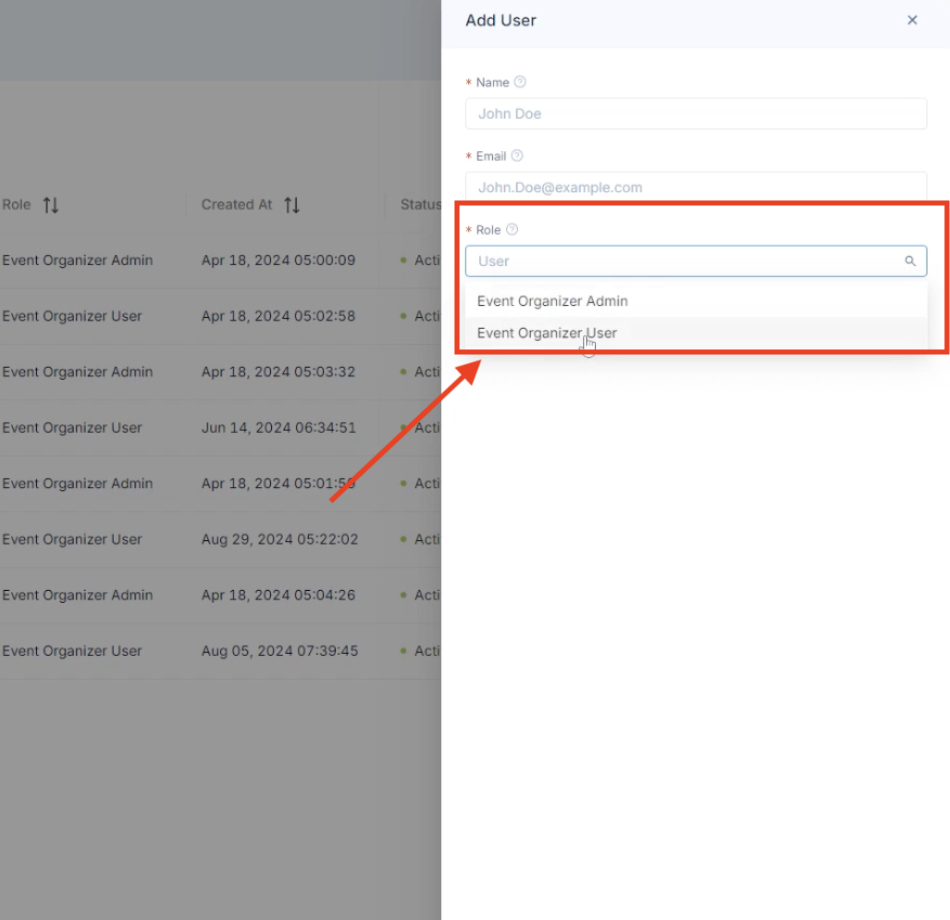
Step 04: Enter the New User's Information
After clicking the "Add User" button, a form will appear. Enter the new user's email address and full name. Ensure the email address is accurate so the new user receives the invitation to join Bear IQ.
Step 05: Assign the User's Permission Level
Select the appropriate role for the new user from the dropdown menu. The available options are:
-
Event Organizer Admin: Choose this if the new user needs the ability to add others to your platform.
-
Event Organizer User: Select this if the new user should have access to the event analytics dashboard but not the ability to add other users.
Step 06: Click "Add User" to Confirm
Once all required fields are filled out, click the "Add User" button at the bottom of the form to add the user to your platform.

Step 07: Inform the New User
After adding the user, a confirmation email will be sent to them, inviting them to verify their email address and create a password. It's advisable to inform the new user to watch for this email. Direct them to https://app.beariq.com to access their account once it’s set up. If they encounter any issues, they should contact customersuccess@bearanalytics.com.
By following these instructions, you can add new users to Bear IQ efficiently, enabling your team members or partners to access and analyze essential event data.